CrochetMenScarvesHatsGlovesSweatersCardigansSocksOther clothingWomenScarvesHatsGlovesShawls and cover upSweatersCardigansSocksSlippersBagsOther clothingChildrenScarvesHatsGlovesSweatersCardigansSocksSlippersOther clothingHomeBlankets and plaidsRugsHome decorationsPetsSchemesKnittingOther hand-madeChat
Easy Crochet Alpine Stitch Headband Pattern

The Crochet Alpine Stitch Headband is a cozy and stylish accessory, ideal for keeping your ears warm during colder months. Featuring the beautiful texture of the alpine stitch, it's both practical and trendy, complementing any winter ensemble. Whether you're strolling outdoors or hitting the slopes, this headband adds a fashionable flair while ensuring your comfort.
Pattern Information
Difficulty Level
Easy
Materials
Yarn: Drops Merino Extra Fine, 100% wool, yarn group B, color 01 (off white), 1 skein (105 m)
Crochet Hook: 4 mm hook
Other Tools: Yarn Needle, Scissors, Measuring Tape, Stitch Markers
Gauge
17 sts x 11 rows = 10 x 10 cm
Size and Adjustments
Size is adjustable.
The number of stitches determines the width, while rows determine the length.
The finished headband has a width of 12 cm but can be adjusted by changing the starting stitch count (always maintain an odd number).
Stitch Abbreviations (US Terms)
- ch – chain
- chs – chains
- dc – double crochet
- fptc – front post treble crochet
- sc – single crochet
- st – stitch
- sts – stitches
- slst – slip stitch
- slsts – slip stitches
Specialty Stitch: Alpine Stitch
The alpine stitch is created by alternating rows of double crochet, single crochet, and front post treble crochet to create a beautiful, textured pattern.
Creating the Alpine Stitch Pattern
Start with an odd number of chains.
Row 1: Ch 2, dc in every st, turn.
Row 2: Ch 1, sc in every st, turn.
Row 3: Ch 2, *fptc (in the dc row below), dc*, repeat from * to the last two sts, dc in the last 2 sts, turn.
Row 4: Ch 1, sc in every st, turn.
Row 5: Ch 2, *dc, fptc*, repeat from * to the last st, dc in the last st, turn.
Row 6: Ch 1, sc in every st, turn.
Repeat Rows 3–6 to continue working the Alpine Stitch pattern.
Instructions for Crochet Alpine Stitch Headband
Step-by-Step Pattern
Starting: Ch 21.
Row 1: Dc in the 2nd st from the hook and in every st across. (19 sts)
Row 2: Ch 1, turn. Sc across. (19 sts)
Row 3: Ch 2, turn. *Fptc, dc*, repeat from * to the last 2 sts, dc in the last 2 sts. (19 sts)
Row 4: Ch 1, turn. Sc in every st across. (19 sts)
Row 5: Ch 2, turn. *Dc, fptc*, repeat from * to last st, dc in the last st. (19 sts)
Row 6: Ch 1, turn. Sc in every st across. (19 sts)
Continue: Repeat rows 3–6 until the headband reaches the desired length, ending with the *dc, fptc* row. Leave a long yarn tail for sewing.
Finishing the Headband
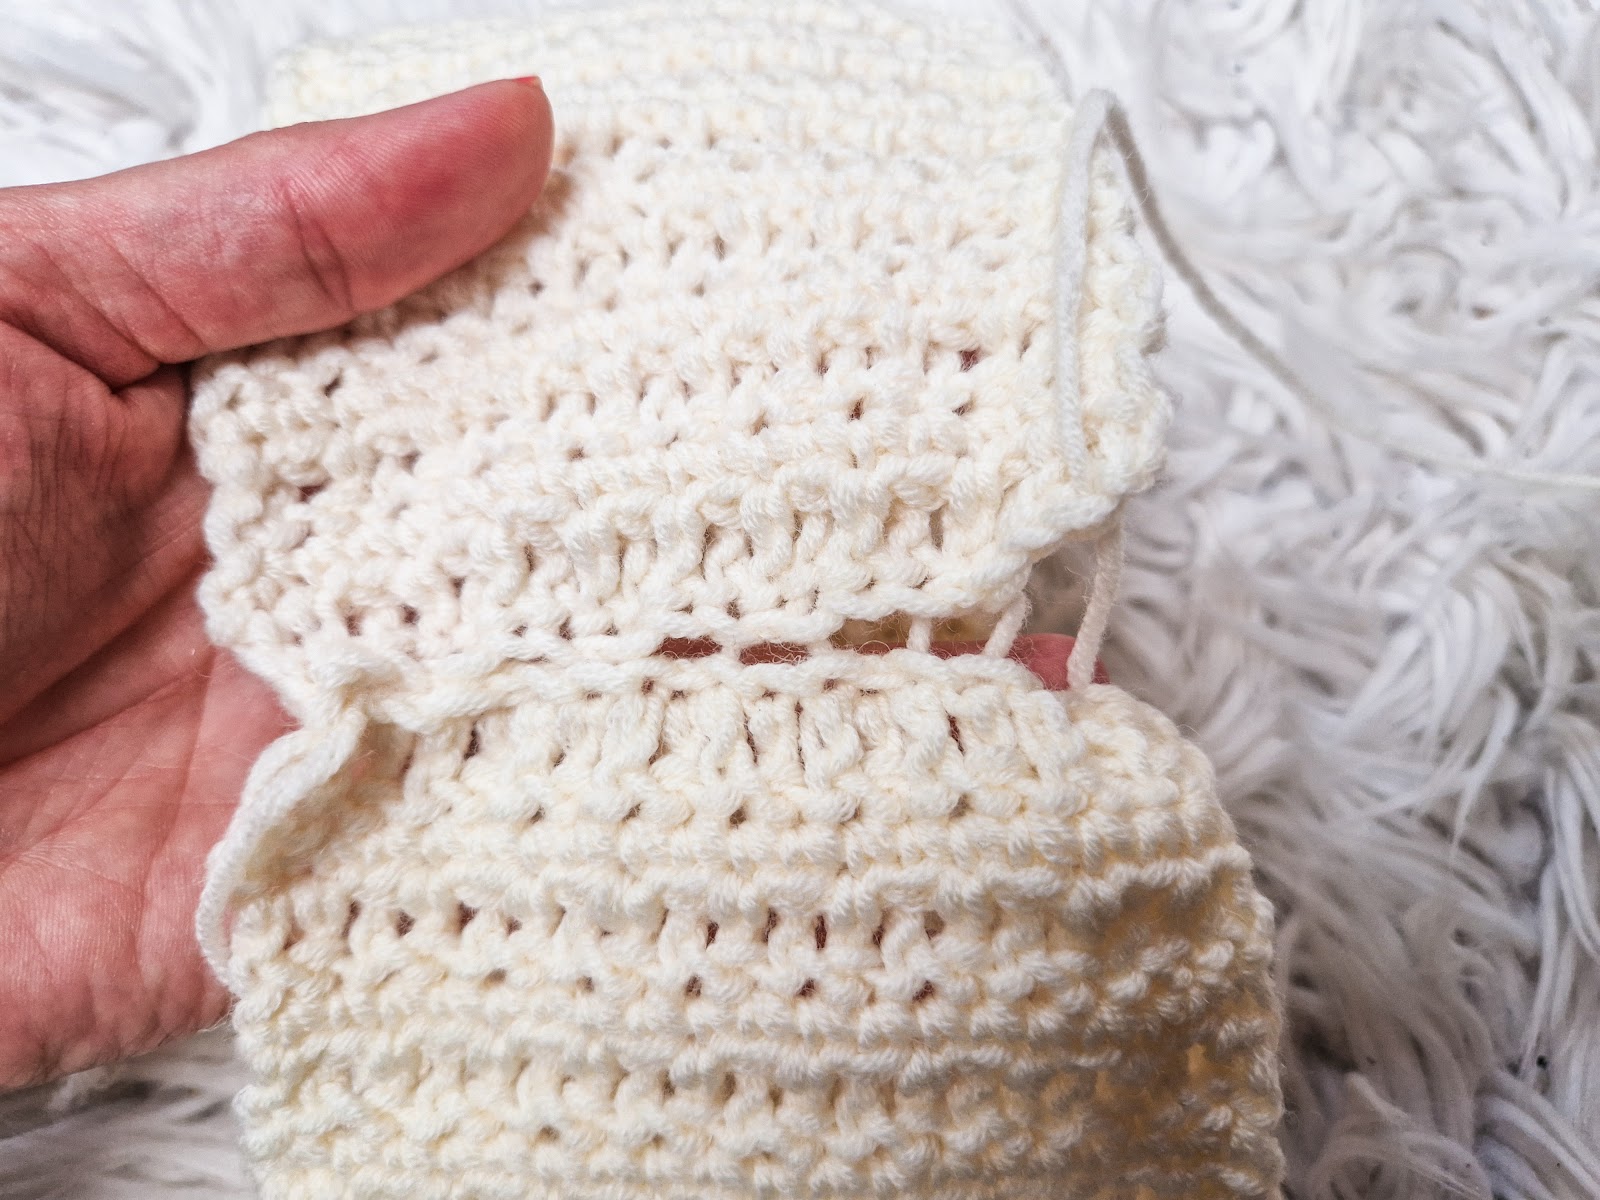
With right sides facing, use your yarn needle to weave the yarn through every second st at both ends. Pull gently to create a gathered, wrinkled effect. Secure tightly and weave in any loose ends.
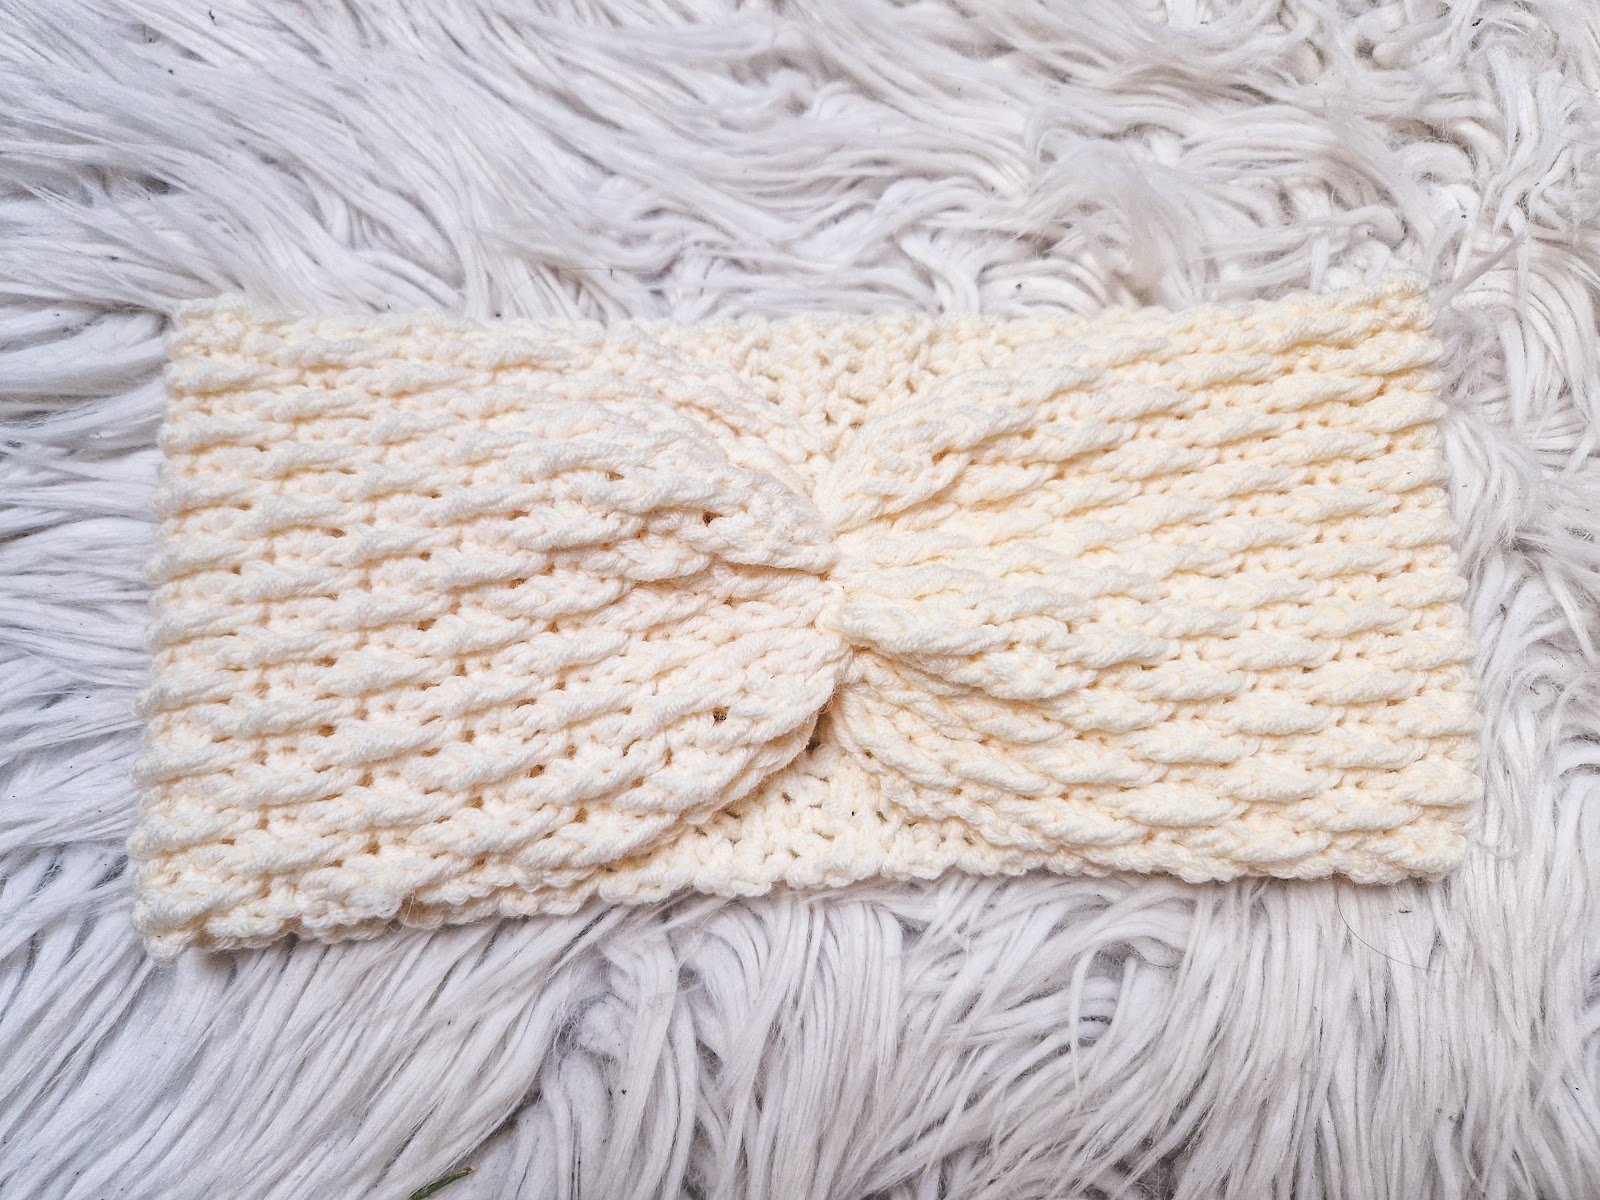
Finished Project Images


Now you're ready to rock the winter season with your beautiful handmade Crochet Alpine Stitch Headband!
No comments
Write a comment
