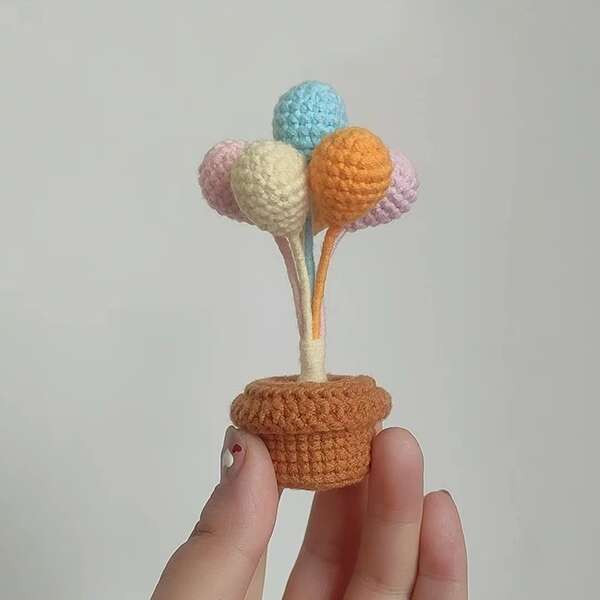
Crochet Balloon Decoration

Crochet balloon decorations are a delightful way to add a touch of charm and handmade warmth to any event or celebration. These unique creations combine the whimsical nature of balloons with the intricate beauty of crochet work, resulting in eye-catching pieces that are sure to impress your guests. Whether you're looking to decorate a birthday party, baby shower, or any special occasion, crochet balloon decorations can bring a cozy and personalized feel to your space.
So, grab your yarn and hook, let your creativity soar, and have fun crocheting unique and lovely balloon decorations that will surely make your event extra special and memorable!【Materials】
Yarn (color: light brown, other color you like)
Crochet hook
Toy stuffing
Needle
Iron wire
【Abbrevations】
MR-Magic Ring
sc-single crochet
inc-increase
dec-decrease
ch-chain stitch
ss-slip stitch
dc-double crochet
FLO-through front loops only
【Flowerpot】make with light brown color
R1: MR 8 sc
R2: 8 inc
R3: (1 sc, 1 inc)*8
R4: (1 sc, 1 inc, 1 sc)*8
R5: FLO, 32 sc
R6-9: 32 sc
R10: 2 ch, 32 dc
R11: 2 ch, FLO, 32 dc
Filling. Fasten off and weave in end.
【Soil】make with light brown color
R1: MR 8 sc
R2: 8 inc
R3: (1 sc, 1 inc)*8
R4: (1 sc, 1 inc, 1 sc)*8
1 ss
Fasten off and leave long end for sewing.
【Balloon】x 8, make with color you like
R1: MR 6 sc
R2: 6 inc
R3: (1 sc, 1 inc)*6
R4-6: 18 sc
R7: (1 sc, 1 dec)*6
R8: 12 sc
Add long wire. Filling.
R9: 6 dec
Wrap the wire around the wire to the appropriate length.
【Assemble】
1.Arrange the balloon into shape and thread the wire through the hole in the middle of the soil.
2.Sew the soil to the pot.
