How to Create a Crochet Pocket Hanger for Your Home


Having a Crochet Pocket Hanger is like having a handy little organizer that adds both charm and functionality to your space! Not only does it keep your essentials within easy reach, but it also adds a touch of coziness to any room. Whether you use it in your bedroom for holding your favorite book or in the kitchen for storing recipes, the Crochet Pocket Hanger is a versatile and delightful addition to any home. Its handmade design brings a unique and personal touch that is sure to make organizing a fun and stylish experience. So, why settle for plain storage solutions when you can have a Crochet Pocket Hanger that not only keeps things tidy but also brings a smile to your face every time you see it!
What You Need
Materials:
- Yarn
- Crochet hook
- Scissors
- Craft wire
- Craft pliers
Instructions
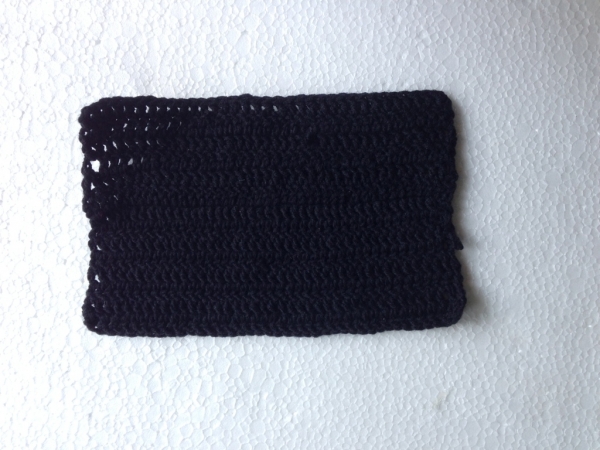
Step 1: Start with a long number of chains. Chain stitch until it reaches the desired width for the hanger. Once it reaches the desired width, you can stop chain stitching and work double crochet (dc) along the chains. Work dc for each row and keep going until it reaches the desired height. End the crochet with a slip stitch once the base is complete. The size of the base would depend on the size of the pockets and the number of pockets required.
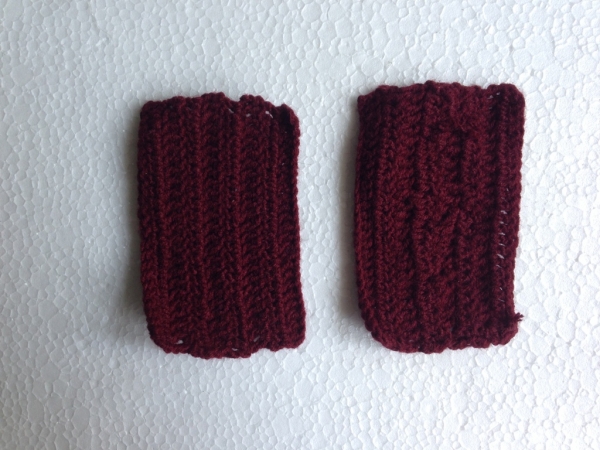
Step 2: Time to crochet the pockets. Measure the base size and decide the size and number of pockets. Crochet the pockets similarly, working only dc for each row.
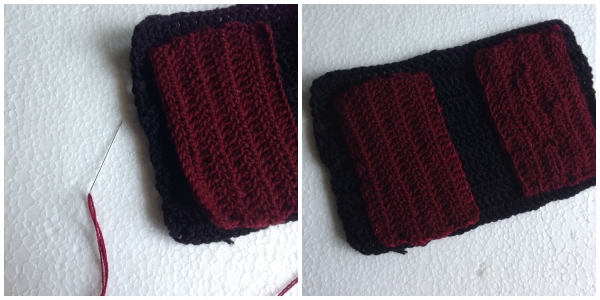
Step 3: You can either crochet the pockets with the base or stitch them. I used a matching thread and stitched the pockets with the base using a running stitch. You can also use hot glue to attach the pockets to the base.
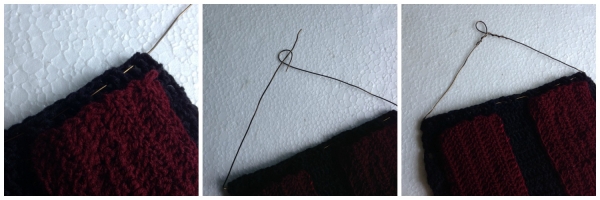
Step 4: Take a long piece of craft wire and attach it to the base along its top edge. You can simply draw the wire over and under the chain stitches. Bring the wire to the middle and fold the sides aligned to the sides of the base. Create a small loop on one end of the wire. Now bring the other end of the wire and coil it around the wire below the loop. Also coil the end of the loop with the other side of the wire.
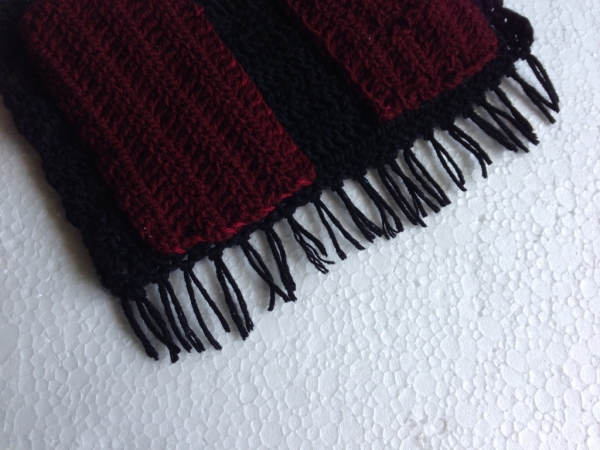
Step 5: This is optional, but you can try adding some tassels at the bottom, which looks nice!
Now hang it near your workspace to keep your stationery within reach, or hang it wherever you need it!
Enjoy!