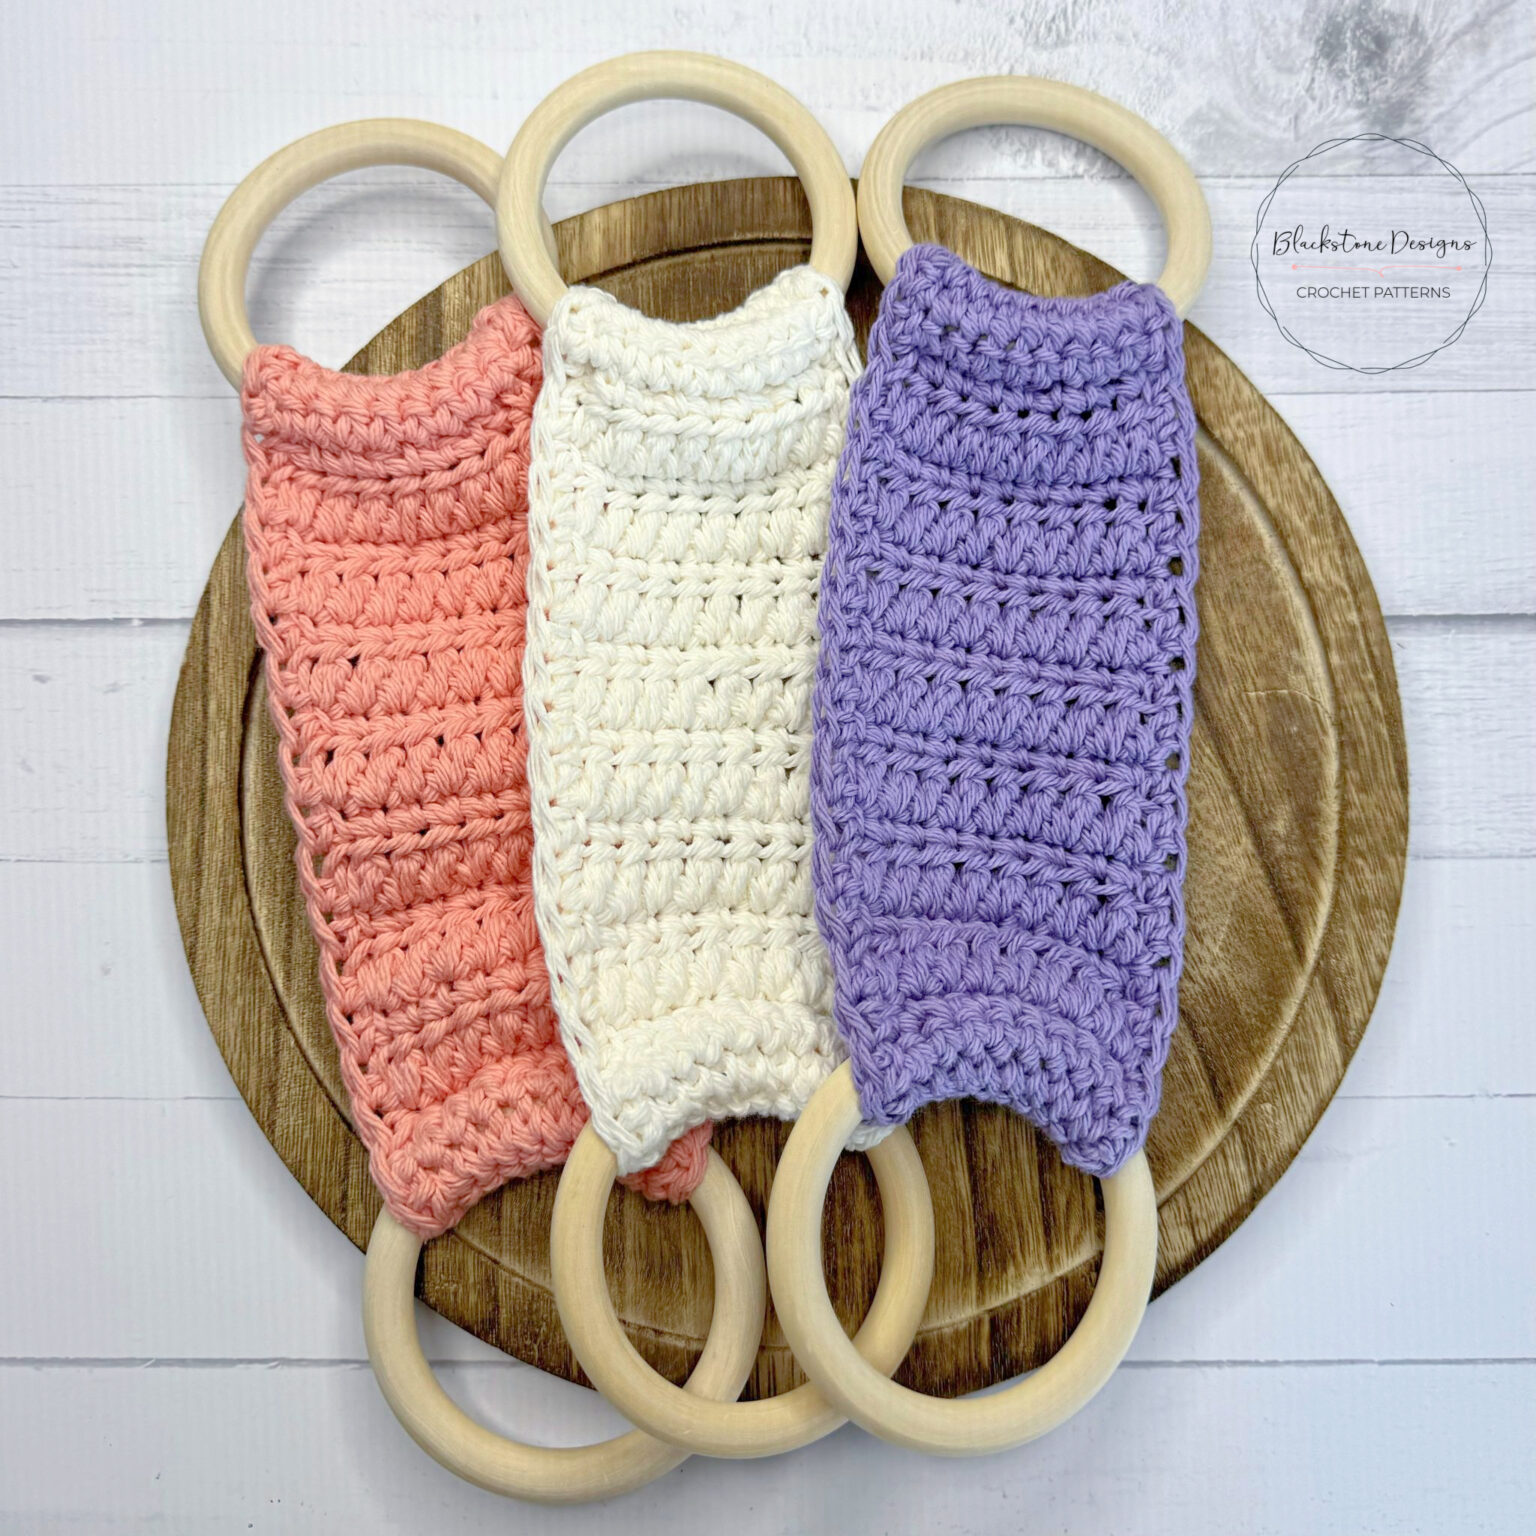
Crochet Forked Cluster Towel Hangers

Introducing the innovative Crochet Forked Cluster Towel Hangers! These unique hangers are a game-changer when it comes to organizing your towels. Made with love and care, these hangers are crafted using the art of crochet, ensuring durability and a touch of elegance. Say goodbye to messy towel racks and hello to a stylish and organized bathroom! The Crochet Forked Cluster Towel Hangers are designed to securely hold your towels in place, preventing them from slipping off and creating a clutter-free space.
The forked cluster design adds a touch of sophistication to your bathroom decor, making it a functional and aesthetic addition to your home. These hangers are not only practical but also a great way to showcase your love for handmade crafts. So, why settle for ordinary towel hangers when you can have these unique and eye-catching crochet creations?Materials
100% Cotton Worsted Weight Yarn (#4)
- ½ oz/25yds
H/8/5.00mm Hook
2 — 3-4” Wooden Cabone Rings
Yarn Needle
Scissors
Gauge
No critical for this project
Finished Measurements
Approximately 7.5”L (without rings) x 3.25”W
Stitch Guide
ch = chain
dc = double crochet
FC = See Special Stitches
sc = single crochet
sl st(s) = slip stitch(es)
YO = Yarn Over
Skill Level
Easy
Written in U.S. Terms
Notes
- Beginning chains do not count as stitches.
- Any type of ring can be used for these towel hangers; metal, plastic, wood…etc. They can also be smaller rings, as long as the towel fits!
Special Stitches
Forked Cluster (FC) = YO, insert hook in first stitch indicated, YO, draw up a loop (3 loops on hook), YO, insert hook in next stitch, YO, draw up a loop (5 loops on hook), YO, draw through first 3 loops on hook, YO, draw through last 3 loops on hook.
For subsequent FC: YO, insert hook in the last stitch from the previous FC, YO, draw up a loop (3 loops on hook), YO, insert hook in next stitch, YO, draw up a loop (5 loops on hook), YO, draw through first 3 loops on hook, YO, draw through last 3 loops on hook.

Instructions
R1. Ch 10, sc in 2nd ch from hook and in each st across, turn (9)
R2-5. Ch 1, sc across, turn (9)
R6. (WS) Ch 2 (does not count as a stitch), FC over 1st + 2nd st, FC over 2nd + 3rd st… etc. to last stitch, dc in last stitch (after last FC is complete), turn (8 FC + 1 dc)
R7. (RS) Ch 1, sc in each st across, do not sc in ch-2, turn (9)
R8-18. Repeat R6&7; leave off on an R6 repeat
R19-22. Ch 1, sc across, turn (9)
R23. Ch 1, sc across, do not turn; continue to R24
R24. Ch 1, sc in the end of each row and in each st arnd; Fasten.
Finishing
- Sew R24 to R5, working over the wooden ring.
- Sew R24 to R19, working over the wooden ring.
- Hide all strings.
