Crochet Amira Necklace


The Crochet Amira Necklace is a delightful addition to any jewelry collection! With its intricate crocheted design and soft pastel colors, it adds a touch of elegance to any outfit. This charming accessory is lightweight and versatile, making it perfect for both casual outings and special occasions. Its adjustable length ensures a comfortable fit for everyone.
Crochet Cotton (Mercerized) Thread Size 8

STITCHES & ABBREVIATIONS:

Row 2 (RS): Ch 1, SC in the 1st st and in each st across to the marked st. Turn. 96 sts.

Row 5: Ch 1, SC in the 1st st and in the ch-3-sp, *ch 2, SC in the next ch-3-sp, ch 5, SC in the next ch-3-sp*; Rep from * to * to the last ch-3-sp, SC in the last ch-3-sp and in the last st. Turn.

Sew a button onto the second stitch from the three unworked sts in Row 2. Weave in all ends, and it’s all complete! Time to show off your beautiful handmade necklace

- Recipes
-
 Kool-Aid Pickles
-
 Buffalo Chicken Burgers with Whipped Feta Spread
-
 French Blond Cocktail
- Funny Pictures
-
 Freshly Squeezed Caturday Memes for Today
-
 Funny Memes Selection for Today
-
 Animal Pics for Some Pleasure
- Crochet Ideas
-
 Crochet Crop Top
-
 Crochet Easter Sheep and Duck Egg Bags
-
 Crochet Summer Top
- Lifehacks
-
 How To Crochet The 3-Colored Crosshatch Stitch Tutorial
-
 Flower With Stem Stitch Photo Tutorial
-
 How to Crochet the Slanted Clusters Stitch Photo Tutorial
- DIY
-
 Crochet Smiling Flowers
-
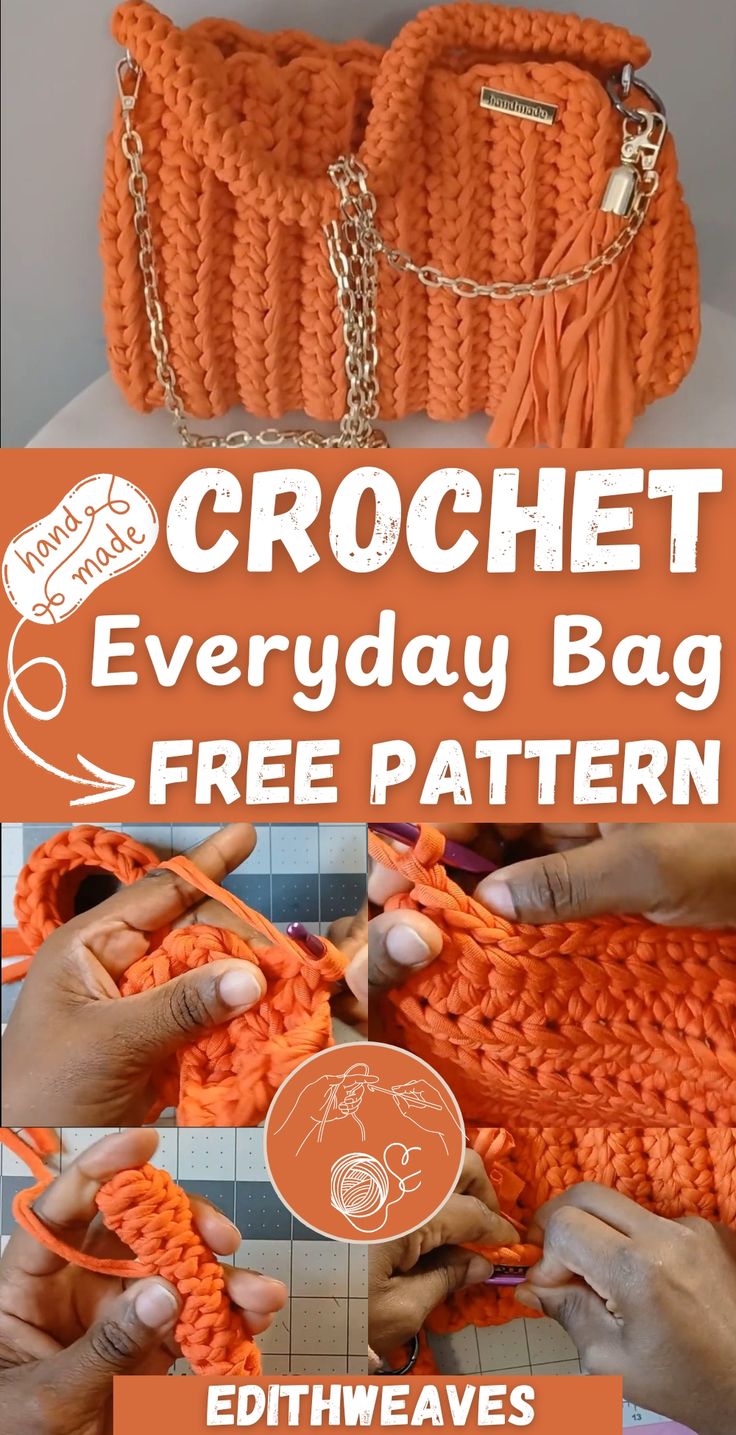 Crochet Chic Everyday Bag
-
 Crochet Herringbone Stripe Baby Blanket
- Knitting Ideas
-
 Knitted Gorgeous Bandana Cowl
-
 Knitted Twilight Hug Vest
-
 Knitted Wrist Warmers