Crochet Scarf For Men


If you're looking to add a touch of style and warmth to your wardrobe, a crochet scarf for men is the perfect choice! These scarves are not only trendy but also cozy and versatile, making them a great accessory for any outfit. Whether you choose a classic design or opt for something more modern and bold, a crochet scarf can be tailored to suit your unique taste and personality.
Materials
- Stylecraft Special Chunky Yarn, 100% premium Acrylic, 100gr, 144 m, 157 yards ( 3 skeins of dark blue and some light green)
- Or any weight #5 you decide
- Hook: US Size I-9 (5.5mm)
- Yarn Needle, Scissors, Measuring Tape
Gauge
10 st X 8 rows (scarf pattern)
Sizes
This sample is: 10 “ wide and 57” long
Stitch Key
- Ch = Chain
- Sc = Single Crochet
- Dc = Double Crochet
- Hdc = Half Double Crochet
- Yo = Yarn over
- St = Stitch
Specialty Stitches
Bpdc = Back post double crochet stitch – Yo, insert your hook from back to front around the post of the next stitch, yo, pull up a loop, yo, pull through 2 loops on your hook, yo, pull through remaining two loops on your hook.
Blosc = Back loop only single crochet – Insert crochet hook into the back loop only Pull up a loop, Yarn over, and Pull through the 2 loops on the crochet hook.
Notes
- This pattern uses US terminology
- The pattern is worked in rows
- This pattern consists of ribbing on both end sides and a rectangle for the scarf
- Ch2 does count as st at the beginning of each row
- Ch1 at the beginning of the row does not count as a stitch
- This pattern uses pattern repeats.
- You can work this pattern with one color or multiple as you wish- I used two solid colors
- If changing colors make sure to have a changing technique and weave your ends in.
- You can decide on the size of the scarf by adding chains and rows
- The scarf pattern is a one-row repeat pattern
- For the scarf pattern use multiples of odd#
Instructions
The 1st ribbing – ch 7
Row 1: Sc 1 in 2nd ch from hook, sc 1 in next and across to end of row, turn (6)
Row 2: Ch 1, blosc 1 in 1st st from hook, and across to end of row
Row 3- 27: Repeat row 2
Scarf Body
Turn your work horizontally, you have now 27 stitches
Row 1: Ch1, dc 1 in 1st st from hook, dc 1 in next st and across to end of row (27)
Row 2: Ch 1, sc 1 in 1st st from hook, *[Bpdc in next st, sc 1 in next]* repeat from *to* to end of row ( finishing with sc in last st ), turn (27)
Row 3: Ch 1 , Dc 1 in 1st st from hook, dc 1 in next and across to end of row, turn (27)
Rows 4- 102 : Repeat rows 2+3 changing colors if you wish I changed twice for a light green stripe
When you reach your desired length for the scarf we will add the second ribbing at the end. Do not cut yarn

The 2nd ribbing
We are going to work the second ribbing out and back from the scarf.
Start at the end of last row, Ch 7, sc 1 in 2nd ch from hook, sc 1 in next and to the end (towards the scarf body), Slst in next 2 st,(this attaches the ribbing to the scarf, turn
Row 2: Ch1, blosc 1 back into the ribbing, blosc 1 on 1st ribbing st and on each st, turn (6)
Row 3: Ch 1, blosc 1 in 1st st and across to end of row (6), slst in next 2 st (on the scarf), turn (6)
Row 4-27: repeat row 2+3
Finishing
You can add more repeats to make a longer scarf
Cut your yarn and weave in the ends. Block before using
No comments
Write a comment
- Recipes
-
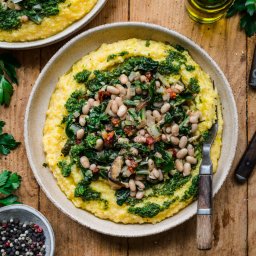 Polenta with Vegetables and White Beans
-
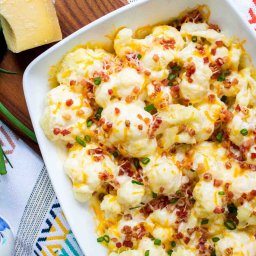 Baked Cauliflower With Cheese
-
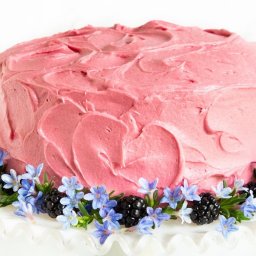 Vanilla Bean Cake with Blackberry Buttercream
- Funny Pictures
-
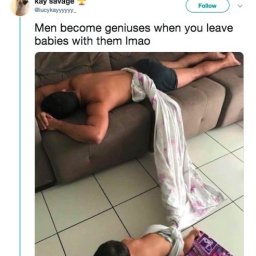 Funny Dad Memes to Laugh At
-
 Have Some With These Memes Today
-
 Some Dog Snaps to Enjoy
- Crochet Ideas
-
 Crochet Summer Hat
-
 Crochet Zigzag Hat
-
 Crochet Baby Loafers
- Lifehacks
-
 How To Patch Jeans With Crochet Lace
-
 Crochet Sunburst (Sunflower) Granny Square Pattern
-
 How to Crochet the Plaid Stitch Photo Tutorial
- DIY
-
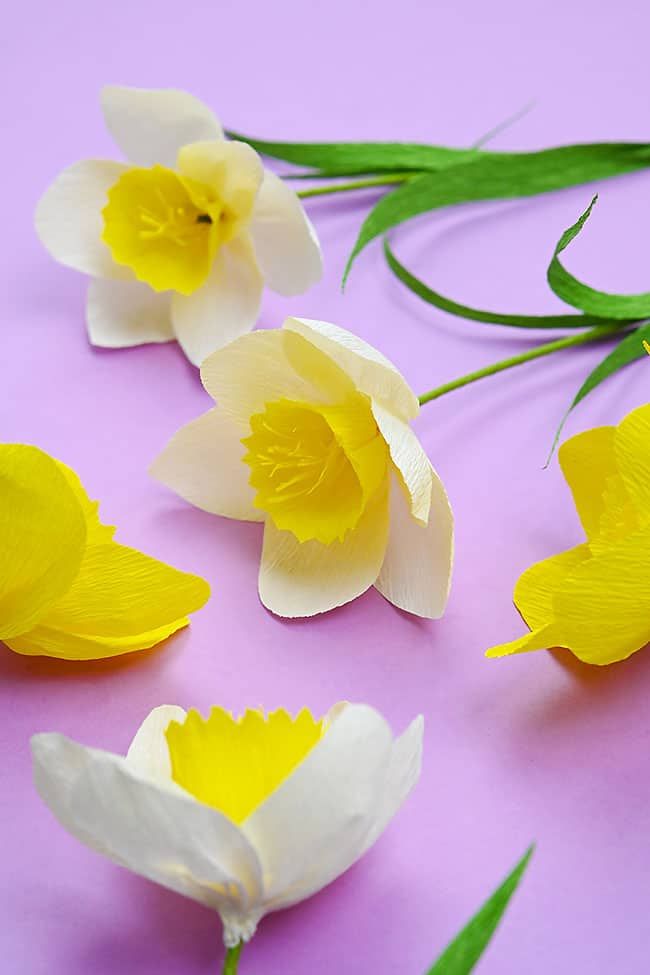 Crepe Paper Daffodils
-
 DIY Seashell Hair Pins
-
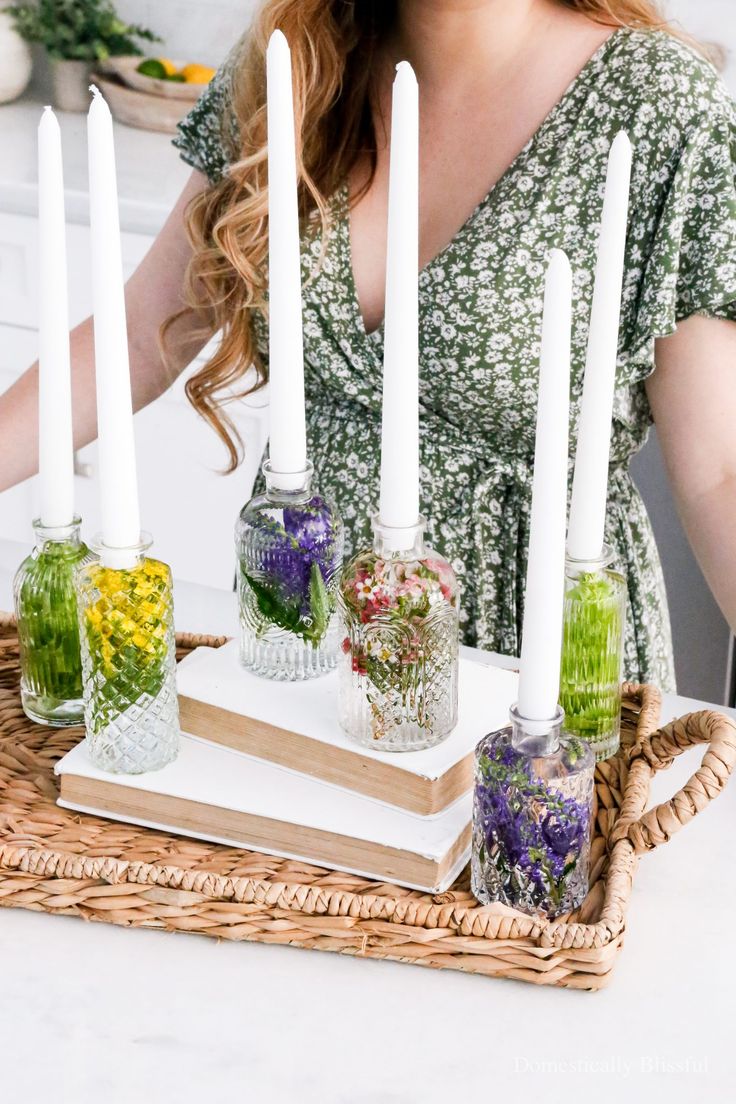 DIY Flower Candle Holders
- Knitting Ideas
-
 Knitted Lake Diamond Tank Top
-
 Knitted Beautiful Scarf
-
 Knitted Twist and Shout Scarf