Crochet Heart Square Bag


The Crochet Heart Square Bag is a delightful accessory that adds a touch of charm to any outfit! This adorable bag is perfect for carrying your essentials while showcasing your love for crochet. The sweet heart design adds a touch of love to your style, making it the perfect choice for a casual day out or a fun gathering with friends.
Materials
Alize Klasik Burcum, 100 gr, 100% Premium Acrylic. 210 meter / 230 yards, Total use of 38 grams, 87 yards
Or any weight #4 yarn
Weight-4-Medium
Hook: US Size (4.5 mm)
Yarn Needle, Scissors, Measuring Tape
Gauge
Not relevant
Sizes
Each square is 6” X 6”
Stitch Key
Ch = Chain
Sc = Single Crochet
St = Stitch
Dc = Double Crochet
Tr = Treble crochet
Yo = Yarn over
INC = Increase round
Slst = Slip stitch
Specialty Stitch
Dc2Tog = Double Crochet 2 together
(Yo, insert hook into stitch indicated, pull up a loop, yo, draw through 2 loops (first leg made), yo, insert hook into next stitch indicated, draw up a loop, yo, pull through 2 loops (second leg made), yo, pull through all 3 loops on hook)
Notes
This pattern is written in US terminology
This pattern is worked in rounds
Ch 3 does count as st at the beginning of each round
Ch1 at the beginning of the row does not count as a stitch
This pattern consists of two identical squares and a strap
I used multiple colors for a more vibrant style. You can choose a solid color or more.

Instructions
The Heart Square
Make two Squares( change colors as you wish)
Start with the heart
Chain 4, Slst to 1st ch to form a circle or use the magic circle method
Round 1: Ch 3, Dc 11 more st into the circle, Slst to Ch 3 to close the round (12)
Round 2: Skip 2 st from hook, Tr 8 in next st, dc 1 in next 2 st, (dc 1+tr1) in next st, ch 1, (tr1+dc 1) in next st, dc 1 in next 2 st, tr 8 in next st, skip 2 st and slst between 1st and last st from round 1
This is the heart- if you want to change colors ( recommended) fasten off and cut your yarn
Now we start the square around the heart
Round 3: Attach new yarn to 4th tr st , Ch 3 (counts as st), dc 1 in same st, hdc 1 in next st, sc 1 in next st, hdc 1 in next st, dc 1 in next st, tr 1 in next st,( tr 2 + ch 2 + tr 2) in next st (corner), dc 1
in next st, hdc 1 in next st, sc 1 in ch 1 space at the bottom of the heart, hdc 1 in next st, dc 1 in next st, ( tr 2 + ch 2 + tr 2) in next st (corner), tr 1 in next st, dc 1 in next st, hdc 1 in next st, sc 1 in next st, hdc 1 in next st, (dc 2 + ch 2+dc 2) in next st (corner), hdc 1 in next st, dc2tog over next 2 st, tr 1 in space we slst (between last and 1st st from prev round), dc2tog over next 2 st, hdc 1 in next st, dc 2 +ch2 in next st where we started to complete the last corner, slst to top of ch 3 from beginning.
Round 4: Ch 3 (counts as 1st st, dc 1 into the ch 1 space back, dc 1 into each of 9 st to next corner, (dc 2+ch2+dc2) in ch 2 space, dc 1 in next 9 st, (dc 2+ch2+dc2) in ch 2 space, dc 1 in next 9 st, (dc 2+ch2+dc2) in ch 2 space, dc 1 in next 9 st, dc 2+ch 2 in next ch 2 space and slst to ch3
You should have 13 st on each side of the square with ch 2 on the corners
Round 5: Ch 3 (counts as 1st st, dc 1 into the ch 1 space back, dc 1 into each of 13 st to next corner, (dc 2+ch2+dc2) in ch 2 space, dc 1 in next 13 st, (dc 2+ch2+dc2) in ch 2 space, dc 1 in next 13 st, (dc 2+ch2+dc2) in ch 2 space, dc 1 in next 13 st, dc 2+ch 2 in next ch 2 space and slst to ch3
I stopped here for a small bag- you can continue increasing the rounds for a larger square
Round 6: Ch1 ( does not count as st, sc 1 in 1st st, sc 1 in every st around, (sc 1+ch1+sc1) in each ch2 corner space.
Construction
Using a 4 mm hook and single crochet stitches, join the squares on three sides, facing the right side out.
Continue on the open side, sc 1 on every st, (17 st), ch 1, and turn work and work 5 sc rows to form the closure.
On the 6th row find your middle st and ch10’ slst to same st and continue sc 1 to end of row, fasten off and cut your yarn
Strap
I used a simple ch strap attaching it to both sides of the bag. Any length you wish
Finishing
Block the finished bag for more straight squares. Secure the yarn, weave in the ends, and cut the yarn.

No comments
Write a comment
- Recipes
-
 Cauliflower Leek Soup
-
 Carrot Orzo
-
 Easy S'Mores Shortbread Tart
- Funny Pictures
-
 Cute and Funny Cat Pics to Relax Today
-
 Funny Memes to Improve Your Mood
-
 Funny Pics of the Day
- Crochet Ideas
-
 Crochet Beautiful Headband
-
 Crochet Summer Hat
-
 Crochet Zigzag Hat
- Lifehacks
-
 Pretty Pebbles Stitch Photo Tutorial
-
 How to Crochet The Lotus Stitch Photo Tutorial
-
 How To Patch Jeans With Crochet Lace
- DIY
-
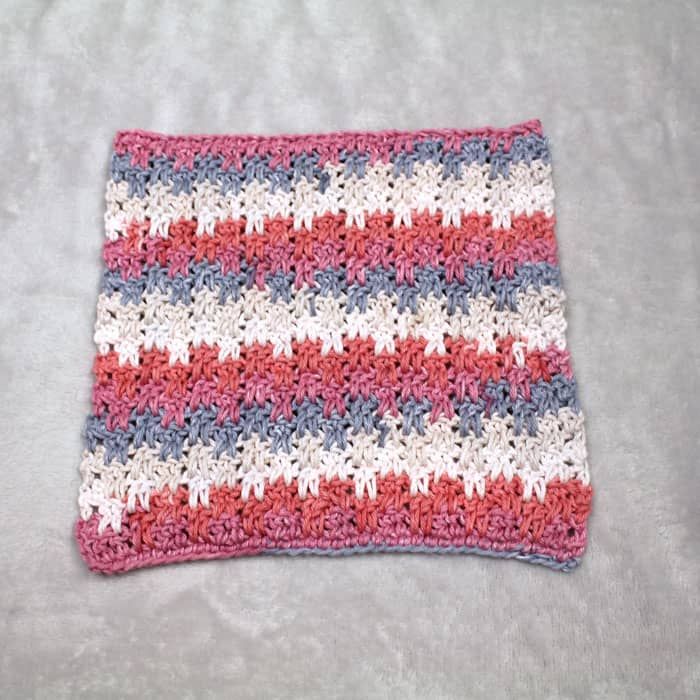 Crochet Up and Down Stripe Cotton Washcloth
-
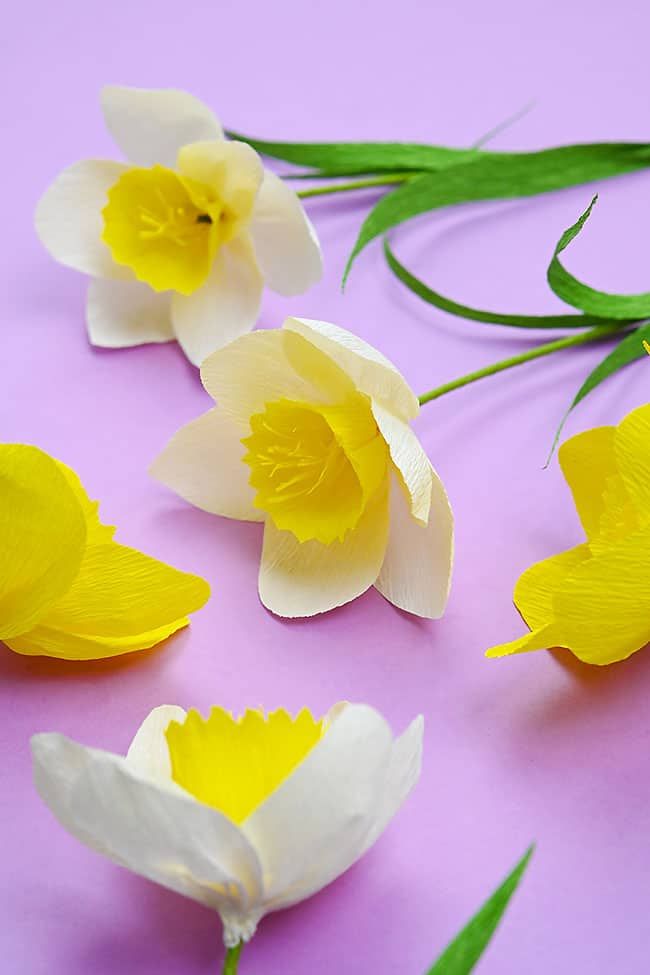 Crepe Paper Daffodils
-
 DIY Seashell Hair Pins
- Knitting Ideas
-
 Knitted Lake Diamond Tank Top
-
 Knitted Flit and Float Scarf
-
 Knitted Beautiful Slippers