Create Your Own Stylish Crochet Raffie Sun Hat for Sunny Days


The Crochet Raffie Sun Hat is the perfect accessory for your sunny adventures! With its charming design and sturdy construction, this hat not only looks stylish but also provides excellent protection from the sun. Whether you're strolling on the beach or enjoying a picnic in the park, this hat will add a touch of flair to your outfit while keeping you cool and shaded.
Size
Adult Women, Size S/M, 54-56 cm (21"- 22") head circumference
Brim: 9 cm (3.54 inch) height
Gauge
6 sts and 6 rounds in single crochet = 5cm x 5cm (2”x2")
Supplies
- 1 roll of Raffia Paper Craft Ribbon Packing Paper Twine, 1/4 Inch by 218 Yards (200 meters)
- 4.5 mm crochet hook
- 1 stitch marker
- Yarn Needle
- Scissors
- Adhesive tape
- Small amount of thread or embroidery floss in same color as the Raffia to secure the braided band to the hat
I have used one complete Raffia roll for the hat without the braided band.
If you make the braided band, you will need a small amount from a second Raffia roll. You can also replace the braided band with a ribbon band/ scarf or a leather band.
Optional Supplies
- 2 wooden beads with a larger hole to insert the ends of the braided band
- Galvanized wire rope, 1/16th” thick, 110 cm (43.5”) long
Cleaning Tip
Do not wash directly with water, use a damp cloth to wipe, and then dry the straw hat in the sun.
Stitches, Terms (US) and Abbreviations
- magic ring
- ch: chain
- sc: single crochet
- hdc: half double crochet
- dc: double crochet
- slst: slip stitch
- group = here: work (1sc, 1 hdc, 1dc) into same stitch
- * to * : repeat the sequence of stitches between the stars
- sk: skip
- (...) x : repeat the sequence in the parentheses the number of time given in the pattern
Notes
- This straw sun hat is started at the top.
- You will first crochet the crown of the hat as a flat circle worked in spiral rounds, without slip stitching to join at the end of each round.
- To keep track of the rounds, place a stitch marker into the top of the first stitch of the round; move the stitch marker as you go, placing it always into the first stitch of each round.
- Once you finish crocheting the crown of the hat, you will work the hat bucket without increases and the rounds will be joined with slip stitch. The joining at the end of the rounds will be made into the top of the first stitch, not into the beginning chain 1.
How to Join Into Round with Slip Stitch
At the last stitch, remove the loop on the hook; insert hook from back to front into both top loops of the first stitch of the round, catch the loop you removed from the hook and pull it through the stitch from front to back.
For the brim, there will be some increase rounds made and all the rounds will be joined with slip stitch, the same way as the hat bucket.
Hat Instructions
Hat Top/ Crown
Round 1: Start with a magic ring.
Ch1, work 6 sc into the ring. Do not join with slip stitch! Continue working the next 10 rounds in a continuous spiral! Do not ch 1 at the beginning of the next rounds! Place a stitch marker into the first stitch of the round!
Round 2: 2 sc in each st around (12 sts)
Round 3: *1 sc in first st, 2 sc in next st, repeat from * around (18 sts)
Round 4: *1 sc in each of the next 2 sts, 2 sc in next st, repeat from * around (24 sts)
Round 5: *1 sc in each of the next 3 sts, 2 sc in next st, repeat from * around (30 sts)
Round 6: *1 sc in each of the next 4 sts, 2 sc in next st, repeat from * around (36 sts)
Round 7: *1 sc in each of the next 5 sts, 2 sc in next st, repeat from * around (42 sts)
Round 8: *1 sc in each of the next 6 sts, 2 sc in next st, repeat from * around (48 sts)
Round 9: *1 sc in each of the next 7 sts, 2 sc in next st, repeat from * around (54 sts)
Round 10: *1 sc in each of the next 8 sts, 2 sc in next st, repeat from * around (60 sts)
Round 11: *1 sc in each of the next 9 sts, 2 sc in next st, repeat from * around (66 sts).
Smooth the flat circle out to loosen the stitches a bit. After smoothing the piece a bit out, it should measure approx. 17 cm (6.7”).

Hat Bucket
The hat bucket will be worked without increases and you will work in joined rounds with slip stitch!
The stitches tend to tighten up, so you will need to stretch the piece around after each round to loosen up the stitches and kind of block it this way!
Round 1: work 1 sc in each st around, join with slst to the top of 1st st!
Remove the stitch marker. You will not need it anymore! From here you'll work in joined rounds with slst to the first st of the round.
Round 2: ch1, work (1 sc, 1 hdc, 1 dc) into the first sc, sk 2 sc, work *(1 sc, 1 hdc, 1 dc) into next sc, sk 2 sc *, repeat from * to *, slst to the top of 1st sc. (22 groups total)
Rounds 3-9: ch1, work (1 sc, 1 hdc, 1 dc) into the first sc, sk next (1 hdc and 1 dc), *work (1 sc, 1 hdc, 1 dc) into next sc, sk next (1 hdc and 1 dc)*, repeat from * to *, slst to the top of the first sc. (22 groups total)
Round 10: ch1, work 1 sc in each st around, slst to the top of the first sc (66 sts total)

After finishing the hat bucket, you will keep gently stretching it around and mold it/shape it to fit your own head!
The Brim
For the brim you will continue to work in joined rounds, working 6 increase rounds, increasing each time by 11 sts.
To avoid a hexagonal shape of the brim, the increases will be placed differently (shifted) in the increase rounds.
After each round of the brim, you will stretch it to loosen up the stitches and block it this way.
Round 1 (Increase round): ch1, *work 1 sc in each of the next 5 sts, 2 sc in the next st*; repeat from *to* around, slst to the top of the first sc (77 sts total)
Round 2: ch1, 1 sc in each st around, slst to the top of the first sc. (77 sts total)
Round 3 (Increase round):: ch1, work 1 sc in each of the next 3 sts, 2 sc in the next st, work (1 sc in each of next 6 sts, 2 sc in the next st) x 10 times, work 1 sc in each of the last 3 sts, slst to the top of the first sc. (88 sts total)
Round 4 (Increase round): ch1, *work 1 sc in each of the next 7 sts, 2 sc in the next st*; repeat from *to* around, slst to the top of the first sc (99 sts total)
Round 5: ch1, 1 sc in each st around, slst to the top of the first sc. (99 sts)
Round 6 (Increase round): ch1, work 1 sc in each of the next 4 sts, 2 sc in the next st, work (1 sc in each of the next 8 sts, 2 sc in the next st) x 10 times, work 1 sc in each of the last 4 sts, slst to the top of the first sc. (110 sts total)
Round 7: ch1, 1 sc in each st around, slst to the top of the first sc. (110 sts)
Round 8 (Increase round): ch1, *work 1 sc in each of the next 9 sts, 2 sc in the next st*; repeat from *to* around, slst to the top of the first sc (121 sts total)
Round 9: ch1, 1 sc in each st around, slst to the top of the first sc. (121sts)
Round 10 (Increase round): ch1, work 1 sc in each of the next 5 sts, 2 sc in the next st, work (1 sc in each of the next 10 sts, 2 sc in the next st) x 10 times, work 1 sc in each of the last 5 sts, slst to the top of the first sc. (132 sts total)
This is how the hat looks after round 10, just before adding the wire!

For more stiffness of brim, work the last round of brim (round 11) around the wire rope!
How to Work Around the Wire Rope

Hold the galvanized wire rope along the edge of the brim so that the ends overlap themselves.
Crochet over the wire (so it is caught inside your stitches) as you sc in each st. After working a few stitches, to make sure that the 2 ends of the wire rope will not pierce through the crochet piece, tape the first overlapped loose end of wire and crochet over the taped ends.
Before you reach the end of the round, smooth the brim out so the tension is even all around. Tape the second loose end of wire rope and complete the round by working over the taped ends.
Braided Band with Beaded Ends
For the braided decorative band, you will use the “3 Strand Braid”, the kind of braid used to braid hair. You will either need some extra pair of hands (my 10 year old helped me hold the ends so I can braid the strands together) or you can pin the ends down while you braid.
Cut 3 strands of Raffia, each of them measuring approx. 110 cm (43.5”).
Take a wooden bead with a larger hole and insert one by one an end of each Raffia strand. (Twist the ends to thin them and pass through the bead.)
Pull the bead up the strands, then knot the end in a tight knot, leaving about a 5 cm (2 inch) tassel.
Place the bead right after the knot, then braid the 3 strands as if you would braid your hair, smoothing the strands and the braid while you braid.
Before you reach the other end of the strands, try the straw hat on your head with the braided band added just above the brim; tie braid in a double knot at the back of the head.
Add another wooden bead at the other end of the braided band and make a knot after the bead, making another tassel.
Trim the edges of the two tassels to the same length.
Secure the braided band in place: thread yarn needle with Raffia or the same color thread/embroidery floss. Stitch the band onto hat just above the brim with a few stitches evenly placed. Cut the thread and weave in the loose ends.
And you're done! You can now wear with pride your own handmade stylish straw hat! :)

- Recipes
-
 Polenta with Vegetables and White Beans
-
 Baked Cauliflower With Cheese
-
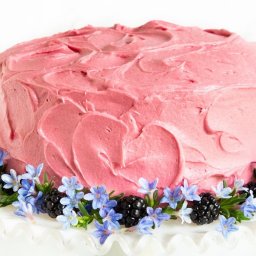 Vanilla Bean Cake with Blackberry Buttercream
- Funny Pictures
-
 Funny Dad Memes to Laugh At
-
 Have Some With These Memes Today
-
 Some Dog Snaps to Enjoy
- Crochet Ideas
-
 Crochet Summer Hat
-
 Crochet Zigzag Hat
-
 Crochet Baby Loafers
- Lifehacks
-
 How To Patch Jeans With Crochet Lace
-
 Crochet Sunburst (Sunflower) Granny Square Pattern
-
 How to Crochet the Plaid Stitch Photo Tutorial
- DIY
-
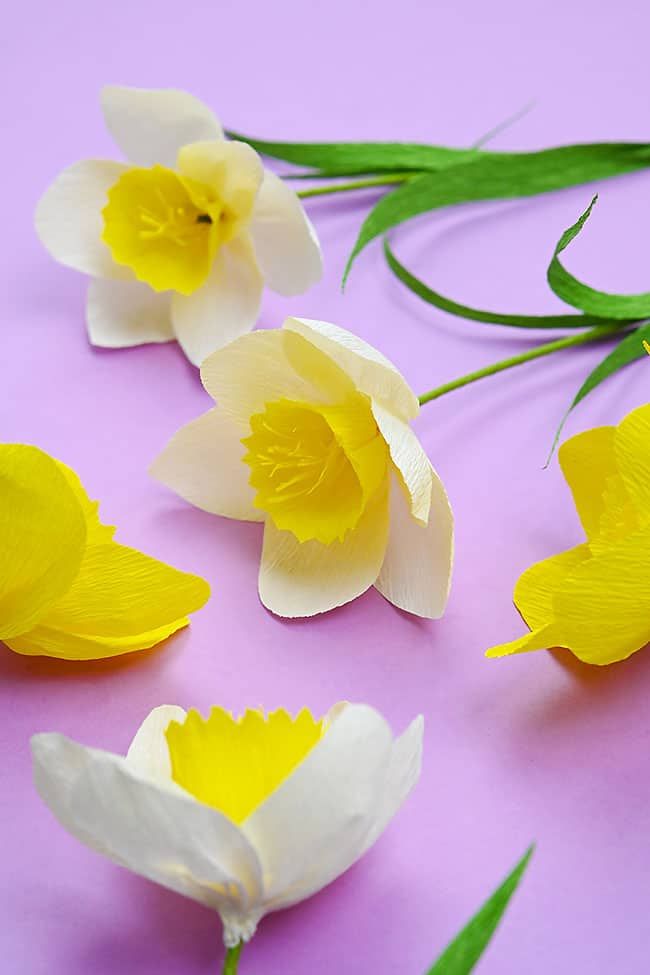 Crepe Paper Daffodils
-
 DIY Seashell Hair Pins
-
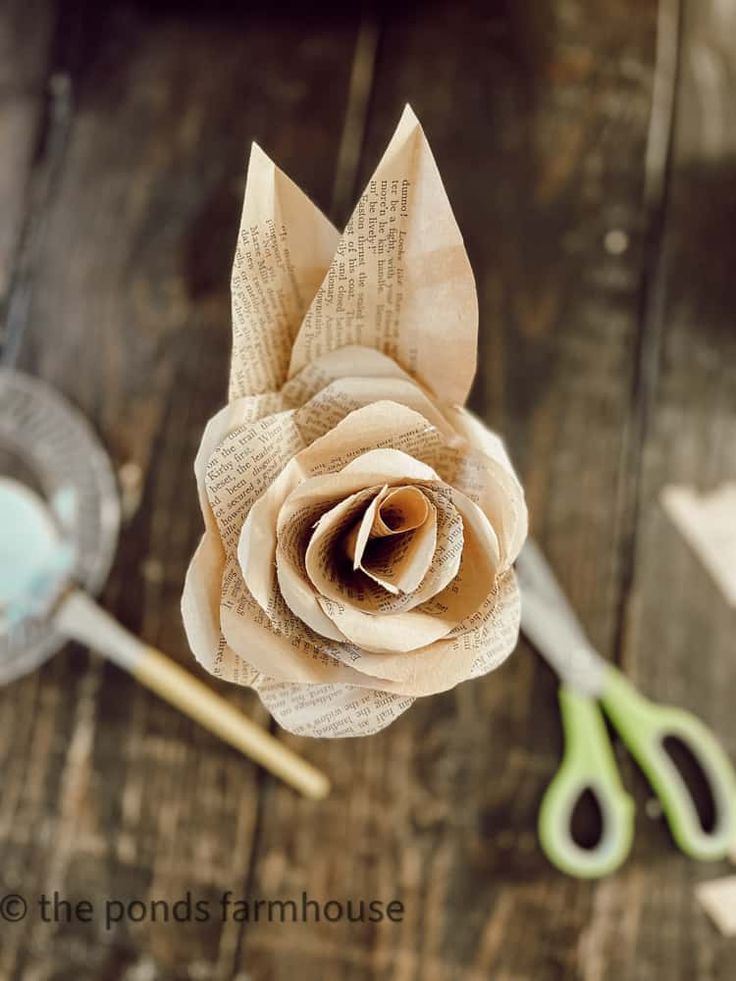 Make Paper Flowers with Recycled Old Book Pages
- Knitting Ideas
-
 Knitted Lake Diamond Tank Top
-
 Knitted Beautiful Scarf
-
 Knitted Twist and Shout Scarf