Crochet Lemon Laptop Sleeve: A Cheerful Accessory for Your Device


Looking for a cute and practical way to protect your laptop? Look no further than the Crochet Lemon Laptop Sleeve! This charming accessory not only adds a pop of color to your tech gear but also provides a cozy home for your device. Handmade with love and attention to detail, this lemon-themed sleeve is both stylish and functional.
Materials
- US G/4.00 mm & US I/5.5 mm crochet hooks
- 200 yds of Feels Like Butta weight 4 yarn in “White“
- 55 yds of 24/7 Cotton weight 4 yarn in “Lemon“
- 15 yds of 24/7 Cotton weight 4 yarn in “Grass“
- Snap/Fastener Set
- Tapestry Needle
- Scissors
Gauge
One granny square = 4″
Finished Size
12.5 x 8.5 inches
Terminology
US Crochet Terms Used
- BLO – back loop only
- beg – beginning
- ch(s) – chain(s)
- dc – double crochet
- hdc – half double crochet
- hdc5tog – half double crochet 5 together
- lp(s) – loops
- MR – magic ring
- rep – repeat
- RS – right side
- sc – single crochet
- sl st – slip stitch
- sp – space
- st/sts – stitch/Stitches
- tr – treble crochet
- WS – wrong side
- yo – yarn over
Instructions
Notes
The two panels are joined together around 3 edges to make the sleeve.
The chs at the beg of the rnd/row count as sts.
Join with sl st unless stated otherwise.
To change yarn color, work the last st of the old color to the last yo. Yo with new color and draw through all loops on hook to complete st.
If your squares are puckering, pinch your lemons so they pop out more. Block squares before joining.
Lemon Granny Squares
Using white, MR, ch 4

Round 1: dc 3, *tr 1, dc 3* all into ring, rep from * 2 more times, join to top of ch 4 (12 dc, 4 tr sts)

Round 2: ch 3, hdc 2 into base of ch 3, *hdc 3, (hdc 2, dc 1, hdc 2) into same st, rep from * 2 more times, hdc 3, hdc 2 into same sp below chs

Round 3: ch 3, hdc 2 into base of ch 3, *hdc 3, change color to yellow, hdc 5 into same st, change color, hdc 3, (hdc 2, dc 1, hdc 2) into same st, rep from * 2 more times, hdc 3, change color to yellow, hdc 5 into same st, change color, hdc 3, hdc 2 into same sp below chs, join to beg ch 3 (60 hdc, 4 dc sts)


Round 4: ch 3, hdc 2 into base of ch 3, *hdc 5, change color to yellow, hdc5tog, change color, ch 1, hdc 5, (hdc 2, dc 1, hdc 2) into same st, rep from * 2 more times, hdc 5, change color to yellow, hdc5tog, change color, ch 1, hdc 5 into same sp below chs, join to beg ch 3 (56 hdc, 4 dc sts)
Round 5: ch 3, hdc 2 into base of ch 3, *hdc 7, hdc into top of lemon, hdc 7, (hdc 2, dc 1, hdc 2) into same st, rep from * 2 more times, hdc 7, hdc into top of lemon, hdc 7, hdc 2 into same sp below chs, join to beg ch 3 (76 hdc, 4 dc sts)
Round 6: using yellow, ch 3, hdc around, (hdc, ch 1, hdc) in same st at corners, join to beg ch 3 (82 hdc, 4 chs)
Fasten off. Weave in ends.
Make 12 squares.
Adding Leaves
Step 1: Using green, insert your hook front to back and back to front. This will be the length of the leaf. The leaves do not need to be symmetrical and can be varying lengths to make them look natural.

Step 2: ch 1
Step 3: Leave a length for the tail
Step 4: Using a tapestry needle, sew both ends to WS of top of leaf, weave in ends
Front Panel
Joining Squares
Using yellow and size I/5.5 mm hook, you will be working the blue line in diagram across 4 squares in steps 1-4:

Step 1: With RS up, place 2 squares side-by-side, insert hook through BLO of right square’s corner st and BLO of left square (inner lps), place slip knot on hook, pull the slip knot through both lps on your hook
Step 2: Keeping yarn at the back of your work, insert hook from front to back into BLO of right square of next st, insert hook from front to back into BLO of left square of next st, yo and pull through all 3 lps on your hook
Step 3: Rep step 2 until you get to the next corner
Step 4: Rep steps 2-3 with 2 additional squares stacked on top of the 2 previous squares.
Joining Horizontal Seam
Working the yellow line in the diagram,
Step 1: With RS up, insert hook through BLO of right square’s corner st and BLO of left square (inner lps), place slip knot on hook, pull the knot through both lps on your hook
Step 2: Keeping yarn at the back of your work, insert hook from front to back into BLO of right square of next st, insert hook from front to back into BLO of left square of next st, yo and pull through all 3 lps on your hook
Step 3: Rep step 2 until you get to the next corner
Step 4: Working over the existing seam, ch 1, rep steps 2-3
Border
With yellow and G/4.0 mm hook,
Step 1: RS facing, join in corner of panel.
Step 2: Ch 1, sc around. When reaching seam of 2 squares, place a dc in seam and continue sc around.
Step 3: (sc, ch 1, sc) in corners. Join beg ch 1.
Back Panel
Rep front panel instructions.
Closure
RS facing, working on one short edge of Back Panel, with green and I/5.5 mm hook,
Row 1: place slip knot on hook, sl st 1 in BLO starting 3 sts from the center seam, sl st BLO 6, turn (7 sts)
Rows 2-11: ch 1, sl st BLO across, turn
Row 12: ch 1, sl st BLO across
Fasten off, weave in ends.
Finishing
Step 1: Follow Snap/Fastener instructions and add fastener to Front Panel by short edge.
Step 2: With RS of front and back panels together, working through both thicknesses, sc around 3 sides leaving 4th short side edge open, (sc, ch 1, sc) in corners.
Step 3: Flip RS out.
Step 4: Fasten off, weave in ends.
Step 5: Follow Snap/Fastener instructions and add fastener to center of closure.

- Recipes
-
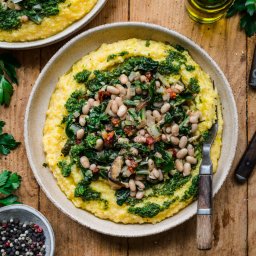 Polenta with Vegetables and White Beans
-
 Baked Cauliflower With Cheese
-
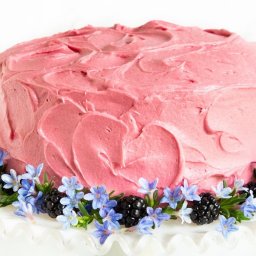 Vanilla Bean Cake with Blackberry Buttercream
- Funny Pictures
-
 Funny Dad Memes to Laugh At
-
 Have Some With These Memes Today
-
 Some Dog Snaps to Enjoy
- Crochet Ideas
-
 Crochet Summer Hat
-
 Crochet Zigzag Hat
-
 Crochet Baby Loafers
- Lifehacks
-
 How To Patch Jeans With Crochet Lace
-
 Crochet Sunburst (Sunflower) Granny Square Pattern
-
 How to Crochet the Plaid Stitch Photo Tutorial
- DIY
-
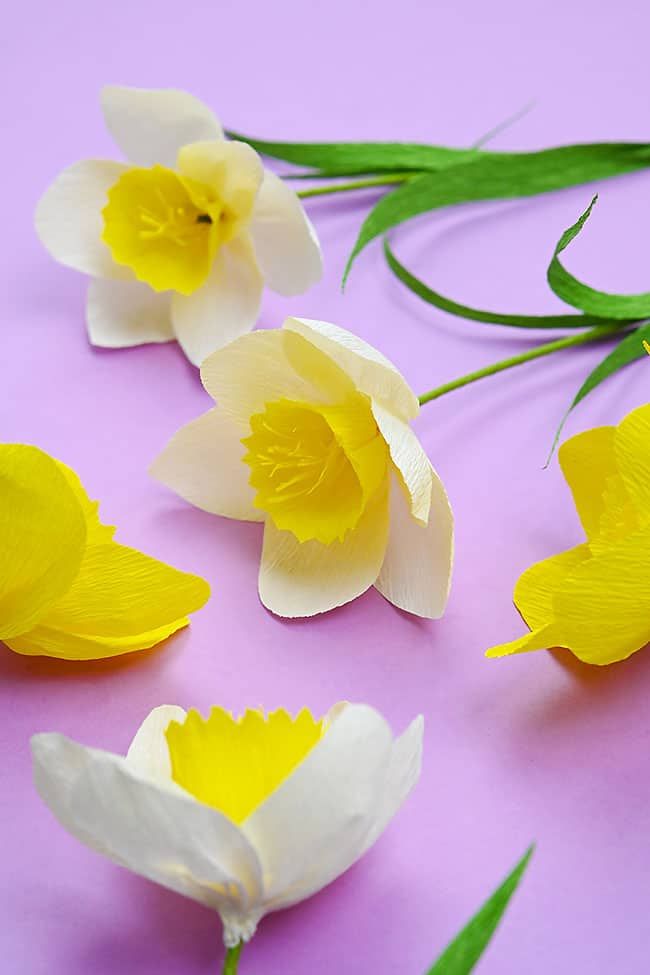 Crepe Paper Daffodils
-
 DIY Seashell Hair Pins
-
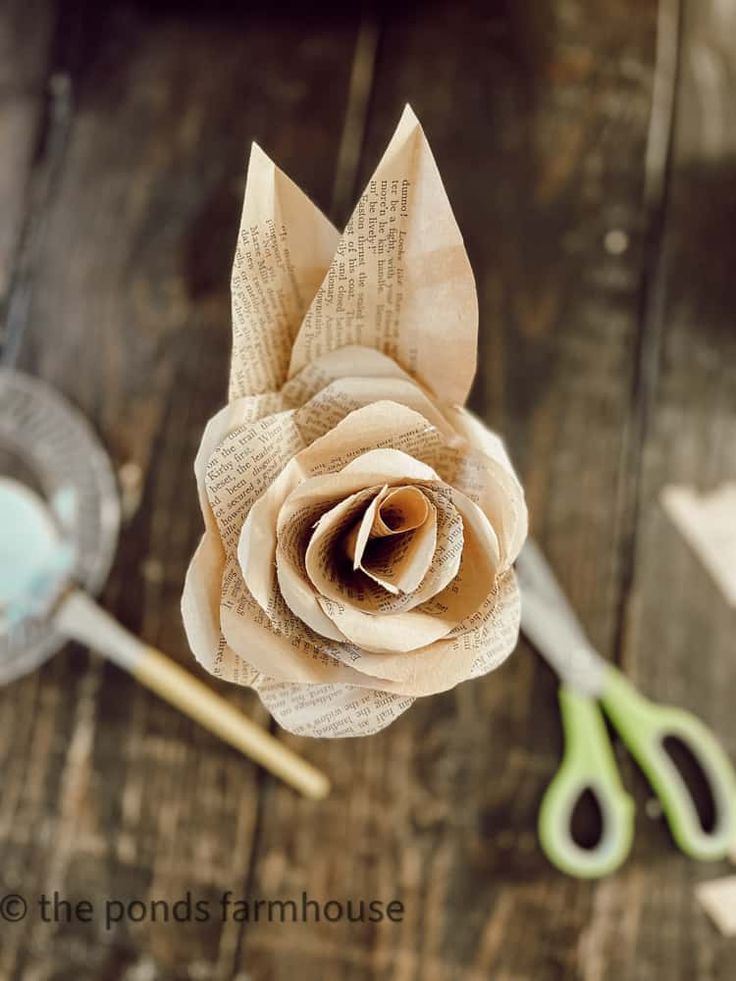 Make Paper Flowers with Recycled Old Book Pages
- Knitting Ideas
-
 Knitted Lake Diamond Tank Top
-
 Knitted Beautiful Scarf
-
 Knitted Twist and Shout Scarf