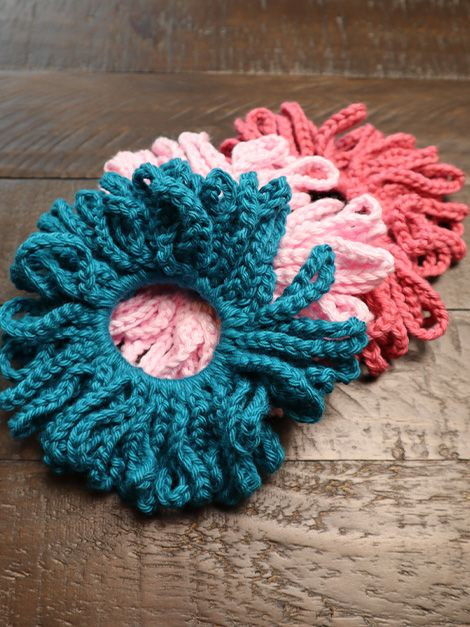
Crochet hair scrunchies are a fun and stylish accessory that can instantly add a touch of charm to any hairstyle. These cute little hair ties are perfect for keeping your hair in place while also making a fashion statement. With their unique woven designs and variety of colors and patterns, crochet hair scrunchies are a versatile addition to your hair accessory collection. Whether you're heading to a casual outing or a special event, these adorable scrunchies are a simple way to elevate your look and add a pop of personality to your hairstyle. So go ahead, embrace the crochet hair scrunchie trend and let your hair have some playful flair!
Stitches You Should Know
Before you get started on the pattern, there are a few basic crochet stitches that you will need to know for this project. Let’s look at what those stitches are.
A Slip Knot. A slip knot is a type of knot you will need to know how to make in order to get your crochet project started.
Chain Stitch. A chain stitch is the primary stitch used in this crochet pattern. It is an easy stitch made by looping the yarn over your hook and pulling it through the previous loop, resulting in a chain-like appearance.
Single Crochet Stitch. A single crochet stitch is another very basic crochet stitch. In this pattern, you will want to know how to make this stitch to attach your scrunchie to the hair tie.
Simple Crochet Hair Scrunchie
Skill level: Beginner
Please note this pattern is written in us crochet terminology
Materials
- 100% cotton yarn – recommended but you can use any type of yarn you prefer.
- 5.0 mm hook – please note that this is the recommended size, but you can increase or decrease the size as desired.
- Elastic hair tie or hair elastic – it is my preference to use a hair tie, but you can use whatever hair item you prefer.
Abbreviations
sl st – slip stitch
ch – chain stitch
sc – single crochet stitches
st/sts – stitch/stitches
How to Make Crochet Hair Scrunchie Pattern
Step 1: Gather your Supplies
Before you get started you will want to gather your supplies. I like to use 100% cotton yarn for this project, a crochet hook, and a hair tie. Once you have everything gathered, you are ready to get started.
Step 2: Attach the Yarn
First, make a slip knot in the yarn, then loop the slip knot over your crochet hook as you normally would to get started.
Then pick up your hair tie, and work the first single crochet stitch around the hair tie to attach it.
Step 3: Make the Loops
Now to make the loops, you will want to chain 20 even stitches, then come back to the hair tie and make a single crochet stitch around the hair tie. Chain 20 stitches, then attach it to the hair tie again by making a single crochet stitch around the hair tie.
Repeat this process.
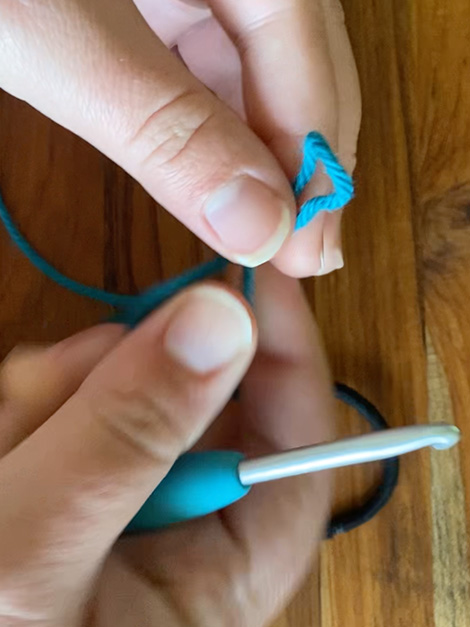
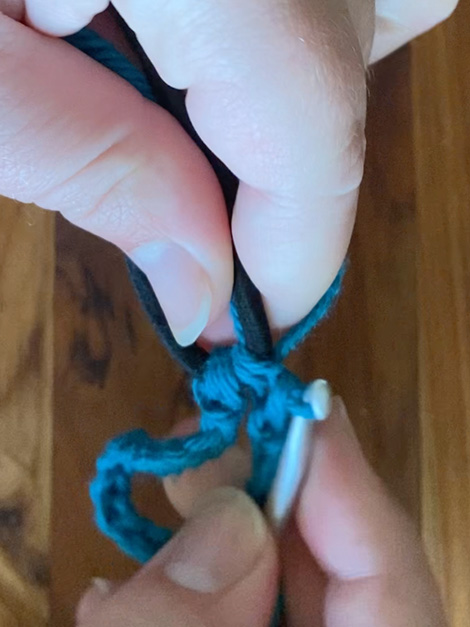
While you are making the loops, I like to gently press the single crochet stitches so that they sit snuggly next to each other. This allows me to make a nice full and fluffy hair scrunchy. When you squish the single crochet stitches together, make sure that they don’t overlap. Only sit snuggly next to each other.
Continue making your 20 chains, and single crochet stitches until the rubber band is completely covered.
Step 4: Finish Off
To finish off, you will want to join your last single crochet to the first one made on the hair tie by making a slip stitch. Then tie a knot, cut the extra yarn off, and weave in any yarn ends.
Your hair scrunchy is now finished and ready to wear!
