Crochet Star Stitch Headband: A Trendy Winter Accessory


The Crochet Star Stitch Headband is a charming accessory that adds a touch of style and warmth to any outfit. With its unique star stitch pattern, this headband not only keeps your ears cozy but also makes a trendy fashion statement. Whether you're heading out for a brisk walk or simply looking to spruce up your look, this headband is a delightful choice.
Materials and Supplies
For this project, you’ll need the following materials:
- Yarn: Satex Sonja, yarn group A, 100% mercerized cotton, color turquoise
- Hook: 5 mm
- Yarn Needle
- Scissors
- Measuring Tape
- Stitch Markers
Gauge
8 stars and 9 rows = 10 x 10 cm
Instructions for the Sample:
Ch 18
Row 1: You will be working in the back bumps of the chs. Ch 3, pick up 5 loops beginning in 2nd ch (6 loops on the hook), yo and pull through all 6 loops, ch 1 to close the star (that is the eye of the star).
* pick up 1 loop in the eye, pick up 1 loop in the side of the last st of the previous star, pick up 1 loop in the same ch as the last st of the previous star, pick up 1 loop in each of the next 2 chs (= 6 loops on the hook), yo and pull through all 6 loops, ch 1 *, repeat across. Ldc in the last ch (insert the hook in the eye an pull up a loop, insert the hook in the last ch and pull up a loop, yo and pull through 2 loops, yo and pull through 2 loops). (8 stars)
Row 2: ch 1, turn. Work 1 hdc in the 1st st, 2 hdc in every eye across, hdc in the last st. (18 hdc)
Row 3: ch 3, turn. Pick up 5 loops beginning in the 2nd ch from the hook, 3rd ch from the hook, 1st st and next 2 sts (= 6 loops on the hook), yo and pull through all 6 loops on the hook. Ch 1 to close the star. *Pick up 1 loop in the eye, pick up 1 loop in the side of the last st of the previous star, pick up 1 loop in the same st as the last st of the previous star, pick up 1 loop in each of the next 2 sts (= 6 loops on the hook), yo and pull through all 6 loops, 1 ch *, repeat across. Ldc in the last st. (8 stars)
Repeat row 2 and 3 until row 9.
Pattern Details
The headband is made by first crocheting a band and then sewing the ends together to create a stylish twist. The pattern includes a detailed explanation of the star stitch and linked double crochet stitch to help you along the way.
Size Chart
This pattern includes instructions for head circumferences of 48, 50, 52, 54, 56, 58, 60, and 62 cm.
Stitch Key (US terminology)
ch = chain
chs = chains
hdc = half double crochet
ldc = linked double crochet
yo = yarn over
sc5tog = single crochet 5 stitches together
st = stitch
sts = stitches
slst = slip stitch
slsts = slip stitches
Specialty Stitch & Technique Key
Star stitch: Explained in the instructions for the sample gauge.
Linked double crochet: Explained in the instructions for the sample gauge.
Notes
Work with 2 strands of yarn at once.
Add or reduce the number of rows to adjust the width. The number of rows has to be even.
Instructions
Ch 72 (76, 78, 82, 84, 86, 90, 92)
Row 1: ch 3, sc5tog from 2nd chain, ch 1, *sc5tog from ch1, ch 1*, repeat from * until you have 1 ch left, 1 ldc in that last ch.
Row 2: ch 1, turn, *2 hdc in each ch 1 from the previous row*, repeat from * until the end, 1 hdc in the last st. 72 (76, 78, 82, 84, 86, 90, 92)
Row 3: ch 3 (does not count as a stitch), turn, sc5tog from 2nd chain, ch 1, *sc5tog from ch 1, ch 1*, repeat from * until you have 1st left, 1 ldc in that last st.
Row 4: ch 1, turn, *2 hdc in each ch 1 from the previous row*, repeat from * until the end, 1 hdc in the last stitch. 72 (76, 78, 82, 84, 86, 90, 92)
Repeat rows 3 and 4 until row 10.
Finish off leaving a long tail for sewing.
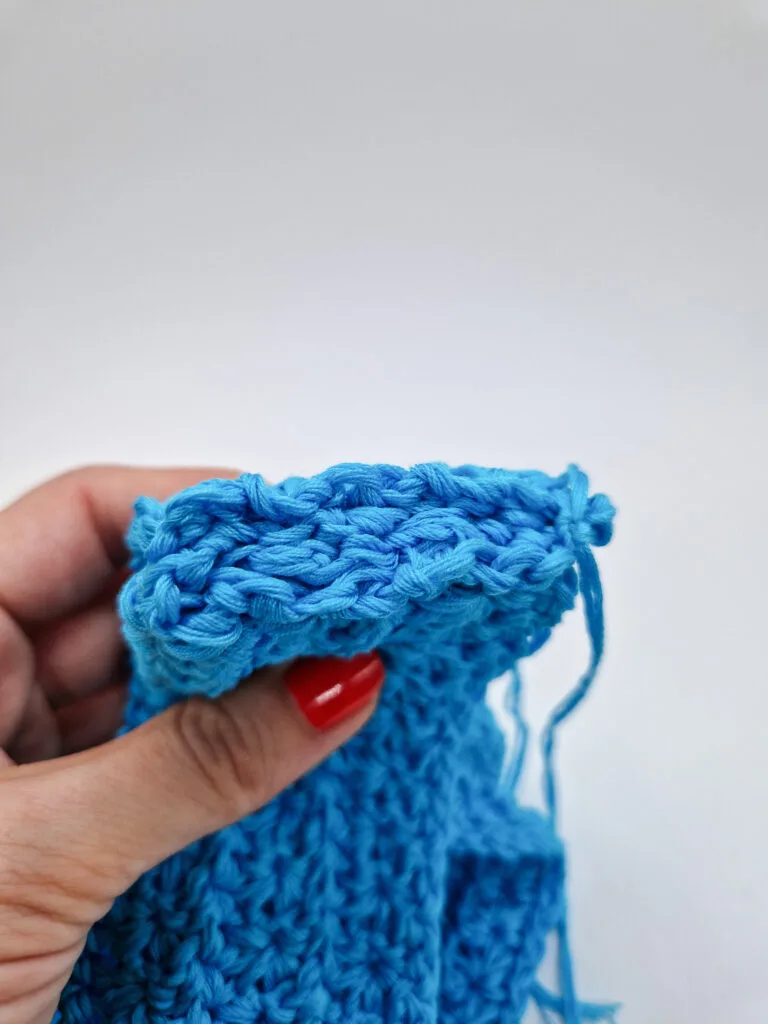
RS facing, bend the ends of the band as shown in the pictures below
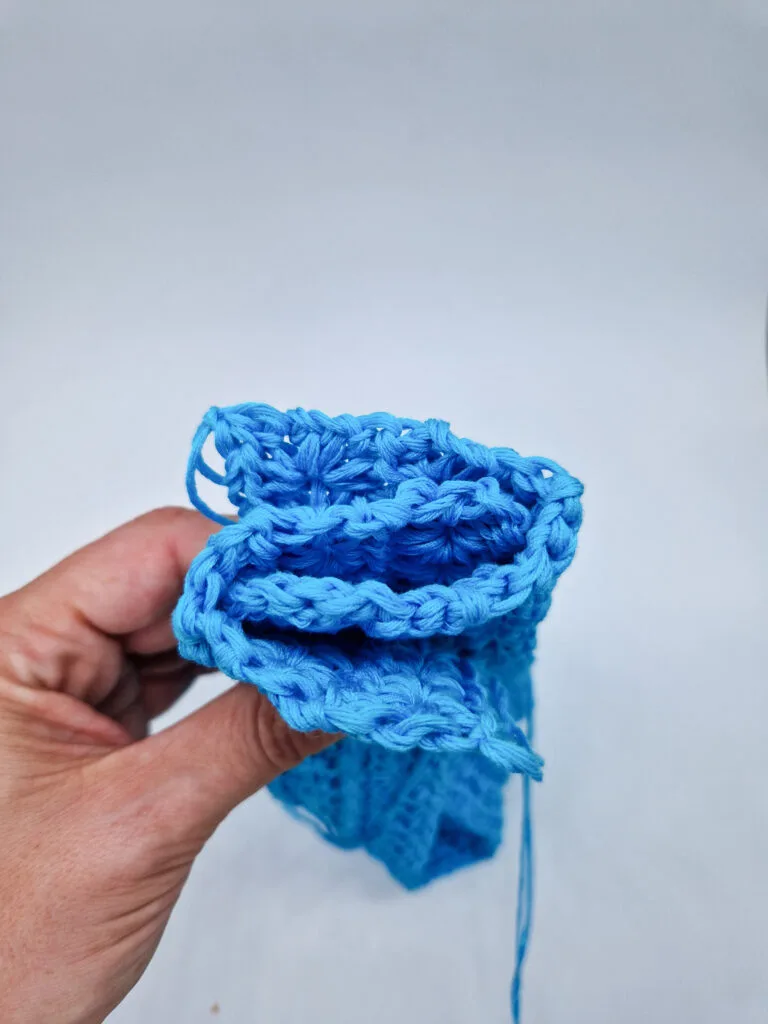
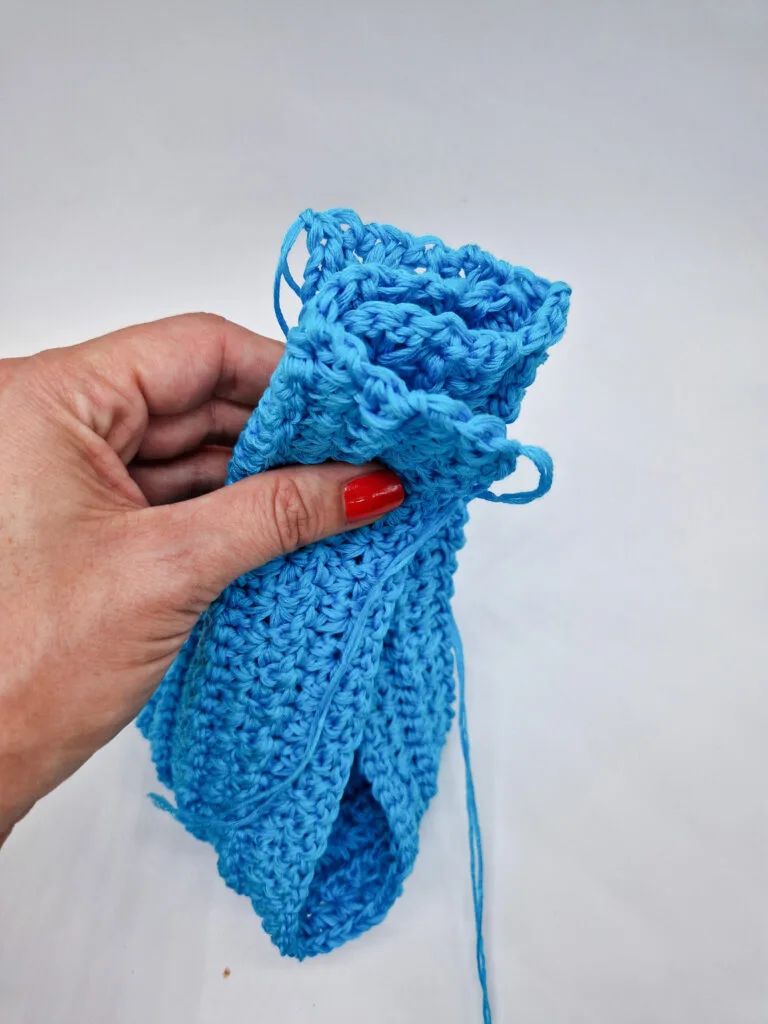
and sew all 4 layers together as shown in the pictures below.

- Recipes
-
 Cilantro Lime Rice
-
 Sweet Potato Soup with Roasted Cauliflower Crumbles
-
 Americano Cocktail
- Funny Pictures
-
 Funny Pics of the Day
-
 Funny Pics for Your Scrolling
-
 Some Pics to See When You’re Bored
- Crochet Ideas
-
 Crochet Crop Top
-
 Crochet Easter Sheep and Duck Egg Bags
-
 Crochet Summer Top
- Lifehacks
-
 How to Crochet the Plaid Stitch Photo Tutorial
-
 How To Crochet The 3-Colored Crosshatch Stitch Tutorial
-
 Flower With Stem Stitch Photo Tutorial
- DIY
-
 DIY Seashell Hair Pins
-
 Crochet Smiling Flowers
-
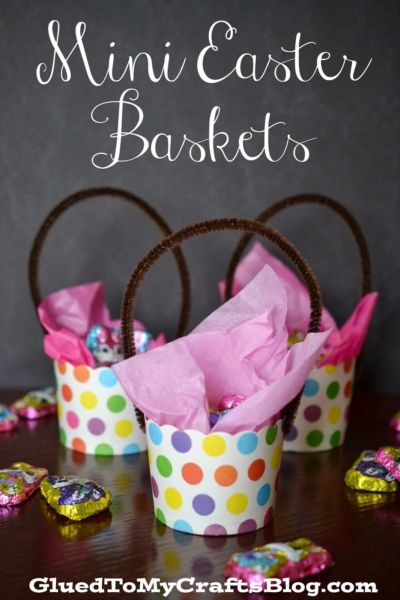 Paper Cup Mini Easter Basket Gifts
- Knitting Ideas
-
 Knitted Twist and Shout Hat
-
 Knitted Pom-Pom Booties
-
 Knitted Rabbit Dolls