Crochet Beautiful Balaclava


Crocheting a beautiful balaclava can be a fun and rewarding project to take on! With just a hook, some yarn, and a bit of creativity, you can create a stylish and cozy accessory that is perfect for staying warm in the winter months. Whether you're a seasoned crocheter or a newbie looking for a new challenge, this project is sure to bring a smile to your face as you work on creating something both practical and fashionable. So, grab your materials and get ready to crochet your way to a cute and functional balaclava that you'll be proud to show off!
Materials Needed:
- Yarn – Loopara 5ply combed cotton
- Hook – 4.0mm
- Stitch Marker
- Scissors
- Leather Label
How to Crochet the Granny Square (Make 4)
- R1: Ch 4, sl in first ch to form ring.
- R2: (Ch 3, 2 dc, ch 2), (3 dc, ch 2) 3 times, sl in top of beginning ch-3.
- R3: Sl to ch-2 sp, (ch 3, 2 dc, ch 2, 3 dc) in same sp, (3 dc, ch 2, 3 dc) in each ch-2 sp around, sl in top of beginning ch-3.
- R4: Sl to ch-2 sp, (ch 3, 2 dc, ch 2, 3 dc) in same sp, 3 dc in next sp between clusters, ((3 dc, ch 2, 3 dc) in ch-2 sp, 3 dc in next sp) 3 times, sl in top of beginning ch-3.
- R5: Sl to ch-2 sp, (ch 3, 2 dc, ch 2, 3 dc) in same sp, (3 dc in next 2 sps between clusters), ((3 dc, ch 2, 3 dc) in ch-2 sp, 3 dc in next 2 sps) 3 times, sl in top of beginning ch-3.
- R6: Sl to ch-2 sp, (ch 3, 2 dc, ch 2, 3 dc) in same sp, (3 dc in next 3 sps between clusters), ((3 dc, ch 2, 3 dc) in ch-2 sp, 3 dc in next 3 sps) 3 times, sl in top of beginning ch-3.
- R7: Sl to ch-2 sp, (ch 3, 2 dc, ch 2, 3 dc) in same sp, (4 dc in next 4 sps between clusters), ((3 dc, ch 2, 3 dc) in ch-2 sp, 4 dc in next 4 sps) 3 times, sl in top of beginning ch-3. Fasten off, weave in ends.
How to Crochet the Tassel
- R1: Magic ring, 6 sc in ring, sl, ch.
- R2: 6 sc inc, sl, ch.
- R3: 12 sc, sl, ch.
- R4: 12 sc, sl, ch.
- R5: 12 sc, sl, ch.
- R6: 2 sc, sc2tog, 5 sc, sc2tog 1 sc, sl, ch.
- R7: 10 sc, sl. Create a braid of suitable length. Wrap the yarn around your hand about 20 times, then carefully slide it off and tie it securely in the middle.
Granny Square Assembly
- Arrange your four granny squares according to the layout shown in the pictures above and secure them with stitch markers.
- Use stitch markers to establish the basic shape of the balaclava as shown.
- Begin joining the squares using the mattress stitch method for invisible seams.
- Start with a secure knot for your first stitch, then match and join corresponding stitches one by one.
- Continue joining the remaining squares using the same method.
- Once the entire balaclava shape is joined, fasten off and weave in your ends.
Hat Brim Assembly
- Ch 1, sc in same st, sl, ch.
- 2 dc in next st, 3 dc in next st, sl, ch.
- Sc in next st, weaving in ends as you go, sl, ch. Shell pattern repeat: Sk 1 st, 2 dc in next st, 3 dc in next st, sc in next st; rep from. At granny square corners: 5 dc in same st, sc to finish corner. Continue shell pattern repeat.
- Ch 1, sc in each st around, join with sl to first sc, ch 1.
- Ch 1, sc in each st around, join with sl to first sc, ch 1.
- Ch 1, sc in each st around, join with sl to first sc, ch 1.
- Ch 1, sc in each st around, join with sl to first sc, ch 1.
- Ch 1, [2 dc in side of sc, 3 dc in next sc st] around to form shells, sc between shells, join with sl.
- Ch 1, sc between shells, [2 dc, 3 dc] in sc sts to form shells on opposite side, sc between shells, join with sl. Fasten off. Weave in ends securely.
Final Assembly
- Thread the braided cord through the brim edge, then use your crochet hook to pull it through the loops. Attach the tassel and secure it with a tight knot.
- Repeat the same process to attach the second tassel on the other side. And there you have it - your cozy balaclava is now complete.
Crochet Tips:
- Keep your tension consistent throughout all rounds for even squares.
- Count your stitches in each round to ensure accuracy.
Assembly Tips:
- Take your time when aligning the granny squares to ensure a symmetrical shape.
- Use plenty of stitch markers before joining - this will prevent any misalignment.
- Double-check your seams and tassel knots to ensure everything is securely fastened for long-lasting wear.
No comments
Write a comment
- Recipes
-
 Rich & Spicy Chicken Scarpariello
-
 Welsh Cakes
-
 Sun-Dried Tomato Pasta with White Wine Cream Sauce
- Funny Pictures
-
 Some of the Funniest Weight Loss and Diet Memes
-
 Funny Memes of the Day to Have a Nice Time
-
 Funny Christmas Memes
- Crochet Ideas
-
 Crochet Zinnia Flower
-
 Crochet Suzzy The Sheep Amigurumi
-
 Crochet Chunky Bear Amigurumi
- Lifehacks
-
 How To Crochet The Even Berry Stitch Photo Tutorial
-
 How To Crochet The Aligned Cobble Stitch Photo Tutorial
-
 How To Crochet The Crossed Treble X Stitch Photo Tutorial
- DIY
-
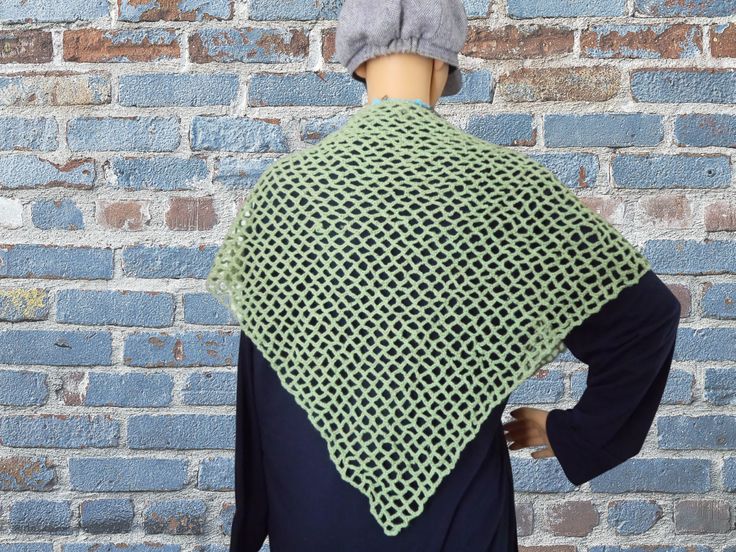 Crochet Triangular Shawl
-
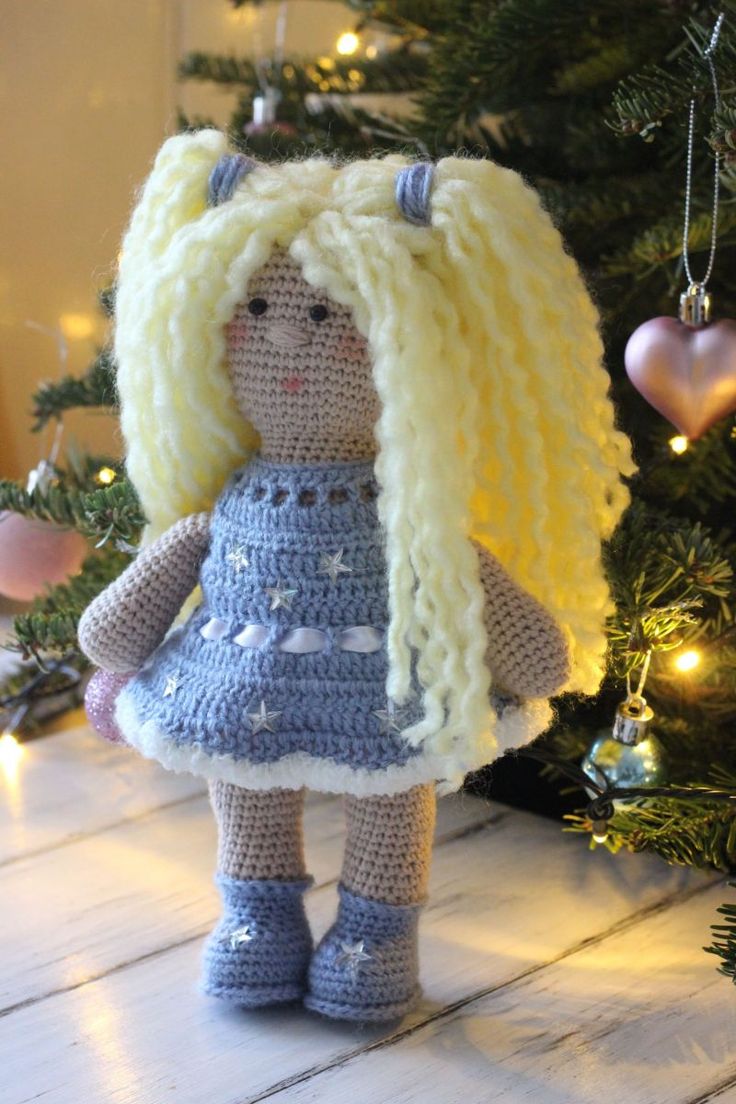 Crochet Adorable Doll
-
 Crochet Beautiful Gnome
- Knitting Ideas
-
 Knitted Butterfly Potholder
-
 Knitted Double Sided Technique Sun Shine Potholder
-
 Knitted Peony Double Potholder