Crochet A Scottie Dog


If you're itching to take your crochet skills up a notch, why not try your hand at creating a Scottie Dog? This adorable project will not only challenge you but also bring a bundle of cuteness to your crafting repertoire. With a bit of patience and a lot of love, you can craft a fluffy companion that will surely melt hearts and make a delightful addition to your collection.
You'll need:
Yarn and hook to match (I used Rico Creative Cotton and a 4mm hook)
Polyester toy filling
Essential oil if you fancy making yours smell nice
A pretty ribbon for the neck (mine measured 6mm wide)
Stitches and Abbreviations:
I use US terms, so single crochet= same as UK double crochet here.
Chain (ch)
Single crochet (sc)
Stitches (sts)
Single Crochet 2 Together (sc2tog)
To single crochet 2 together:
Insert hook into next stitch.
Yarn over, pull up a loop. (2 loops on hook)
Insert hook into next stitch.
Yarn over, pull up a loop (3 loops on hook)
Yarn over and pull through all 3 loops.
Pattern (make 2)
Ok, so this pattern works back and forards in rows.
Don' t count the slip stitches. They are blanks.
1. Ch 14 (=chain 13+ turning ch)
2. Turn, sl st, sl st, sc 10, 2sc in next st (12)
3-4. Ch1, turn, sc 10 (10)
5. Ch1, turn, sl st, sl st, sc 8 (8)
6-10. Ch1, turn, sc 8 (8)
11. Ch1, turn, 2scs in next st, sc 6, 2scs in next st (10)
12. Ch1, turn, 2scs in next st, sc 8, 2scs in next st (12)
13. Ch1, turn, sc 11, 2scs in next st (13)
14. Ch4, turn, sc 16 (starting in second chain from hook) (16)
15. Ch1, turn, sc 2
Fasten off (2nd leg made)
HEAD (make slip knot and put on hook)
16. Make sure your work is facing you with the beginning tail at the bottom left (starting in 9th stitch from top, and working from right to left, sc 8
17. Ch1, turn, sc2tog, sc 4, sc2tog (6)
18. Ch2, turn, sc 6 (starting in second chain from hook) (6)
19. Ch1, turn, sl st, sc 4, 2scs in next st (6)
20. Ch2, turn, sc 6 (starting in second chain from hook) (6)
21. Ch1, turn, Sc 6
Fasten off ends
Now use your third colour and single crochet around both pieces to join together. Make sure you work in anti-clockwise direction so your stitches face forwards. Before you completely close, stuff with toy stuffing, sew in the remaining ends and then complete your stitching and fasten off.
Attach a ribbon to the neck.
- Recipes
-
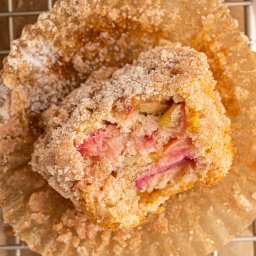 Rhubarb Muffins
-
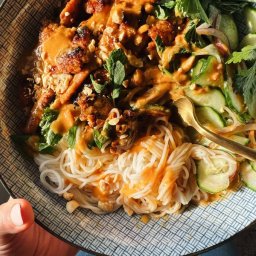 Thai Peanut Chicken Bowls
-
 Ranch Water Cocktail
- Funny Pictures
-
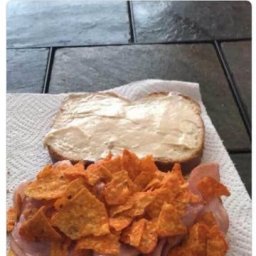 Funny Summer Memes About Childhood
-
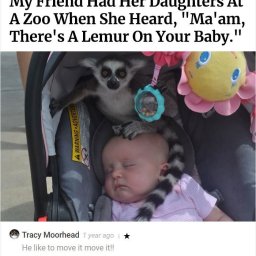 Funny Times the Comments Were Better Than the Picture
-
 Relatable Pics for Some Fun
- Crochet Ideas
-
 Crochet Summer Top
-
 Crochet Crown Ear Warmer
-
 Crochet Scalloped Finger Free Hand Warmers
- Lifehacks
-
 How to Crochet the Slanted Clusters Stitch Photo Tutorial
-
 How to Crochet the Triple Cluster V-Stitch Photo Tutorial
-
 How to Crochet the Shelled Cluster Stitch Photo Tutorial
- DIY
-
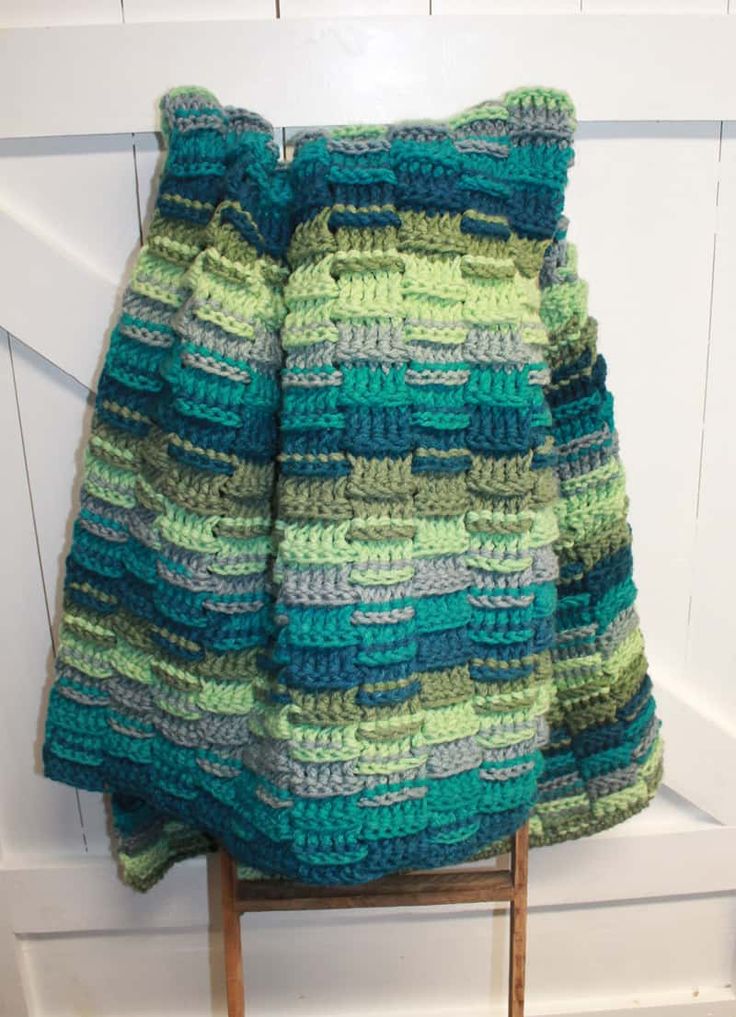 Crochet Woven Lines Chunky Throw
-
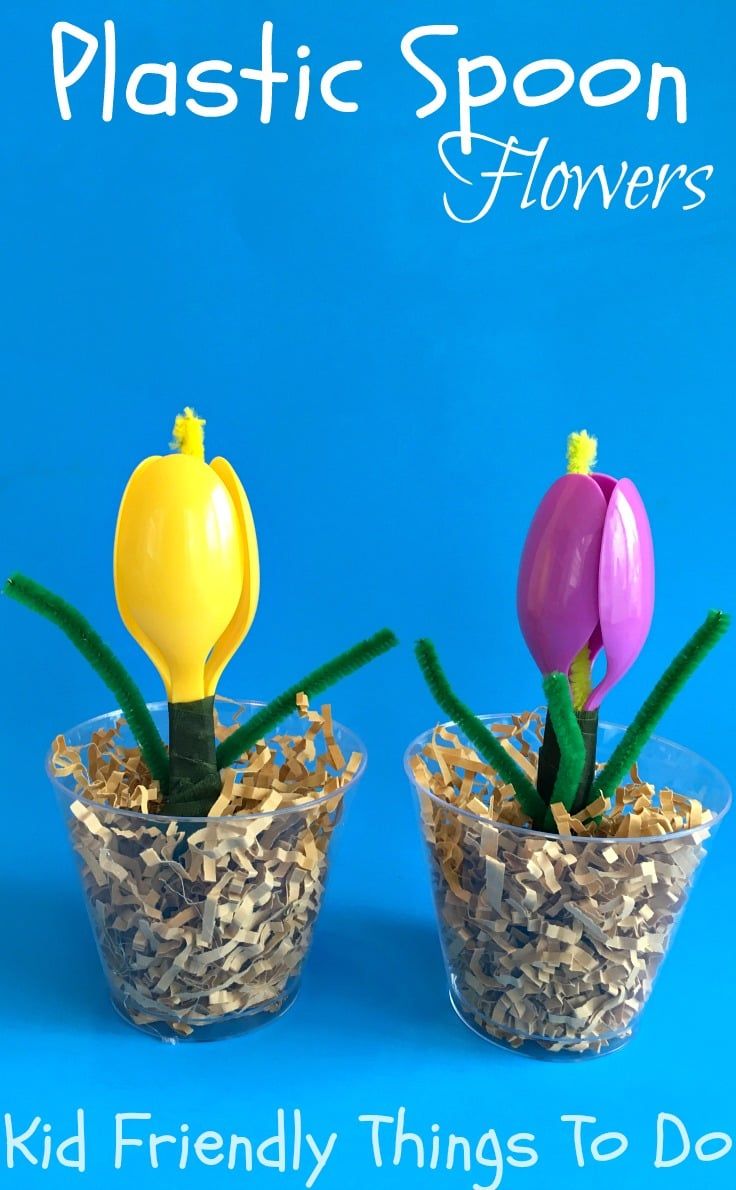 DIY Plastic Spoon Flower
-
 Miniature Wine Cork Fairy House Garden Decoration
- Knitting Ideas
-
 Knitted Quintet Cowl
-
 Knitted Cleo Scarf
-
 Knitted Bowtie Headband