Crochet Hibiscus Flower


Crochet hibiscus flowers are whimsical creations that add a touch of charm to any project. With their intricate petals and vibrant colors, they bring a cheerful vibe to your handmade creations. Whether you're decorating a hat, bag, or even a cozy blanket, these crochet hibiscus flowers are sure to brighten up your day. Get ready to immerse yourself in a world of creativity and beauty as you stitch these delightful flowers into your work, making every project blossom with sweetness and warmth.
Materials Needed
- Yarn – Loopara 4ply combed cotton (Green 17, Yellow 41 and Orange 49)
- Hook – 2.0mm
- Flower Rod – 30cm long
- Iron Wire – 0.5mm and 0.6mm diameter
- Hot Melt Adhesive
- Scissors
- Needle nose pliers
- Salvia pliers
Step By Step
How to Crochet the Flower (Make 1)
- Using Afghan stitch technique with incomplete third loop stitches.
- R1: Ch 16, sk 1, Afghan [2 dc, (sc, sk 1) twice, 6 sc], pull through 2 by 2, rep 10 times.
- R2: Ch 3, sk 2, Afghan (2 dc, 6 sc), pull through 2 by 2, rep 8 times.
- R3: Ch 3, sk 3, Afghan (2 dc, 11 sc), sc in ring, pull through 2 by 2, rep 14 times.
- R4: Ch 3, sk 3, Afghan (2 dc, 6 sc), pull through 2 by 2, rep 8 times.
- R5: Sl, ch 2, Afghan (2 dc, 8 sc), pull through 2 by 2, rep 10 times.
- R6: Sk 1, (sl, ch) 3 times, 8 sl, sl in ring, fasten off.
How to Crochet the Flower Base (Make 1)
- R1: Magic ring, ch, 10 sc, sl.
- R2-3: Ch, 10 sc, sl.
- R4: (Ch 6, sl in 2nd ch from hook, 2 sc, hdc, dc, sk 1, sl) 5 times, fasten off.
How to Crochet the Flower Bud (Make 1)
- R1: With green, magic ring, ch, 5 sc, sl.
- R2: Ch, 4 sc, sc inc, sl.
- R3: Change to orange, in back loops:
a) Ch 7, Afghan 6 sc, sc in same st, pull through 2 by 2, rep 7 times.
b) Ch, sl, Afghan 6 sc, sc in next st, pull through 2 by 2, rep 7 times.
c) Sk 1, 5 sl, sl in same st, sl in next st.
- Repeat step 3 twice more to complete bud.
How to Crochet the Large Leaf (Make 5)
- Ch 10, add 0.5mm wire, sc in 2nd ch from hook, hdc, 4 dc, hdc, sc, (sc, ch 2, sl in 2nd ch from hook, sc), sc, hdc, 4 dc, hdc, sc, sl. Wrap wire 2cm, fasten off.
How to Crochet the Small Leaf (Make 3)
- Ch 8, add 0.5mm wire, sc in 2nd ch from hook, hdc, 2 dc, hdc, sc, (sc, ch 2, sl in 2nd ch from hook, sc), sc, hdc, 2 dc, hdc, sc, sl. Wrap wire 2cm, fasten off.
How to Crochet the Stamen (Make 1)
- Fold 10cm wire in half.
- Wrap yarn 15 times around the back of the hook, remove, and twist the wire tight.
- Separate the wire, wrap the yarn 10 times around the back of the hook, and remove, and twist the wire tight.
- Cut open yarn loops, and secure with glue.
- Trim stamen, wrap wire 5cm more.
Crochet Hibiscus Flower Assembly
- Thread 0.6mm wire through the base of the flower bud, secure it with glue, and evenly wrap the wire.
- Insert stamens through the center of the flower, secure with glue.
- Add the flower receptacle, secure it with glue.
- Using green two-strand yarn with 0.6mm wire, begin wrapping.
- Assemble large and small leaves, add 0.6mm wire to large leaves and wrap with green two-strand yarn for 2-3cm before adding small leaves.
- Continue wrapping, adding leaves at staggered intervals.
- Once all components are assembled, arrange and combine with the flower stem, wrapping everything together.
- Continue wrapping until reaching the bottom of the stem, secure with glue and cut yarn.
Notes
Crochet Tips:
1. Maintain consistent tension throughout each petal to ensure all five petals are uniform in size and shape.
2. Trim the stamen ends into a teardrop shape for a more natural and elegant appearance.
Assembly Tips:
1. Wrap the stem tightly with yarn to fully cover the wire and create a polished, professional look.
2. When arranging the flowers and buds, position them at different heights and angles for a more natural and aesthetically pleasing bouquet.
No comments
Write a comment
- Recipes
-
 8 Minute Lebanese Pizza – Chicken Mince
-
 Classic Gumbo with Andouille Sausage & Shrimp
-
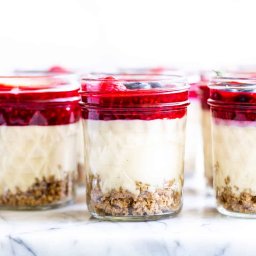 No Bake Cheesecake Jars
- Funny Pictures
-
 Some Relatable Memes for When You Need a Boost
-
 Wonderful Animal Memes to Take You Through the Day
-
 Funny Memes for Everyone Who Drives a Car
- Crochet Ideas
-
 Crochet Adorable Crab
-
 Crochet Key Case
-
 Crochet Beautiful Whale
- Lifehacks
-
 How to Bavarian Crochet Photo Tutorial
-
 How to Crochet Zigzag Spike Puff Stitch Photo Tutorial
-
 How to Crochet Cross Over Stitch Photo Tutorial
- DIY
-
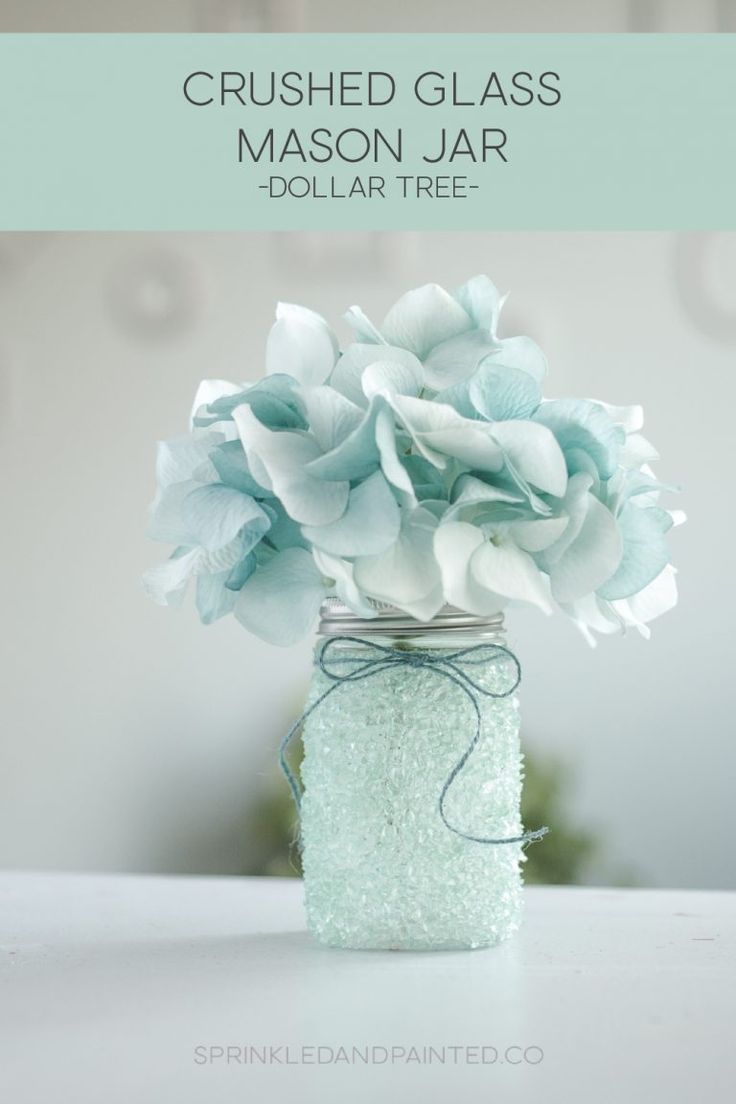 DIY Crushed Glass Mason Jar
-
 DIY Bottle Cap Candles
-
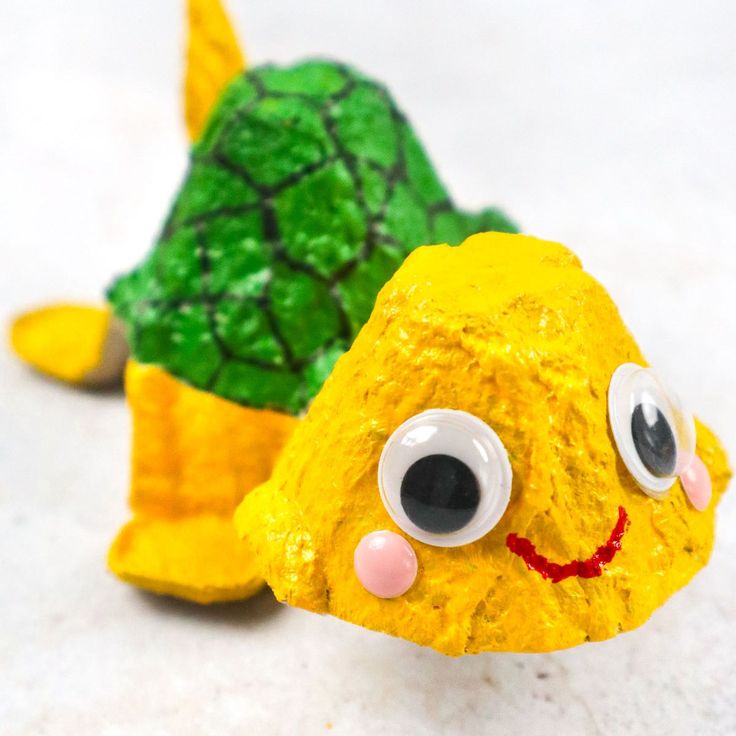 DIY Egg Carton Turtle
- Knitting Ideas
-
 Knitted Weightless Produce Bag
-
 Knitted Soft Shoulder Cowl
-
 Knitted Crocodilly Mocs for Newborns