Crochet Heart Pillow


The Crochet Heart Pillow is the perfect way to add a touch of charm and coziness to any room in your home! This delightful pillow, handcrafted with love and care, features a whimsical heart design that will instantly brighten up your space. Whether you’re looking to spruce up your living room decor or simply want to add a bit of sweetness to your bedroom, this adorable crochet heart pillow is sure to be a cherished addition to your home. It’s not just a pillow, it’s a warm hug waiting to make your space feel even more inviting and lovely!
Materials
Red Heart Yarn - white
Red Heart Yarn - perfect pink
Red Heart Yarn - red
Polyfil
5 mm hook
Tapestry needle
Abbreviations (US terms)
Chains - ch
Magic ring - mr
Single crochet - sc
Half double crochet - hdc
Double crochet - dc
Slip stitch - sl st
Increase - inc
Notes
Intermediate Skill Level: The heart pillow crochet pattern is best suited for crocheters who have a basic understanding of crochet stitches and techniques, especially if you’re familiar with working granny squares and crochet appliques.
Crochet Heart Appliques: The crochet heart applique pattern is beginner-friendly but requires some attention to detail for shaping the hearts correctly. If you’ve made other appliques in the past, you’ll be just fine!
Joining Techniques: The hardest part of this pattern is the joining of the squares, so be sure to check out any additional resources or videos on joining granny squares if you're unfamiliar.
Instructions
Crochet Heart Applique Pattern:
Make 18 heart appliques.
Round 1: Using the red yarn, ch x2 and dc x15 into the ring. Then sl st to the top of the 1st dc you made, pull the ring tight (15).
Round 2: Ch x1, then hdc into the same stitch. Dc x4 into the next stitch, then hdc inc in the next. Sc in the next 4 stitches. You are now at the bottom of the heart so make a hdc, dc, and hdc into one stitch. Then sc x4, and hdc inc in the next. Dc x4 in next, hdc in the next stitch. Then ch x1 and sl st to the sl st from joining the last round together (27).
Round 3: Ch x1, then hdc where you made the first hdc in the last round. Then follow the rest of the sequence of stitches for the round:
Hdc, dc, dc inc x3 (one increase in the next 3 stitches), dc, hdc in the next 5 stitches, hdc + dc + hdc for the bottom stitch, hdc in the next 5 stitches, dc, dc inc x3, hdc x2, ch x1 sl st to the sl st from the first round to make a deep indent at the top of the heart (35).
Then fasten off and leave long ends for sewing.
Crochet Solid Granny Square Pattern:
Make 10 pink and 8 white granny squares.
Round 1: Make a mr, ch x3 and then dc x2 in the circle. Ch x2, dc x3, ch x2 and dc x3, ch x2 and dc x3, ch x2 and sl st to the 3rd chain. You should have 4 sides. Pull the magic circle closed and you can see you have a small square.
Round 2-5: Ch x3. Dc in each dc stitch from the previous round, dc x2, ch x2, dc x2 in each chx2 corner stitch. Then sl st to the 3rd chain you made at the beginning when you get to the end of each round.
After the 5th round, fasten off and weave in any tails.
Finishing:
Sew the squares together like I did above using the sewing technique, the mattress stitch. Alternate colors, with 3 squares in each row and column.
Mattress stitch:
Align the Edges: Place the two crochet pieces you want to join side by side, with the right sides facing each other (the side you want to show should be facing inward). Make sure the edges you're joining are aligned properly.
Thread Your Needle: Cut a length of yarn (about 18 inches) and thread it through your tapestry needle.
Insert the Needle: Starting at one end of the edge, insert the needle through the outermost stitch on the first piece. You want to go under both loops of the stitch.
Pull the Needle Through: Gently pull the yarn through, leaving a small tail to tie off later. Do not pull too tightly yet.
Move to the Other Piece: Next, insert the needle into the corresponding stitch on the second piece, just slightly to the left of the edge. Go under both loops of the stitch, and pull the needle through.
Repeat: Continue this process along the entire edge. Work your way back and forth between both pieces, stitching into the same stitch on each piece, always under both loops. Your stitches will create a “mattress” effect that lies flat against the crochet fabric.
Even Tension: As you stitch, make sure to keep an even tension. You want the seam to be neat, but not so tight that it distorts the shape of the pieces.
Finish Off: When you’ve reached the end, pull the yarn gently to tighten the stitches. Be sure the seam is secure, but not overly tight. Tie off the yarn at the end, weaving in the ends on the wrong side to finish.
Crochet the Pillow Closed:
Align the front and back squares together with the hearts facing outward on both sides of the pillow. Then join the pink yarn to both pieces and single crochet the edge of the square. After 3 sides are done, begin to stuff the crochet heart pillow, then continue crocheting the last side closed - stuffing it along the way. When you get to the corners make 3 sc stitches.
Fasten off the pink yarn and weave in any ends.
Shell Stitches:
Join the white yarn to anywhere on the border. Then skip a stitch and then make a shell stitch.
To crochet a shell stitch, you will dc x5 into the same stitch or space. This will create the "shell." then skip a stitch and make a sc in the next stitch.
You will repeat making a skipped stitch, dc x5, skip a stitch, sc for the entire round.
If you do not have an even amount of stitches at the end you can fudge it a little for a stitch or two to make the shell stitches fit by either extending a shell an extra space or taking a skipped space away. It doesn’t have to be exact and no one will notice anyways.
I hope you enjoyed making this adorable heart pillow crochet pattern and that it adds a lovely touch to your Valentine’s Day decor!
No comments
Write a comment
- Recipes
-
 Prawn Cocktail Mini Tacos
-
 Chicken Cacciatore
-
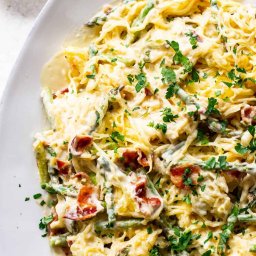 Roasted Garlic Spaghetti Squash with Asparagus and Bacon
- Funny Pictures
-
 Some Relatable Memes for When You Need a Boost
-
 Wonderful Animal Memes to Take You Through the Day
-
 Funny Memes for Everyone Who Drives a Car
- Crochet Ideas
-
 Crochet Adorable Crab
-
 Crochet Beautiful Seal
-
 Crochet Beautiful Whale
- Lifehacks
-
 Picot Single Crochet & Granule Stitch Photo Tutorial
-
 How to Bavarian Crochet Photo Tutorial
-
 How to Crochet Zigzag Spike Puff Stitch Photo Tutorial
- DIY
-
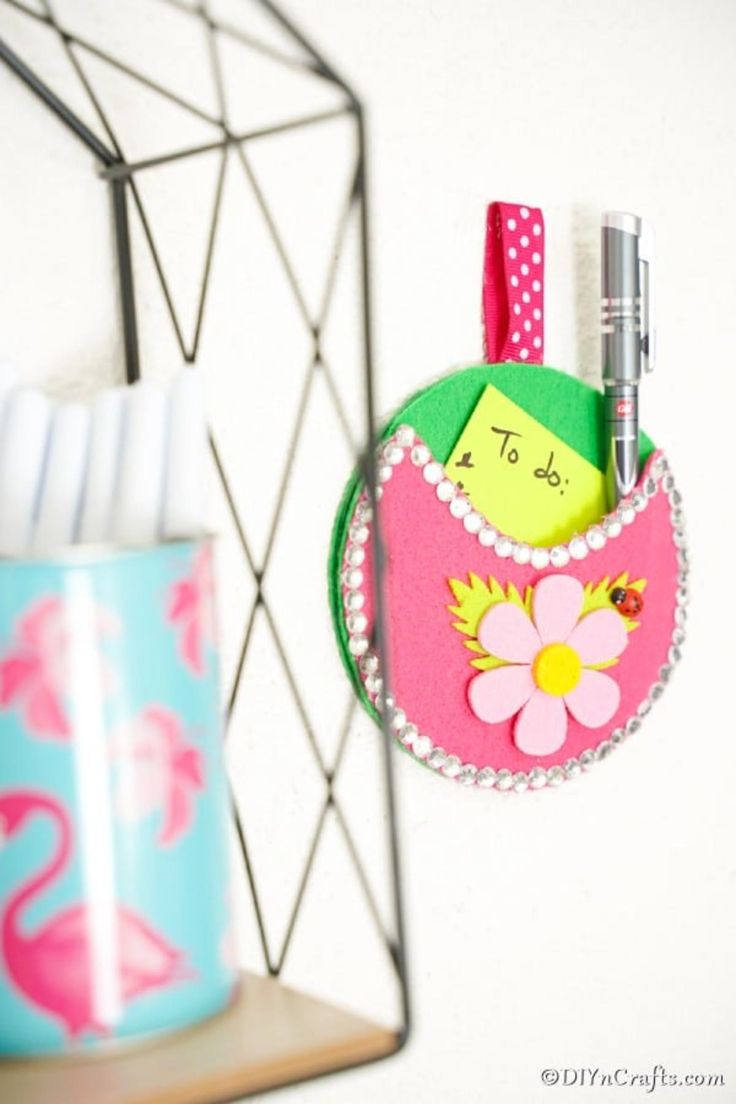 Upcycled Old CD or DVD Pocket Wall Organizer
-
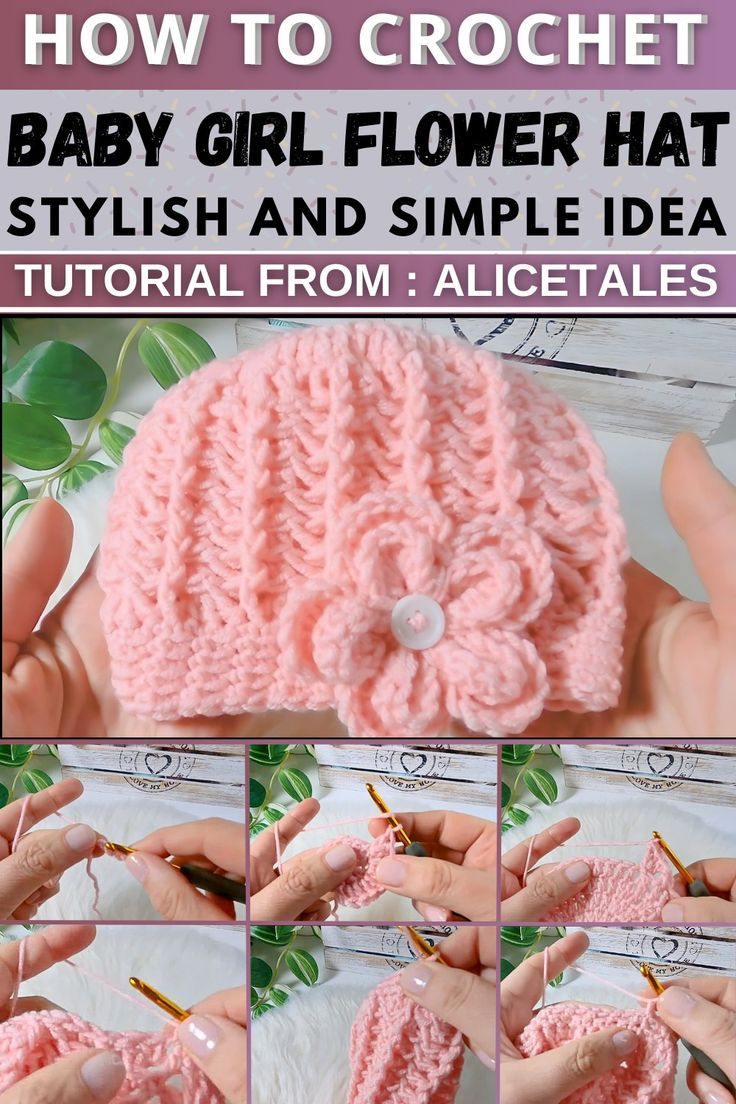 Crochet Baby Girl Flower Hat
-
 DIY Bottle Cap Candles
- Knitting Ideas
-
 Knitted String Market Bag
-
 Knitted Mobile Phone/Glasses Case
-
 Knitted Handmade Bunny