Crochet Beautiful Lemonade


Crocheting beautiful lemonade is such a fun and creative project! The vibrant shades of yellow combined with intricate stitches create a lovely visual treat. Imagine sitting outside on a sunny day, sipping lemonade from a crocheted cozy you made yourself - it doesn't get more charming than that! Whether you're an experienced crocheter or just starting out, this project is sure to bring a smile to your face. So grab your yarn and hook, and let's crochet some sweetness into your day!
Materials
Yarn colors:
1 skein lemon yarn
1 skein white yarn
1 ball of light blue
1 ball of a darker shade of yellow
Tapestry needle
5mm crochet hook
Polyfill
Abbreviations (US terms)
sc = Single crochet
mr = Magic ring
inc = Increase (2 stitches in the same stitch)
ch = Chain
blo = Back Loop Only
Notes
I created this crochet lemonade pattern using light yellow yarn from Red Heart for a refreshing look, but feel free to choose any yellow shade. Use white for the top of the glass and adjust the straw color to your liking. I used acrylic yarn, but you can opt for cotton or chunky yarn. The lemonade stands at approximately 10 inches in height with a 5mm hook size; altering the hook size will affect the size of the lemonade.
Instructions
For this pattern we will be working in rounds.
Round 1: Using light yellow, make a MR and work sc x8 in the circle. If you find it difficult making a magic ring you can chain 2 and then crochet sc x8 in the second chain from the hook. (8)
Round 2: Inc in every sc. (16)
Round 3: Inc, sc, inc, sc and repeat until end of round (24)
Round 4: Inc, sc x2, inc, sc x2 and repeat until end of round (32)
Round 5: Inc, sc x3, inc, sc x3 and repeat until end of round (40)
Round 6: Inc, sc x4, inc, sc x4 and repeat until end of round (48)
Round 7: Inc, sc x5, inc, sc x5 and repeat until end of round (56)
Round 8: Inc, sc x6, inc, sc x6 and repeat until end of round (64)
Round 9: Sc in blo for the entire round (64). By crocheting in the back loop only on the single crochet stitches it means instead of going into the stitch and going under 2 loops, you will only go through the loop in the back not the front so you will only be going under 1 loop and then finishing the stitch like normal.
Round 10: Sc x15, inc, for the entire row (68)
Round 11: Sc x68 (68)
Round 12: Sc x16, inc, for the entire row (72)
Round 13-36: Sc x72 (72)
Crocheted Lemonade top:
Round 1: Using light yellow, make a MR and work sc x8 in the circle. If you find it difficult making a magic ring you can chain 2 and then crochet sc x8 in the second chain from the hook. (8)
Round 2: Inc in every sc. (16)
Round 3: Inc, sc, inc, sc and repeat until end of round (24)
Round 4: Inc, sc x2, inc, sc x2 and repeat until end of round (32)
Round 5: Inc, sc x3, inc, sc x3 and repeat until end of round (40)
Round 6: Inc, sc x4, inc, sc x4 and repeat until end of round (48)
Round 7: Inc, sc x5, inc, sc x5 and repeat until end of round (56)
Round 8: Inc, sc x6, inc, sc x6 and repeat until end of round (64)
Round 9: Inc, sc x7, inc, sc x7 and repeat until end of round (72)
[secure eyes to where you would like on the yellow base before the next step]
Round 10: This round we will be attaching the top of the lemonade to its base. To do this you will go through the 2 sc at once. One from the light yellow top and the other from the light yellow base. Both have 72sc so there should be no extra sc.
To do this: start by going under the 2 loops like you are about to make a regular sc with the light yellow yarn, then before yarning over, go through a sc from the base so you will end up with 4 loops on your hook not 2. Yarn over and go under all 4 loops. You should now have 2 loops left on your hook, go through both like a normal sc. Sc the rest of the 2 pieces together, no increases (72)
[BEFORE CLOSING THE TOP, STUFF THE LEMONADE.]
Make a color change at the end of the row by going through the motions of making a sc stitch. Go under the loops, but before yarning over with light yellow, take white yarn [WITH 2 STRANDS OF WHITE YARN] and yarn over with that. Pull through the yellow loops and you should have white on your hook now. Weave in the yellow and white yarn ends.
Round 37- 41: Using 2 strands of white yarn (this is for stability reasons for the lemon slice) sc the entire round (72)
Straw:
Round 1: Using light blue (or another color yarn), ch x12, slip stitch together.
Round 2: Sc in the next ch and repeat for the entire round (12)
Round 3- 4: Repeat round 2. At the end of round 4 color change like we did for the lemonade yellow to white, but from light blue to white.
Round 5- 7: Sc in every stitch (12) At the end of round 7 color change to light blue.
Round 8-10: Sc in every stitch (12). At the end of round 10 color change to white.
Round 11- 13: Sc in every stitch (12). Fasten off but leave tail for sewing.
Lemon Slice:
Row 1: With a light yellow, make a mr, OR ch 2 if you can’t make one, and make 8sc in either the mr or the second ch from hook. DO NOT CONNECT. Ch 1, turn. (8)
Row 2: [Inc] repeat what's in the brackets for the rest of the round. Ch 1, turn (16)
Row 3: [Inc] repeat what's in the brackets for the rest of the round. Ch 1, turn. (32)
Row 4: [Inc, sc] repeat what’s in the brackets for the rest of the round. Ch 1, turn (48)
Row 5: [Inc, sc x2] repeat what's in the brackets for the rest of the round. Ch 1, turn (64)
Row 6: [Inc, sc x3] repeat what's in the brackets for the rest of the round. Ch 1 turn (80)
Fold the lemon in half and crochet a white edge around it using single crochet.(40) Then add another row around it in a darker yellow to act as the peel part of the lemon. (40) When both rows of edging are done take your tapestry needle and embroider the lemon segments on the slice on both sides. You can add as many segments as you want by making radiating lines from the center.
Sewing:
The straw can be placed anywhere on the top that you think might look good, I have mine off center.
The lemon slice has a slit in it because we did not connect the lemon into a complete circle. This slit is for placing it on the lemonade lid ( it's the reason why we doubled our yarn for the white edge of the drink - for stability and structure). Sew the lemon slice to the top anywhere you would like (having it on the side is probably one of the better places for placement) and there you have it! A cuddly lemonade plushie
No comments
Write a comment
- Recipes
-
 8 Minute Lebanese Pizza – Chicken Mince
-
 Classic Gumbo with Andouille Sausage & Shrimp
-
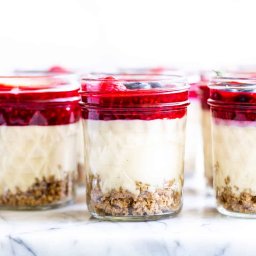 No Bake Cheesecake Jars
- Funny Pictures
-
 Funny Memes for Your Amazing Summer
-
 Work Memes for Everyone
-
 Amazing Christmas Memes for Magical Mood
- Crochet Ideas
-
 Crochet Adorable Crab
-
 Crochet Key Case
-
 Crochet Beautiful Whale
- Lifehacks
-
 How to Bavarian Crochet Photo Tutorial
-
 How to Crochet Zigzag Spike Puff Stitch Photo Tutorial
-
 How to Crochet Cross Over Stitch Photo Tutorial
- DIY
-
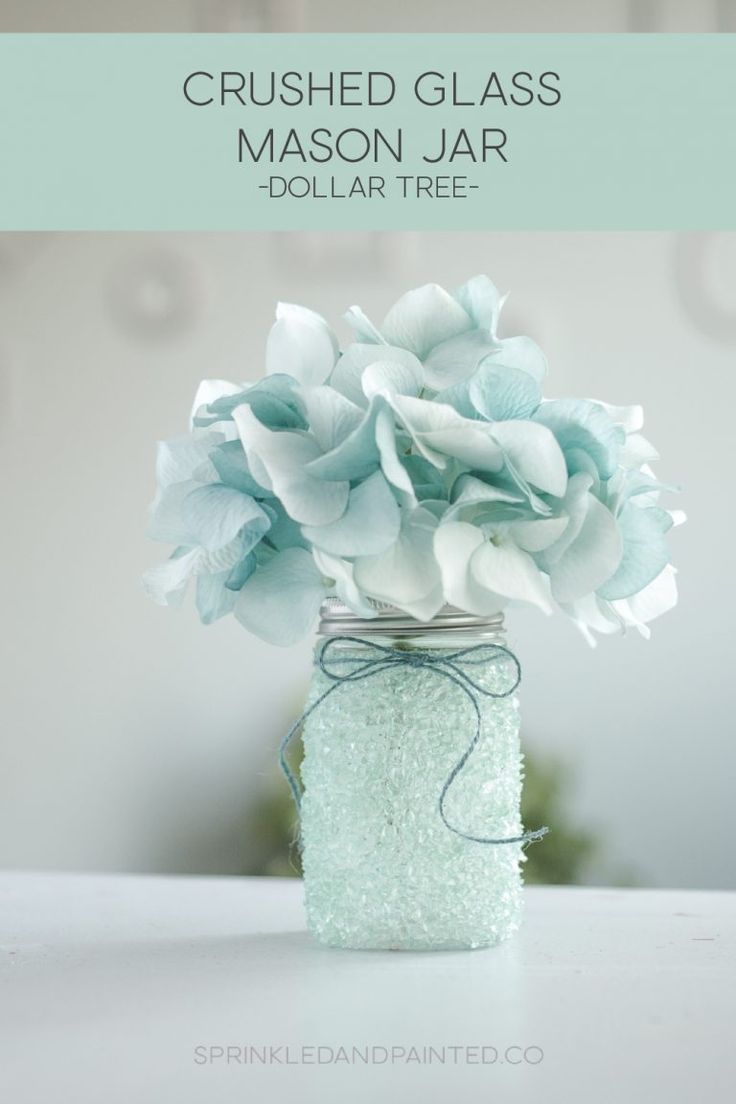 DIY Crushed Glass Mason Jar
-
 DIY Bottle Cap Candles
-
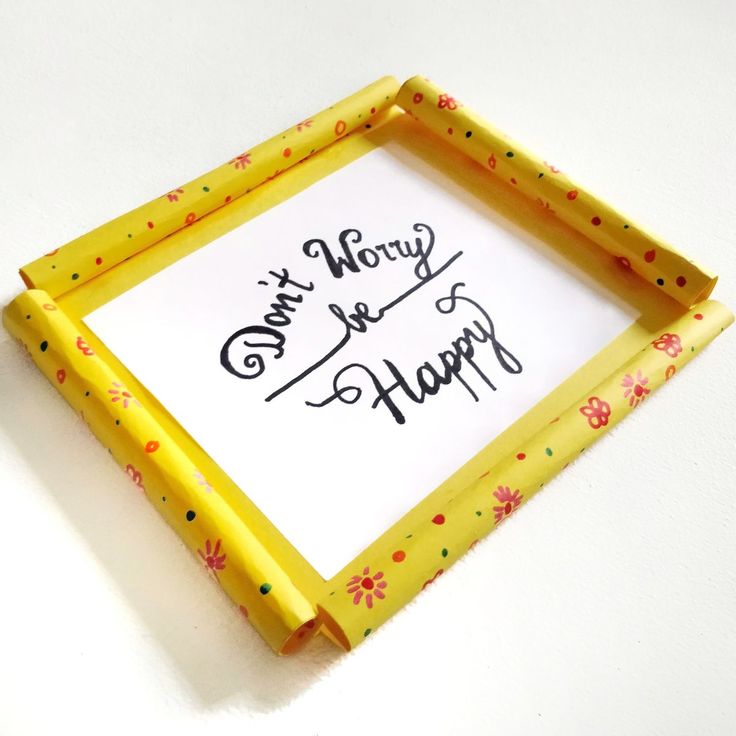 DIY Paper Picture Frames
- Knitting Ideas
-
 Knitted Weightless Produce Bag
-
 Knitted Soft Shoulder Cowl
-
 Knitted Crocodilly Mocs for Newborns