Crochet Winne the Pooh Doll


Creating a Crochet Winnie the Pooh doll is a delightful and heartwarming project that brings a touch of nostalgia and charm to anyone's collection. With its cuddly appearance and classic yellow hue, this handmade creation is sure to bring a smile to your face and warm your heart. Whether you're crafting it for a loved one or as a personal keepsake, the process of crocheting this beloved character is a joyous journey filled with creativity and whimsy.
Skill Level and techniques: Beginner with sc stitches worked in rounds and rows
Supplies:
Crochet hook size 3.5
Yarn hook
Fiberfill stuffing
Safety eyes (Do not use for children under 3 – instead stitch on or crochet your eyes)
Yarn in
- red
- yellow
- black (or use embroidery thread)
Abbreviations
hk – hook
ch- chain
sc – single crochet
sl st -slip stitch
st – stitch
sc2tog (=dec=inv dec) – decrease two single crochet stitches into 1sc
ea – each
sk – skip
fo – fasten off
Head and body (yellow)
Rd 1: ch 2, 6sc in 2nd ch from hk (6)
Rd 2: 2sc around (12)
Rd 3: (sc, 2sc) around (18)
Rd 4: (sc in 2, 2sc) around (24)
Rd 5-8: sc around (24)
Rd 9: (2sc)x3, sc in 6, (2sc)x3, sc in 12 (30)
Rd 10-12: sc around (30)
Rd 13: (sc in 3, sc2tog) around (24)
Rd 14: (sc in 2, sc2tog) around (18)
Insert your safety eyes rd 7-8
Rd 15: (sc, sc2tog) around (12)
Crocheter’s preference – You can fasten off the yellow here and make the snout and ears, or continue on and finish the body first.
Stuff as you continue to work:
Rd 16: sc around (12)
Rd 17: (sc, 2sc) around (18)
Rd 18-20: sc around (18)
Rd 21: sc in 5, 2sc in 4, sc in 8 (21)
Rd 22: (sc in 5, sc2tog) around (18)
Rd 23: (sc, sc2tog) around (12)
Stuff
Rd 24: sc2tog around (6). Sl st, FO, finish stuffing and sew closed.
Snout (yellow)
Rd 1: ch 2, 8sc in 2nd ch from hk
Rd 2: (sc, 2sc) around (12)
Rd 3: sc around (12)
Rd 4: 2sc in 3 (where the mouth will be embroidered). sl st, FO
Use black yarn or embroidery thread to embroider a mouth and nose on the snout. Stuff the snout and sew to face around Rds 10-14
Embroider eyebrows as shown in the picture.
Ears (yellow) make 2:
Row 1: ch 2, 4sc in 2nd ch from hk
Row 2: ch 1, turn, 2sc in each sc. (8) Do not join. FO, sew to head around Rds 3-5.
Arms: (yellow) make 2:
Rd 1: ch 2, 8sc in 2nd ch from hk (8)
Rd 2-7: sc around (8). sl st, fo and stuff. Sew arms to the body.
Feet (yellow) make 2:
Rd 1: ch 6, sc in 2nd ch from hk and in next 3ch, 3sc in end, work on the opppsite side of foundation ch, sc in 3, 2sc in last st (12)
Rd 2: sc in 5. 2sc, sc in 5, 2sc(14)
Rd 3: sc around (14)
Rd 4: sc in 5, sc2tog, sc2tog, sc in 5 (12)
Rd 5: sc in 4, sc2tog, sc2tog, sc in 4 (10)
Rd 6-7: sc around (10). sl st, fo, stuff and sew to body
Shirt – red
Row 1: ch 25, hdc in 3rd ch from hk and in ea st across (23)
Row 2-3: ch 1, turn, hdc across (23)
Rd 4: ch 1, turn, hdc in 5. (make armhole) ch 3, sk 3. hdc in 7, (make 2nd armhole) ch 3. sk 3. hdc in 5 (23)
Rd 5: sc around the entire coat in one rd. Fit shirt onto bear with the opening in the front. Sew closed. Do one more round of sc along the bottom edge only. sl st, FO
Reattach red at the armhole. sc around 3 times (10). Repeat for 2nd sleeve.
Shirt Collar: Rd 1: ch 19. sc in 2d ch from hk and in ea ch across, sl st closed(18)
Rd 2: sc around (18). – slide the collar through one foot at a time and up past his arms. Sew to the top of his shirt
- Recipes
-
 Mango Chutney
-
 Crispy Gochujang Chicken
-
 Easy Mint Julep
- Funny Pictures
-
 Funny Memes to Make Your Day Better
-
 Funny Animal Memes to Have a Better Mood
-
 Top Funny Animal Images of the Day
- Crochet Ideas
-
 Crochet Crown Ear Warmer
-
 Crochet Single Bracelet
-
 Crochet Treble Stitch Bracelet
- Lifehacks
-
 How to Crochet the Shelled Cluster Stitch Photo Tutorial
-
 How to Crochet the Front Post Clusters Stitch Photo Tutorial
-
 How to Crochet the Butterfly Stitch Photo Tutorial
- DIY
-
 Crochet Summit Scarf
-
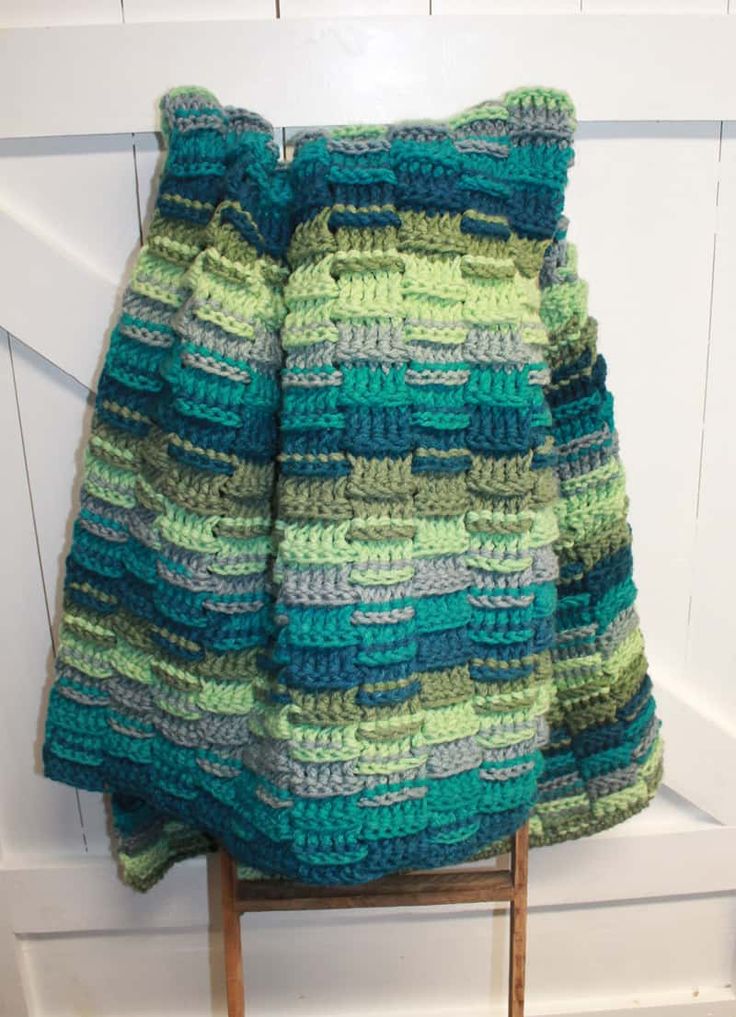 Crochet Woven Lines Chunky Throw
-
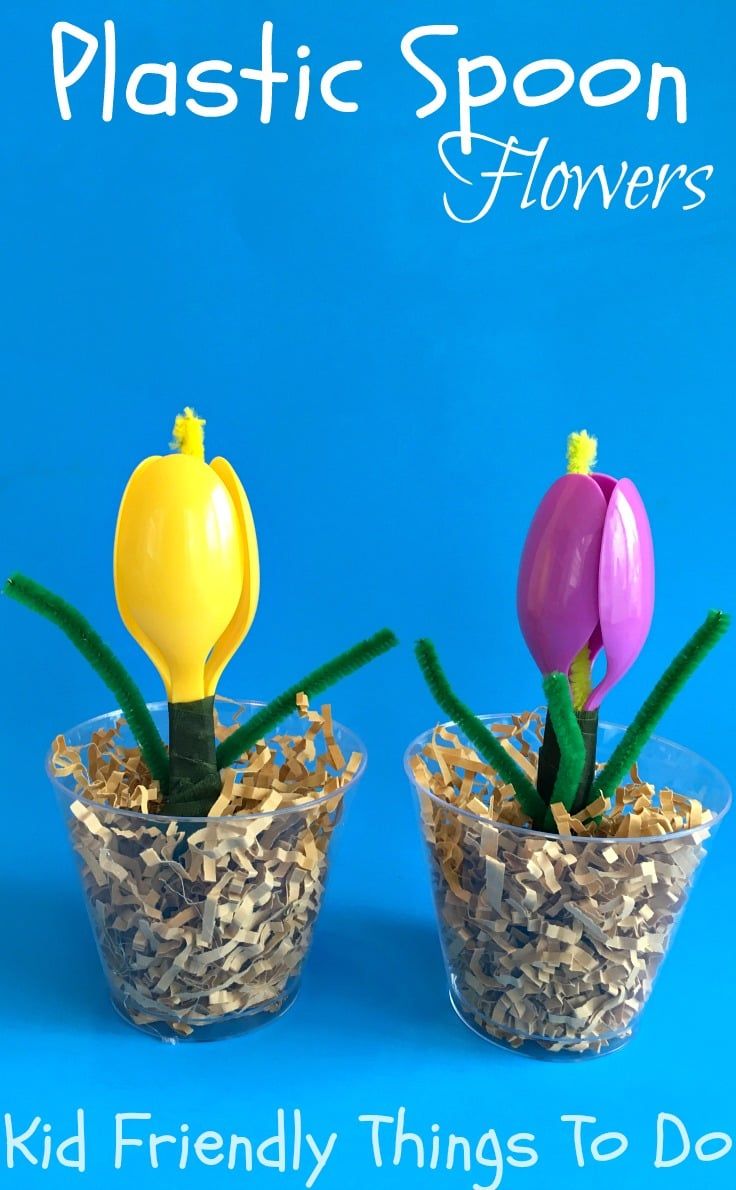 DIY Plastic Spoon Flower
- Knitting Ideas
-
 Knitted Swan Dolls in Love
-
 Knitted Marilyn Monroe Doll
-
 Knitted Nordic Mittens