Crochet Flossy Flamingo Keyring


Introducing the adorable Crochet Flossy Flamingo Keyring! This charming little accessory brings a pop of fun and color to your everyday routine. Handcrafted with care and attention to detail, this keyring is not just a practical way to keep your keys organized but also a delightful fashion statement.
Flossy Flamingo Keyring Pattern – You will need:
- 4mm crochet hook
- DK Yarn
- Body and wings – Candyfloss Stylecraft Special DK yarn
- Legs and beak – White Stylecraft Special DK yarn
- Feathers, beak and eyes – Black Stylecraft Special DK yarn
- (less than 50g of each colour)
- Soft toy filling
- Darning needle to sew it all together
- Keyring attachment (if using)
Stitches / Abbreviations: (US Crochet)
- MR – Magic Ring
- SC – Single Crochet
- DC – Double Crochet
- HDC – Half Double Crochet
- INC – Increase
- DEC – Decrease
- SS – Slip Stitch
- St/Sts – Stitch / Stitches
Flossy Flamingo Keyring Pattern – Head – Pink yarn
- Make a magic ring (MR)
- 6sc into MR (6sts) – do not join to first stitch, carry on working in the round
- Inc in each st x 6 (12sts)
- 1sc, INC x 6 (18sts)
- 2sc, INC x 6 (24sts)
- – 9. 1Sc in each st (24sts) (4rows)
- 2sc, DEC x 6 (18sts)
- 1sc, DEC x 6 (12sts)
- Start Stuffing with soft toy filling
- DEC x 6 (6sts)
- SS, Fasten off (leaving a long piece of yarn for sewing together)
Flossy Flamingo Keyring Pattern – Beak – Black yarn
- Make a magic ring (MR)
- 4SC into MR (4sts) do not join to first stitch, carry on working in the round
- 1SC, INC x 2 (6sts)
- 2SC, INC x 2 (8sts)
- 1SC in next 2 sts, 1HDC in next 4sts, 1SC in next 2sts (8sts)
- INC in next st, 1SC in next st, 1HDC in next 4sts, 1SC in next st, INC in next st (10sts)
- 1SC in each st (10sts)
* Change colour to white yarn *
- – 9. 1SC in next 2sts, 1HDC in next 6sts, 1SC in next 2sts (10sts) (2 rows)
- 1SC in each st (10sts)
- Slip stitch. Fasten off (leaving a long piece of yarn for sewing together) and stuff the beak lightly with soft toy filling then sew to the head
Flossy Flamingo Keyring Pattern – Body – Pink yarn
- Make a magic ring (MR)
- 6SC into MR (6sts) do not join to first stitch, carry on working in the round
- INC in each st x 6 (12sts)
- 1SC, INC x 6 (18sts)
- – 7. 1SC in each st (18sts) (3 rows)
- 7SC, DEC x 2 (16sts)
- 6SC, DEC x 2 (14sts)
- 5SC, DEC x 2 (12sts)
Start Stuffing with soft toy filling
- 4SC, DEC x 2 (10sts)
- 3SC, DEC x 2 (8sts)
- 2SC, DEC x 2 (6sts)
- 1SC, DEC x 2 (4sts)
- SS, Fasten off (leaving a piece of yarn for sewing)
Flossy Flamingo Keyring Pattern – Neck – Pink yarn
- CH 8 (8sts), join to first CH, carry on working in the round
- SC into each st x 60sts
- SS, Fasten off (leaving a long piece of yarn for sewing together)
- Stuff firmly when sewing to head and body
Flossy Flamingo Keyring Pattern –
Tail feathers – 1 Central & 2 Side Feathers
Central feather – Pink yarn (Make 1)
- CH 10. In 3rd CH from hook work 1DC in next 3sts, 1HDC in next 2sts, 1SC in next 2sts, 1SS in last st. Turn and work in other side of CH
- 1SC in next 2sts, 1HDC in next 2sts, 1DC in next 3 sts
- SS, Fasten off (thread the left over yarn through middle of the feather and knot at bottom to the beginning yarn)
Side feathers – Pink Yarn (Make 2)
- CH 8. In 2nd CH from hook work 1SS, 1SC in next 2sts, 1HDC in next 2sts, 1DC in next 2sts
- SS, Fasten off (leaving a long piece of yarn for sewing together)
Flossy Flamingo Keyring Pattern –
Wings – Pink yarn (make 2)
- Make a magic ring (MR)
- 6SC into MR (6sts) do not join to first stitch, carry on working in the round
- 1SC, INC x 3 (9sts)
- 1SC in each st x 9 (9sts)
- DEC, 1SC in next 7sts (8sts)
- DEC, 1SC in next 6sts (7sts)
- Continue, DEC, 1SC in next 5sts (6sts)
- DEC, 1SC in next 4sts (5sts)
- SS, Fasten off (leaving a long piece of yarn for sewing together)
Flatten wing and continue with wing feathers
Wing feathers – Black yarn (complete on both wings*)
- Attach yarn with a SS to corner of the wing
- SC in each st (8sts), TURN * DO NOT WORK IN THE ROUND *
- In 1st st, CH 2, SS into 2nd CH from hook, SS into next st
- CH3, SS into 2nd CH from hook, SS into next st
- CH4, SS into 2nd CH from hook, SS into next st
- CH4, SS into 2nd CH from hook, SS into next st
- CH5, SS into 2nd CH from hook, SS into next st
- CH5, SS into 2nd CH from hook, SS into next st
- CH6, SS into 2nd CH from hook, SS into next st
- Fasten off & weave in ends
* For other wing, work backwards ie ch6 row first, working back to ch2 row*
Flossy Flamingo Keyring Pattern –
Legs – White yarn (make 2)
- CH 11
- SS into 4th st from hook, * CH 3, SS back into same st * repeat * – * two more times then SS in each CH back towards beginning
- Fasten off & weave in end
Next:
Sew all pieces together.
Sew eyes in black yarn onto the flamingo’s face.
Flossy Flamingo Keyring Attachment, if using:
Sew keyring attachment securely to the top of the flamingo’s head.
No comments
Write a comment
- Recipes
-
 Cilantro Lime Rice
-
 Sweet Potato Soup with Roasted Cauliflower Crumbles
-
 Americano Cocktail
- Funny Pictures
-
 Incredible Animal Pics to Have Some Good Time
-
 Totally Wholesome Doggo Memes
-
 Cute and Adorable Animals for You
- Crochet Ideas
-
 Crochet Crop Top
-
 Crochet Easter Sheep and Duck Egg Bags
-
 Crochet Summer Top
- Lifehacks
-
 How to Crochet the Plaid Stitch Photo Tutorial
-
 How To Crochet The 3-Colored Crosshatch Stitch Tutorial
-
 Flower With Stem Stitch Photo Tutorial
- DIY
-
 Crochet Smiling Flowers
-
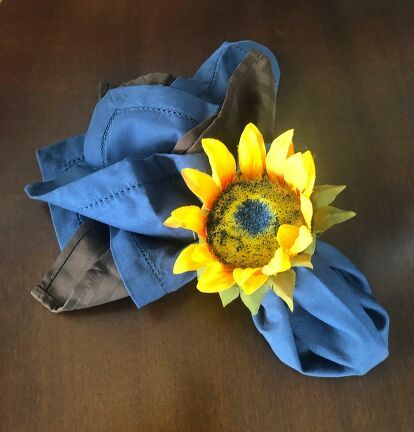 Use Shower Curtain Rings to Make Your Table Prettier
-
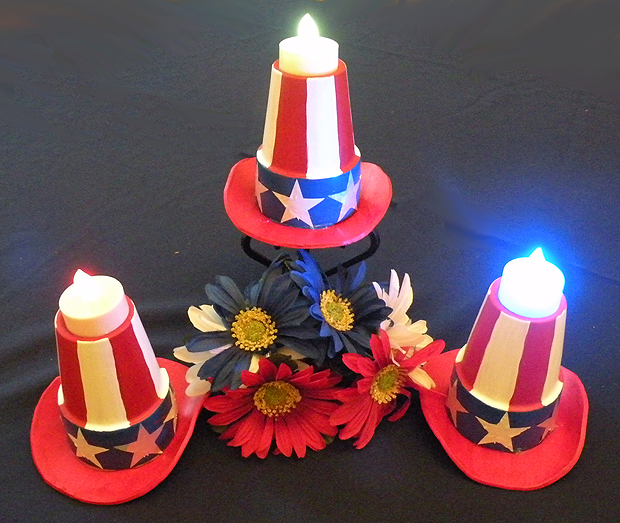 Uncle Sam Hat Candle Holders
- Knitting Ideas
-
 Knitted Tank Top
-
 Knitted Pom-Pom Booties
-
 Knitted Rabbit Dolls