Crochet Drum Ornament Pattern


A crochet drum ornament is a festive and charming decoration often crafted during the holiday season. Typically made using bright yarns, it can feature vibrant colors and intricate designs that mimic the appearance of a classic drum. This ornament can be hung on a Christmas tree or used as part of holiday décor, adding a handmade touch to your celebrations.
Crochet Drum Ornament Pattern
Materials
- DK weight yarn in white, red and yellow (I used Paintbox Yarns Cotton DK in Paper White, Pillar Red and Mustard Yellow)
- 2.5mm crochet hook
- Yarn or embroidery floss for decorating
- Polyester fiberfill
- A toilet paper roll and card (tissue box, cereal box, etc)
- Yarn/twine for hanging
- Optional: 2x 8mm wooden beads, a bamboo skewer and hot glue
- Stitch marker, yarn needle, scissors
Abbreviations (US Terms)
- ch – chain
- sc – single crochet
- inc – increase
- sl st – slip stitch
- st/s – stitch/es
- […] – repeat the instructions in brackets
- (…) – indicates stitch count at end of round
Finished Size
The finished drum ornament measures approximately 2.75″ x 2.75″ (7cm x 7cm). Size may vary depending on tension and materials used.
Gauge
Gauge is not important in this pattern. However, using a different yarn and hook size will change the size of the finished item.
Notes
- The top and bottom of the drum are worked in a continuous spiral starting with a magic ring. Mark the first stitch of each round with a removable stitch marker.
- The drum body is worked in joined rounds. The ch 1 at the beginning of each round does not count as a stitch.
- Colour changes take place in the last yarn over of the previous colour and before the sl st join on the body.
Pattern Instructions
Drum Top & Bottom (starting with white)
R1: 6 sc in magic ring (6)
R2: [Inc] x6 (12)
R3: [Sc, inc] x6 (18)
R4: Sc, inc, [2 sc, inc] x5, sc (24)
R5: [3 sc, inc] x6 (30)
R6: 2 sc, inc, [4 sc, inc] x5, 2 sc (36)
Fasten off invisibly.
Join yellow yarn in any st and sl st around.
Fasten off and weave in ends.
Repeat for the second piece.
Drum Body (starting with yellow)
Ch 36, sl st to first ch without twisting.
R1: Ch 1, [sc] x36 – change colour to red in last st, sl st to first sc to join (36)
R2-6: Ch 1, [sc] x36, sl st to first sc to join (36) 5 rounds – change colour to yellow in last st of R6 before joining
R7: Ch 1, [sc] x36 (36)
Fasten off leaving a long tail for sewing (approximately 60cm).
Assembly
- Measure one of the top/bottom pieces and cut 2 circles out of card.
- Using the long tail from the body, whip stitch one of the top/bottom pieces to the body going through both loops of the body and the front loop only of the yellow sl st round of the top/bottom piece. Place card flat in the bottom.
- Starting at the back of the drum, mark every 6th st with a pin. Using accent yarn or embroidery floss, sew a zigzag around the body of the drum using the pins as a guide. Don’t pull your stitches too tight so as not to deform the body of the drum.
- Cut a toilet roll to fit inside the drum or use another piece of card. You want it to be just a little bit shorter than the body of the drum.
- Add stuffing and place the second circle of card on top.
- Using a long length of yellow yarn, whip stitch the last top/bottom piece to the body in the same way as before. Weave in ends
- Attach a hanging loop. The position of the hanging loop will affect the way the drum hangs so see what works best for you.
Drumsticks (optional)
- Cut the bamboo skewer into 2 pieces of your desired length. I made mine 1.5″ long.
- Add a small amount of glue to the end and secure it inside the wooden bead.
- Repeat for the second drumstick.
- Glue the drumsticks to the top of the drum.
- Recipes
-
 8 Minute Lebanese Pizza – Chicken Mince
-
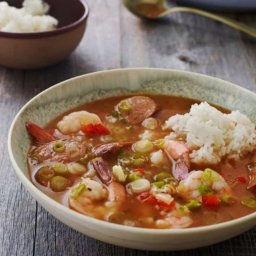 Classic Gumbo with Andouille Sausage & Shrimp
-
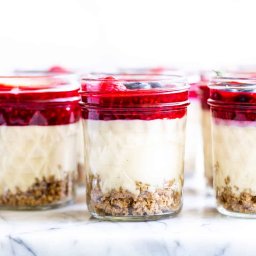 No Bake Cheesecake Jars
- Funny Pictures
-
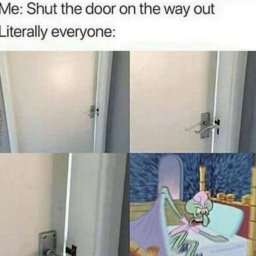 Some Relatable Memes for When You Need a Boost
-
 Wonderful Animal Memes to Take You Through the Day
-
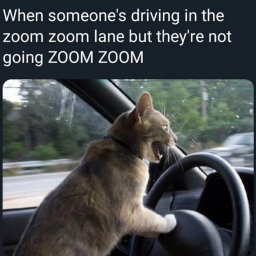 Funny Memes for Everyone Who Drives a Car
- Crochet Ideas
-
 Crochet Adorable Crab
-
 Crochet Beautiful Seal
-
 Crochet Beautiful Whale
- Lifehacks
-
 How to Bavarian Crochet Photo Tutorial
-
 How to Crochet Zigzag Spike Puff Stitch Photo Tutorial
-
 How to Crochet Cross Over Stitch Photo Tutorial
- DIY
-
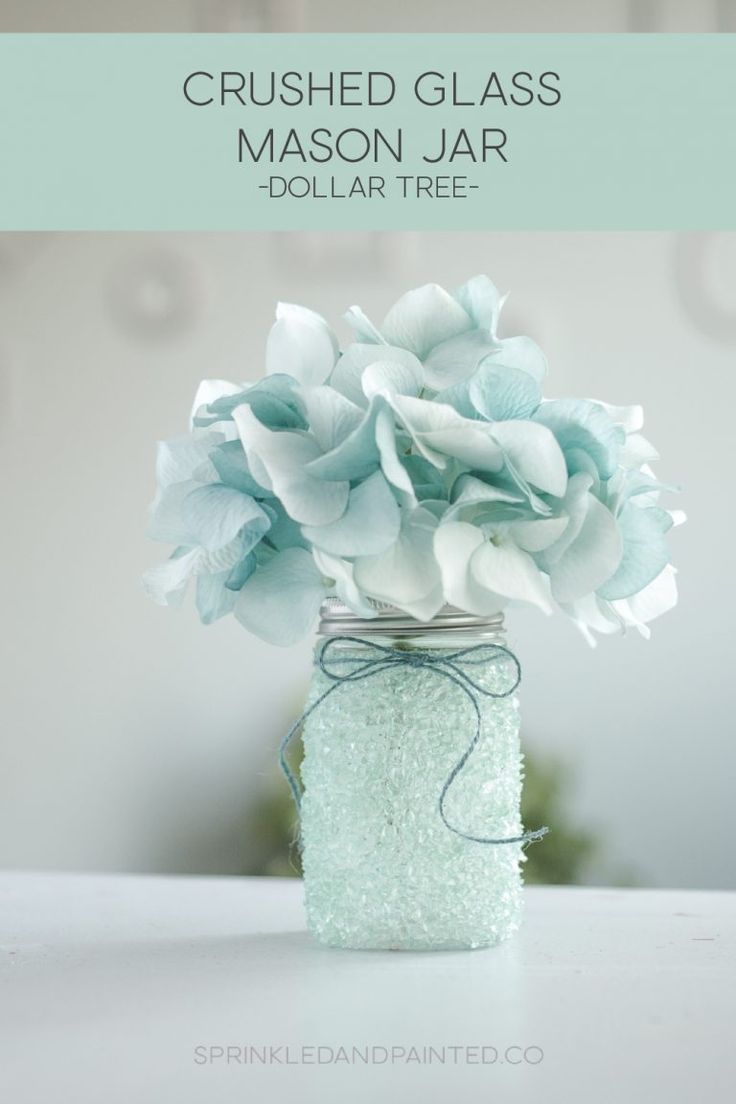 DIY Crushed Glass Mason Jar
-
 DIY Bottle Cap Candles
-
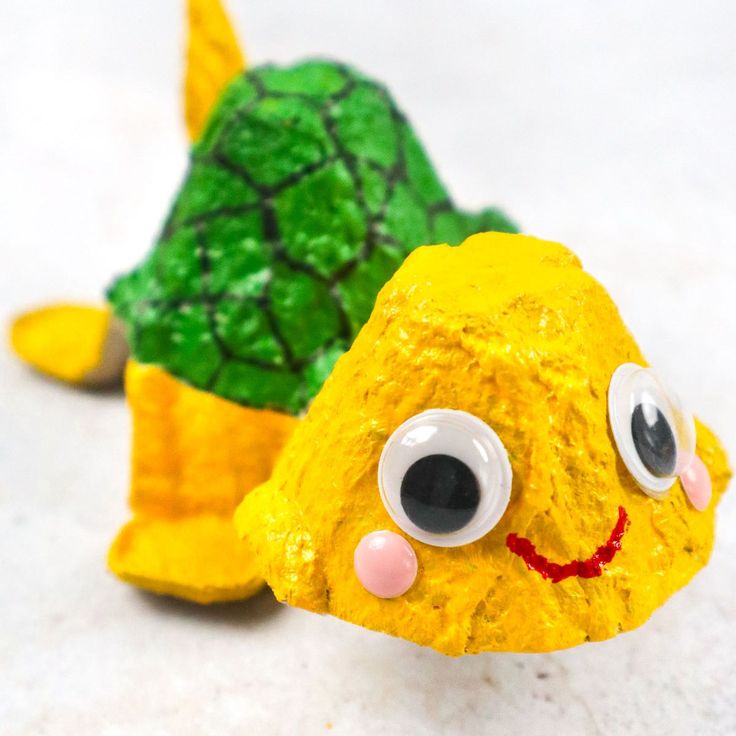 DIY Egg Carton Turtle
- Knitting Ideas
-
 Knitted String Market Bag
-
 Knitted Mobile Phone/Glasses Case
-
 Knitted Handmade Bunny