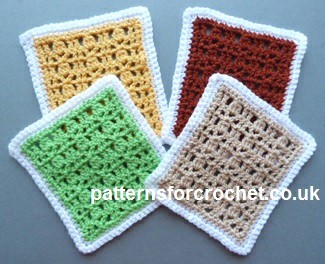
Crochet Afghan Squares: A Creative Guide for Cozy Decor

Introduction
Crochet Afghan Squares are the perfect way to add charm and coziness to your home decor or create beautiful handmade gifts for your loved ones. These versatile squares come in a variety of patterns and color combinations, allowing you to unleash your creativity and personalize your projects. Whether you're a seasoned crocheter or new to the art of crocheting, Afghan squares are a fun and rewarding way to practice your skills and create stunning pieces. With each stitch, you can weave a little bit of warmth and love into every square, making them not just a craft project but a labor of love. So, grab your crochet hook, choose your favorite yarn, and let your imagination run wild as you embark on a colorful journey of crocheting Afghan squares!
USA Format
Abbreviations
- WS: Wrong Side
- RS: Right Side
- ch: Chain
- sc: Single Crochet
- dc: Double Crochet
- rpt: Repeat
- sl st: Slip Stitch
- vst: (1dc, ch2, 1dc) in next stitch or space
- dc3tog: Leaving last loop of each dc on hook, work 3dc in next ch2 space, yrh pull through 4 loops.
- Base of ch: Work in the first stitch
- ch3: Counts as first dc
Finished Size
Approx: 5.5 x 5.5 inches
Materials
I have used small amounts of Stylecraft Special DK in 2 colours for each square.
OR
Small amounts of Worsted Weight #3 in 2 colours for each square.
4.00mm crochet hook
GAUGE: 1 pattern repeat and 2 rows measures approx 1 inch.
Pattern Instructions
With color 1 ch25, (WS) 1dc in 4th ch from hook, * skip 2ch, vst (see abbrev) in next ch, skip 2ch, 1dc in each of next 2ch, * rpt from * to * to end. Turn.
Next Row
ch3, 1dc in next dc, * ch2, dc3tog (see abbrev) in next ch2 space, ch2, 1dc in each of next 2dc, * rpt from * to * to last dc and ch3, 1dc in dc, 1dc in top of ch3. Turn.
Pattern Row 1
ch3, 1dc in next dc, * skip ch2 space, vst in dc3tog, skip ch2, 1dc in each of next 2dc, * rpt from * to * to last dc and ch3, 1dc in dc, 1dc in top of ch3. Turn.
Pattern Row 2
ch3, 1dc in next dc, * ch2, dc3tog in next ch2 space, ch2, 1dc in each of next 2dc, * rpt from * to * to last dc and ch3, 1dc in dc, 1dc in top of ch3. Turn.
Repeat Pattern
Rpt Pattern Rows 1 & 2 until 10 rows have been worked from beginning. Turn.
Border
ch1, 1sc in base of ch1, 1sc in next dc, * 2sc in ch2 space, skip dc3tog, 2sc in next ch2 space, 1sc in each of next 2dc, * rpt from * to * once, 2sc in ch2 space, skip dc3tog, 2sc in next ch2 space, 1sc in next dc, 3sc in top of ch3, work 18sc evenly in row ends down the first side of the square, 3sc in corner, 1sc in next dc, rpt from * to * twice, skipping vst (not dc3tog) along cast-on edge, 2sc in next ch2 space, skip vst, 2sc in next ch2 space, 1sc in next dc, 3sc in top of ch3, work 18sc evenly in row ends up the second side of the square, 1sc in corner, sl st to first sc. Fasten off. Turn.
Join in color 2, work 2 rows of sc, working 3sc in corners and slip stitching to the first sc on the beginning of each row. Fasten off.
Finishing
Weave in all loose ends of yarn and trim. Make as many squares as you need for the size blanket you want and sl st them together.
- Recipes
-
 Cheesy Chicken and Broccoli Skillet
-
 Mint Chocolate Chip Cookies
-
 Five Spice Pork Meatballs with Rice and Kimchi Mayo
- Funny Pictures
-
 A New Dose of Funny Memes for All
-
 Pics to Get the Excitement Today
-
 Funny Christmas Meme Dump
- Crochet Ideas
-
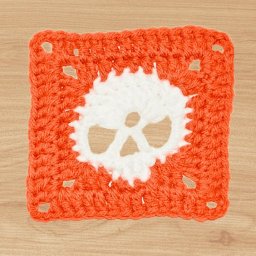 Crochet Skull Granny Square
-
 Crochet Mickey Mouse Hat
-
 Crochet Baby Booties
- Lifehacks
-
 How to Crochet Front Loop Only Single Crochet Stitch
-
 Easy Double Crochet Mesh Stitch Photo Tutorial
-
 Front Post Half Double Crochet Stitch Photo Tutorial
- DIY
-
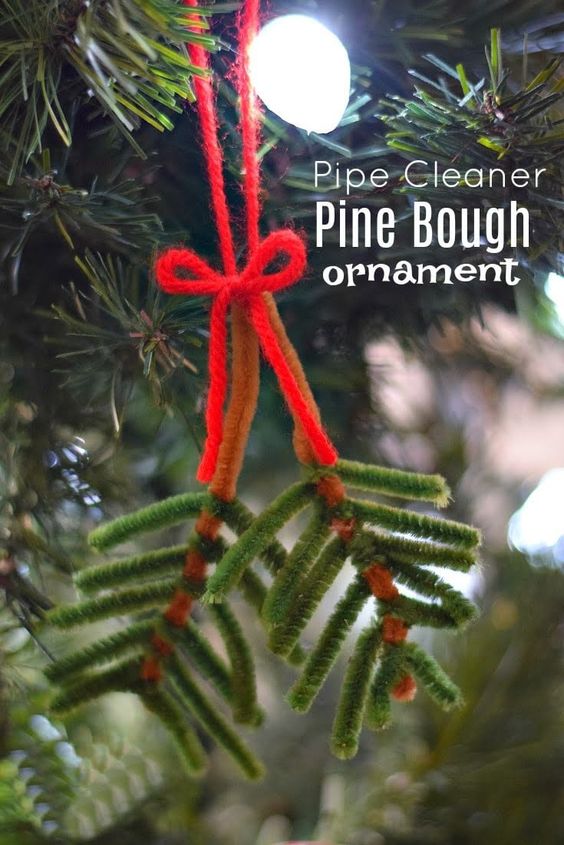 Pipe Cleaner Ornament
-
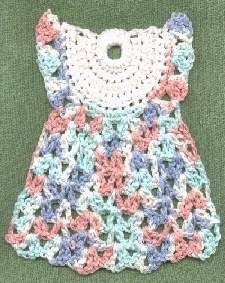 Crochet Little Dress Cotton Dishcloth
-
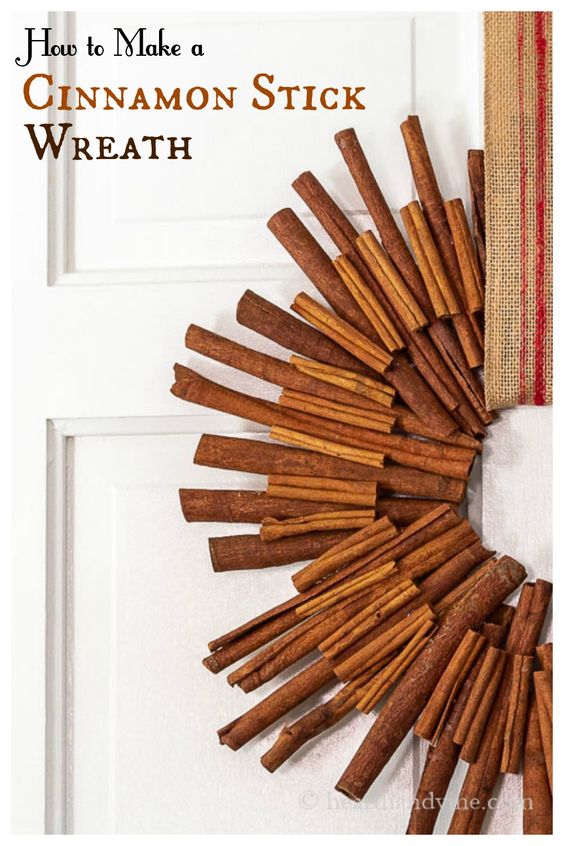 Cinnamon Stick Wreath
- Knitting Ideas
-
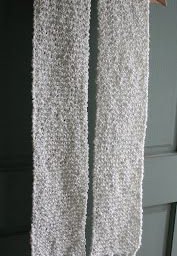 Knitted Christmas Eve Scarf
-
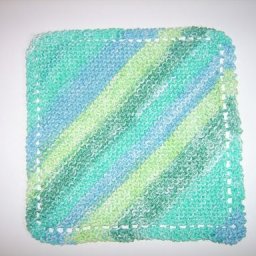 Knitted Adorable Dishcloth
-
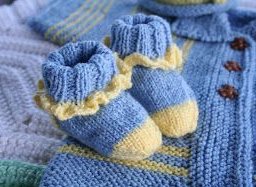 Knitted Ruffled Baby Socks