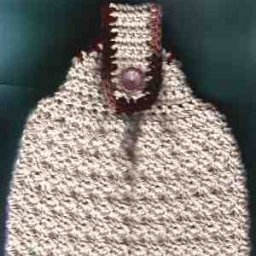
Crochet Hook Case: Your Essential Accessory for Crochet Crafting


Introducing the Crochet Hook Case, the perfect accessory for all crochet enthusiasts! This innovative case is designed to keep your crochet hooks organized and easily accessible, ensuring that you never lose track of your favorite tools again. Made from high-quality materials, this case is not only durable but also stylish, with a sleek and modern design that will impress all your fellow crafters.
Whether you're a beginner or an experienced crocheter, the Crochet Hook Case is a must-have accessory that will revolutionize your crochet game. Keep your hooks organized, protect them from damage, and add a touch of style to your crafting routine with this practical and chic case. Get yours today and take your crochet projects to the next level!
Materials
*Worsted weight yarn in the following amounts and colors:
- 20 yards for each small slot desired
- 25 yards for each large slot desired
- 60 yards for edging
You may sub embroidery floss held double stranded, if so, you will need:
- (4) skeins for each small slot desired
- (6) skeins for each large slot desired
- (10) skeins for edging
I’d recommend against MIXING the yarn and the DMC; either commit to one or the other in full for the whole case. They have a different sheen and work up slightly differently, so I feel this is the best approach.
Shown in project is Caron Simply Soft in the following colors matching the full set of Clover crochet hooks from smallest steel to largest Q size, which has 24 hooks total:
- Soft pink
- Soft blue
- Soft green
- Orchid
- Light country peach
- Lemon meringue
- Pistachio
- Chartreuse
- Lemonade
- Orange
- Red
- Watermelon
- Grape
- Berry blue
- Cobalt blue
- Kelly green
- Dark chocolate
- Neon green
- Neon yellow
- Neon pink
- Neon orange
- Iris
- Cool green
- Blue mint
When choosing colors, I recommend you take the hooks with you and hold them up to each color for the best matches!
Additional Materials
- *Size E (3.5mm) crochet hook
- *Tapestry needle to weave in ends
- *Button or bobble for closure
Finished Dimensions and Gauge
After blocking, the case measures 11” tall x 25” wide.
Each small slot is 1” wide and each large slot is 1 ¼” wide.
For gauge, complete one small slot and ensure it is about 1” wide and 11” tall.
Design Notes
There is no seaming of pockets afterwards; this is a join-as-you-go case! It is fully customizable to your personal hook collection. I’ve used the small slot for all the thread hooks (1st 7 colors) and all the standard hooks (next 10 colors) that Clover offers, and the large slot for the big hooks (last 7 colors). The pockets fit snugly; for me, there is nothing worse than picking up your case and having the hooks fall out.
You’ll want to take a moment to line up your hooks and color choices and write it down to avoid messing up your sequence. Due to the seamless construction and bulk of the pocket, the project may bow out at the bottom; do not worry, this will need some aggressive blocking, which will rectify that.
Blocking
As stated above, this item should be aggressively blocked so it lays flat and rectangular. Once the item is completely finished and the tails are woven in, follow these steps:
- Heavily dampen the case and squeeze out excess water; do not wring or twist.
- Stretch, pull, and otherwise coerce the case into a nice flat, even rectangle.
- Using non-rusting pins, pin it in place on a blocking board, foam mat, mattress, or folded towels to keep it flat.
- Let it dry undisturbed until completely dry.
Instructions
Small Slot: (You must begin with at least one small slot; after that, the order does not matter)
Ch 51:
Row 1:
sc in 2nd ch from hook and in each across. (50 sc)
Row 2:
ch 1, turn, sc in each sc across. (50 sc)
Rows 3-4:
rep row 2
Row 5:
ch 1, turn, scflo (single crochet front loop only) in 1st 20 sc. (20 scflo)
Row 6:
ch 1, turn, sc in each of the 20 sts. (20 sc)
Rows 7-9:
repeat row 6.
Row 10:
(see image at row end) making sure you are folding so the remaining free loop left from Row 5 is on the OUTSIDE, fold the smaller pocket end so row 9 rests back next to the beginning chain (forming a pocket). Insert your hook into the 20th loop from the bottom remaining loop from the beginning, pull the working yarn through both layers, thereby slip stitching them together. Ch 1, sc in the 1st 19 stitches down, catching both the remaining beginning chain loop and the sc on row 9 to close pocket. Make 3 sc in the last st to round the corner.
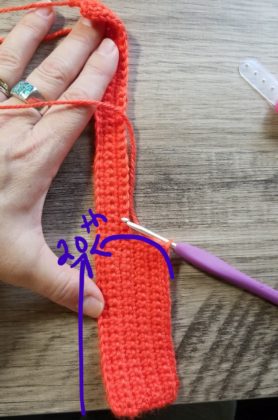
Working across the bottom, through both thicknesses, evenly space 3 more sc across the bottom to complete the pocket; tie off color.
Row 11:
join next color w/ sl st in the bottom (closed pocket end with pocket side facing) remaining loop of row 5, ch 1, sc in the same remaining loop and each remaining loop across. (50 sc)
Row 12:
ch 1, turn, scflo in each st across.
Row 13:
ch 1, sc in each st across. (50 sc)
Row 14:
repeat row 13.
Row 15:
ch 1, turn, sc in 1st 20 scflo. (20 scflo)
Row 16:
ch 1, turn, sc in each of the 20 sts.
Rows 17-19:
repeat row 16.
Row 20:
fold row 19 back to line up next to the remaining loops on row 12. Sl st into the 20th loop from the bottom, working through both thicknesses (the remaining loop and the sc on row 19), ch 1, and sc in each sc back down 20.
Working through both thicknesses across the bottom, make 2 more sc in the 20th st and evenly space 5 more sc across the bottom to close pocket; tie off.
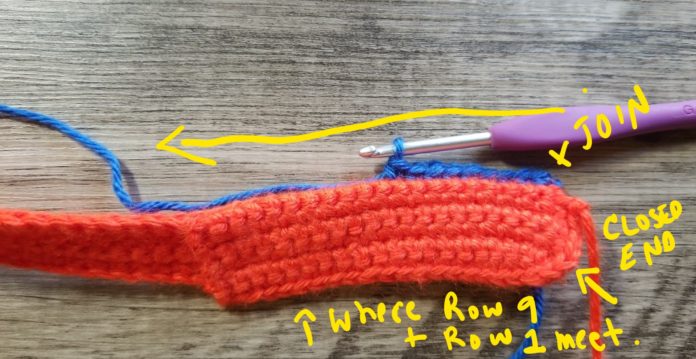
*Repeat Rows 11-20 for each small slot desired.
Large Slot
Row 1:
join next color w/ sl st in the bottom (closed pocket end with pocket side facing) remaining loop of row 5, ch 1, sc in same remaining loop and each remaining loop across. (50 sc)
Row 2:
ch 1, turn, scflo in each st across.
Row 3:
ch 1, sc in each st across. (50 sc)
Rows 4-6:
repeat row 3.
Row 7:
ch 1, turn, sc in 1st 20 scflo. (20 scflo)
Row 8:
ch 1, turn, sc in each of the 20 sts.
Rows 9-11:
repeat row 16.
Row 12:
fold row 12 back to line up next to the remaining loops on row 2. Sl st into the 20th loop from the bottom, working through both thicknesses (the remaining loop and the sc on row 19), ch 1, and sc in each sc back down 20.
Working through both thicknesses across the bottom, make 2 more sc in the 20th st and evenly space 5 more sc across the bottom to close the pocket; tie off.
Edging
With the pocket side facing, join your edge color with a sl st in any st on the last row made, ch 1, sc in same sc, and work as follows:
Round 1:
Make 1 sc in each sc and remaining loop of beginning chains on short sides; evenly space 5 sc in the bottom of each small slot, evenly space 6 sc in the bottom of each large slot, evenly space 5 sc around the post at the row ends of each small pocket across the top, evenly space 6 sc around the posts at the row ends of each large pocket across the top, and 3 sc in each corner. Sl st to the 1st sc made.
Round 2:
Chain 1, turn, sc in each sc around, 3 sc in each corner; sl st to the 1st sc made, tie off.
Finishing
Weave in all ends and block aggressively as instructed above.
Closure
I’ve saved this for last so that the bulk of any closure would not affect the blocking process.
- In the center stitch of the edging row on the side of the 1st pocket you made, join edging color yarn held double stranded with a sl st, chain the amount needed so that it will fit over your button or bobble choice snug but comfortable, sl st back into the same ch, tie off.
- Insert all your hooks to gauge placement. Roll the case up as desired, and stitch the button or bobble in the place that allows your loop to slide over it to close the case.
- Weave in the ends from the loop creation.
- Recipes
-
 Easy Air Fryer Chicken Wings
-
 Air Fryer Sesame Chicken Breast - Craving Tasty
-
 KETO FAT BOMBS – BEST KETO OREO COOKIE FAT BOMBS
- Funny Pictures
-
 Fresh Animal Memes That Will Certainly Load You With Delight
-
 Memes That Make Your Mood Instantly Better
-
 Hilarious Feline Pics to Have You Entertained
- Crochet Ideas
-
 Crochet Angel Fridgie
-
 Crochet Pretty Dish Towel
-
 Crochet Ghost Fridgie
- Lifehacks
-
 Alpine Crochet Stitch Photo Tutorial
-
 How to Crochet the Slanted Brick Stitch Photo Tutorial
-
 How to Crochet the Click Clack Stitch Photo Tutorial
- DIY
-
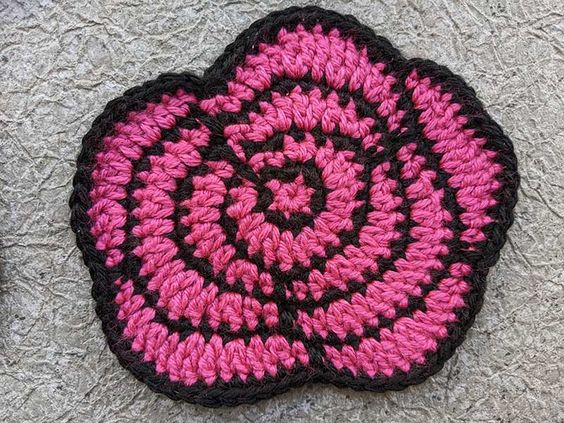 Crochet Two-Color Rose Patch
-
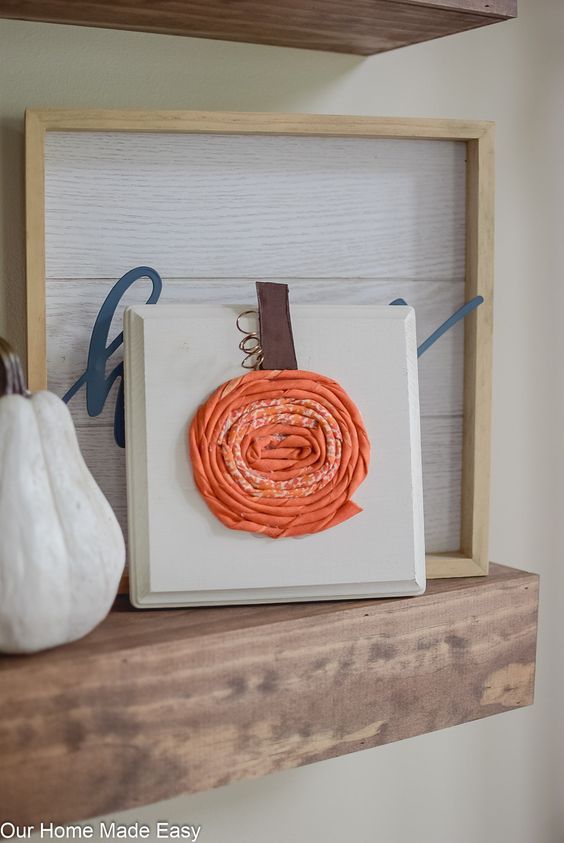 DIY Fabric Pumpkins On Wood Board
-
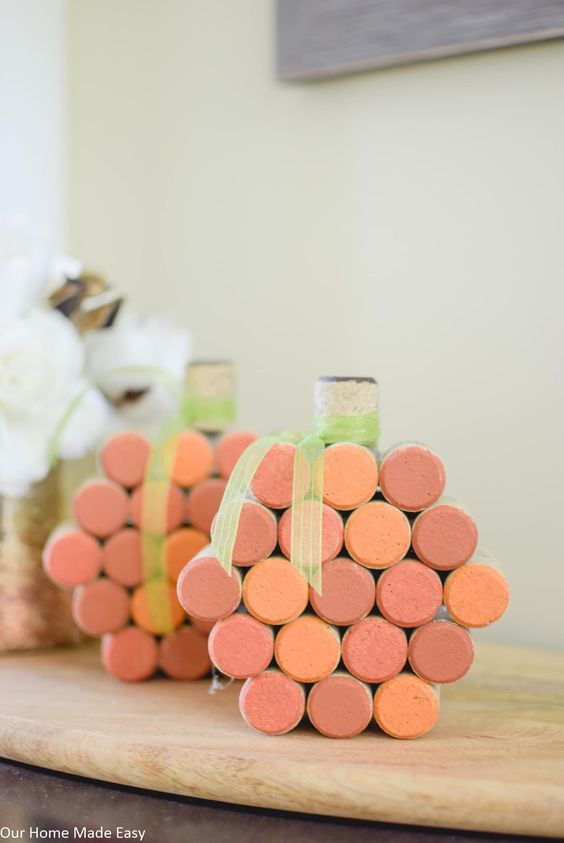 Simple Cork Pumpkins
- Knitting Ideas
-
 Knitted Cozy Embrace Snood
-
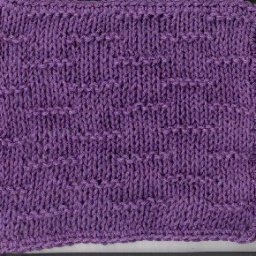 Knitted Tracks Dishcloth
-
 Knitted Sea Waves Dishcloth