Crochet Snow Peak Scarf
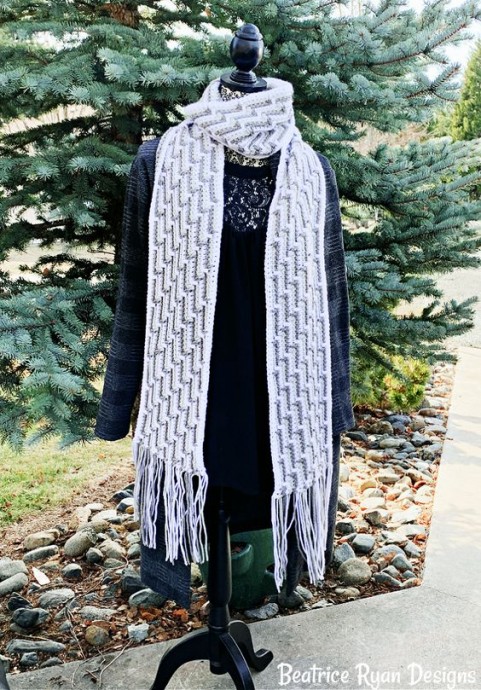
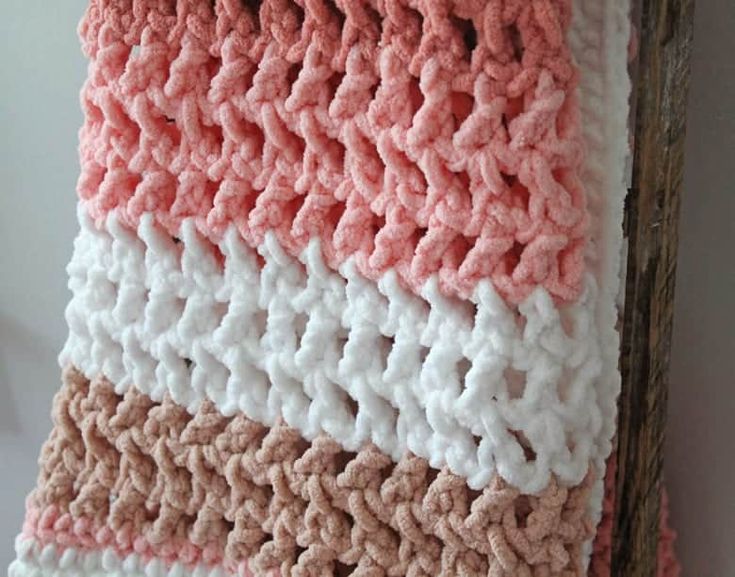
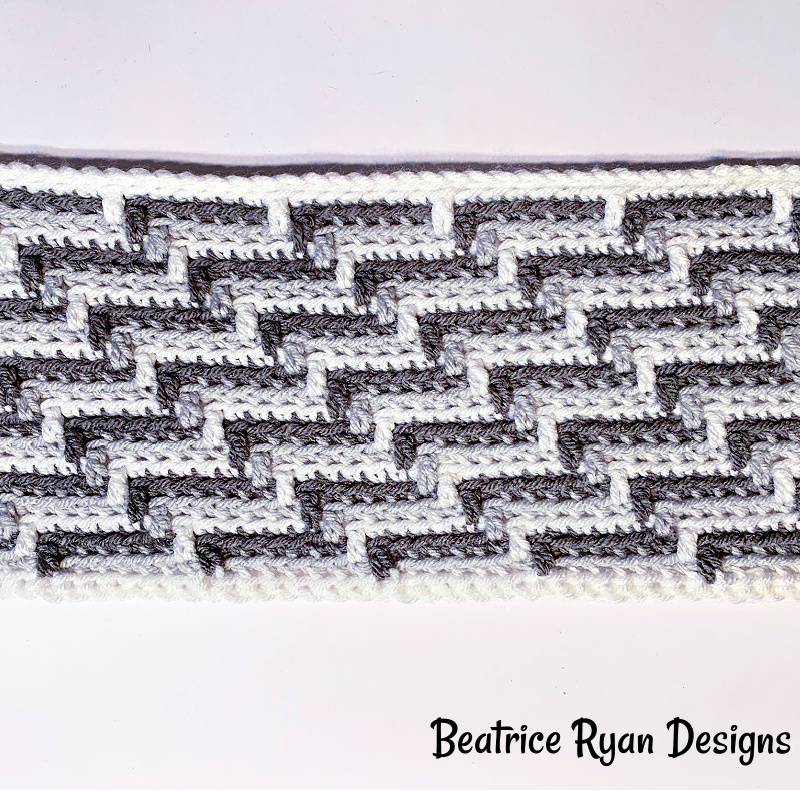
Create your very own handmade Snow Peak Scarf using the art of crocheting. This unique scarf design features a beautiful peak pattern that resembles snow-capped mountains, making it a stylish and cozy accessory for the winter season. By using different crochet stitches and techniques, you can customize the size, color, and texture of the scarf to suit your personal style.
Size:
6 1/2″ x 77″
Materials:
Yarn: 400+ yards of worsted weight yarn, 2 or more colors. I have used the following Hobby Lobby I Love This Yarn – A – White B – Light Grey C – Grey Beard
Hook – H
Stitches:
- Ch – Chain
- St – Stitch
- Bl – Back Loop
- Fl – Front Loop
- Sc – Single Crochet
- Dc – Double Crochet
- Foundation Sc
Instructions:
Tips:
Leave a 10″ Tail at the beginning and ending of each row for the fringe.
You will be finishing off each row and only working on Right Side. No turning.
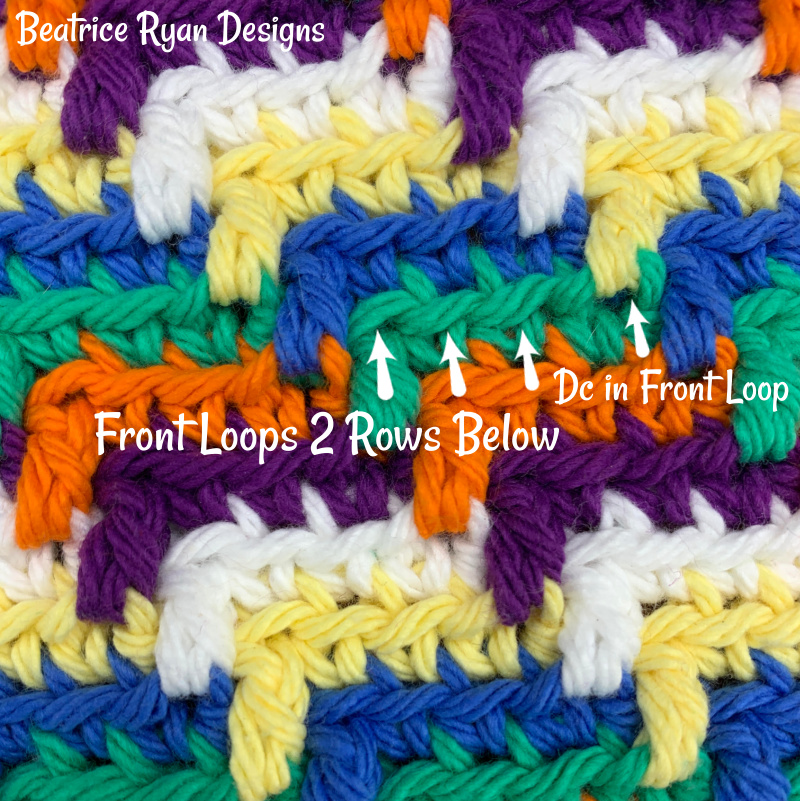
Your Fldc stitch will go in the front loop stitch 2 rows below(see pic)
Each row you are moving the Fldc over by 1 stitch
With Color A
Row 1: Make a Foundation Row of 275 Foundation Sc’s. Finish off
With Color B
Row 2: Join with sl st, ch 1, Sc in first st, blsc in next 273 sts, sc in last st. = 2 sc & 273 blsc Finish off
With Color C
Row 3: Join with sl st, ch 1, Sc in first st, *fldc in st 2 rows below, blsc in next 6 sts*, repeat *to* 38 more times, sc in last st. = 2 sc, 38 fldc and 235 blsc Finish off.
*Now and throughout, you will continue to change colors each row using A, B then C (or more colors if that is your color scheme.
Row 4: Join with sl st, ch 1, Sc in first st, blsc in next st, *fldc in st 2 rows below, blsc in next 6 sts*, repeat *to* 38 more times ending with only 5 blsc, sc in last st. = 2 sc, 38 fldc and 235 blsc Finish off.
Row 5: Join with sl st, ch 1, Sc in first st, blsc in next 2 sts, *fldc in st 2 rows below, blsc in next 6 sts*, repeat *to* 38 more times ending with only 4 blsc, sc in last st. = 2 sc, 38 fldc and 235 blsc Finish off.
Row 6: Join with sl st, ch 1, Sc in first st, blsc in next 3 sts, *fldc in st 2 rows below, blsc in next 6 sts*, repeat *to* 38 more times ending with only 3 blsc, sc in last st. = 2 sc, 38 fldc and 235 blsc Finish off.
Row 7: Join with sl st, ch 1, Sc in first st, blsc in next 4 sts, *fldc in st 2 rows below, blsc in next 6 sts*, repeat *to* 38 more times ending with only 2 blsc, sc in last st. = 2 sc, 38 fldc and 235 blsc Finish off.
Row 8: Join with sl st, ch 1, Sc in first st, blsc in next 5 sts, *fldc in st 2 rows below, blsc in next 6 sts*, repeat *to* 38 more times ending with only 1 blsc, sc in last st. = 2 sc, 38 fldc and 235 blsc Finish off.
Row 9: Join with sl st, ch 1, Sc in first st, blsc in next 6 sts, *fldc in st 2 rows below, blsc in next 6 sts*, repeat *to* 38 more times ending with only 0 blsc, sc in last st. = 2 sc, 38 fldc and 235 blsc Finish off.
Rows 10 – 22: Repeat rows 3-9 continuing with the color changes (this should be color A)
Join Same Color as Row 22(color A)
Row 23: Join with sl st, ch 1, sl st in each st across. = 275 sl sts. Finish off
Cut 30 – 40 extra 20″ pieces of yarn in the different colors and add them to each end – folding them in half and looping them next to one of the tails then securing. This will make your fringe fuller

