Crochet March Chevron Bag


Introducing the March Chevron Bag, a stylish and versatile crochet accessory that is perfect for adding a pop of color to your outfit. This bag features a trendy chevron pattern that is both eye-catching and fun to create. The intricate crochet work gives the bag a unique texture and adds a touch of handmade charm to your look. Whether you're heading to the beach, running errands, or meeting friends for coffee, this bag is the perfect companion for any occasion. Handcrafted with care and attention to detail, the March Chevron Bag is a must-have for any crochet enthusiast. The bag is spacious enough to hold all your essentials, from your wallet and keys to your favorite book or tablet. The sturdy straps ensure that the bag is comfortable to carry, while the durable yarn ensures that it will last for many seasons to come. Make a statement with the March Chevron Bag and show off your crochet skills in style.
Size: 8 X 7 inches
I did have instructions to make this bag wider, but the wider version doesn’t hold its shape as well. If you think you must make it larger, chain 52 for your starting chain.
There will be one repeat more of the pattern doing that.
Materials:
- Worsted weight yarn approximately 3 1/2 ounces of main color and small amount of contrasting color
- G (4.5 mm) hook
- Straight pins
Notes:
1. In the photo I did rows 4-6 in the contrasting yarn. You can do as many as or as few contrast rows as you like. I did my second bag using the contrasting yarn on rows 4-5 and 8-9.
2. Hdc dec = yo insert hook in next st, yo and pull loop through, yo and pull through two loops. Yo insert hook in next st, yo and pull loop through, yo and pull through 4 loops on hook.
3. Dc dec = yo insert hook in next st, yo and pull loop through, yo and pull through two loops. Yo insert hook in next st, yo and pull loop through, yo and pull through 2 loops, yo and pull loop through 3 loops.
4. When crocheting the “bag” portion mark rows 23 and 26 with waste yarn on one edge. That way you won’t need to count rows when you go to attach the strap. I never remember and have to count from the beginning each time.
5. At first the “flap” won’t lay flat, but with a little coaxing it flattens out. I set a heavy book on mine over night.
Instructions:
Flap:Chain 39.
Row 1: Sc in the 2nd st, and in next 4 stitches, * skip 2 stitches and sc in next 5 stitches, 3 sc in next stitch, sc in next 5 stitches * repeat from once. Skip 2 sts, sc in 5 sts.
Row 2-11: Ch 1, 2 sc in first st, sc in next 3 sts, *skip 2, sc in 5 sts, 3 sc in next st, sc in 5 sts repeat from * once. Skip 2 sts, sc in 3 sts, 2 sc in last st.
These three rows fill in the triangles to make an even edge for attaching to bag.
Row 12: Ch 1, sc in 2 sts, *hdc dec, dc dec, hdc dec, sc in 7 sts. Repeat from * once. Hdc dec, dc dec, hdc dec, ending with sc in 2 sts.
Row 13: Ch 1, sc in 2 sts, *hdc dec, hdc dec, sc in 5 sts. Repeat from * once. Sc in next st, dec, hdc dec, ending with sc in 2 sts.
Row 14: Ch 1, sc across. (21 sc)
Bag:
Rows 1-42: Ch 2, hdc across. (21 hdc)
Strap:
Row 1: Ch 6, sc in 2nd ch from hook, sc in remaining chains. Ch 2, turn.
Row 2: Dc in each st. Ch 2, turn.
Repeat row 2 until strap is 42 inches long. Fasten off.
Finishing:
Pin short edge of strap to rows 23-26 wrong sides together. Then pin strap to side of bag rows 6-22, pin other side to correspond. Pin opposite end of strap to other side of bag.
Attach yarn on the right side of first row, at side of flap. Sc evenly along side of flap, when you get to where strap is pinned to bag, work through both layers. Work down side, across bottom and up the other side. Fasten off.
Repeat on opposite side, starting at row 42, so that you are working on the right side of bag.
Weave in ends.
- Recipes
-
 Bruschetta Summer Pasta Salad
-
 Steel Cut Oats
-
 Thai Chicken Soup
- Funny Pictures
-
 Funny Pics That'll Improve Your Mood
-
 Funny Memes for Your Everyday Joy
-
 Something Funny for Today to Relax You
- Crochet Ideas
-
 Crochet Key Case
-
 Crochet Beautiful Slippers
-
 Crochet Lacy Cardigan for Summer
- Lifehacks
-
 How to Crochet the Snowflake Stitch Tutorial
-
 How to Crochet the Arcade Stitch With Bobbles Tutorial
-
 How to Crochet the Eiffel Tower Stitch Tutorial
- DIY
-
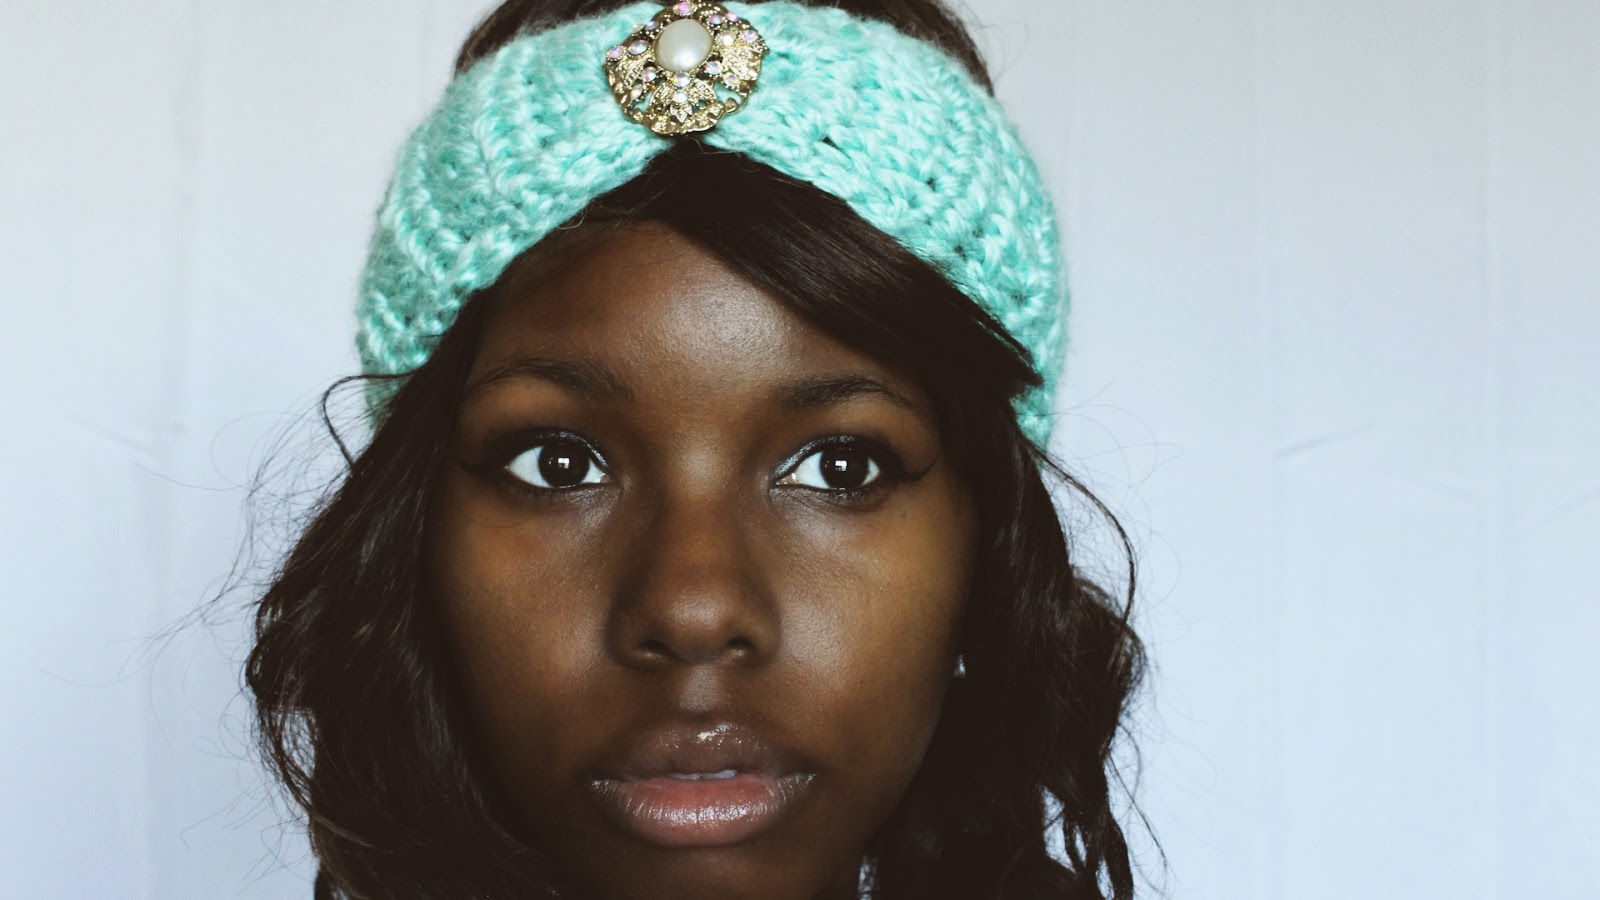 Crochet Vintage Inspired Headband
-
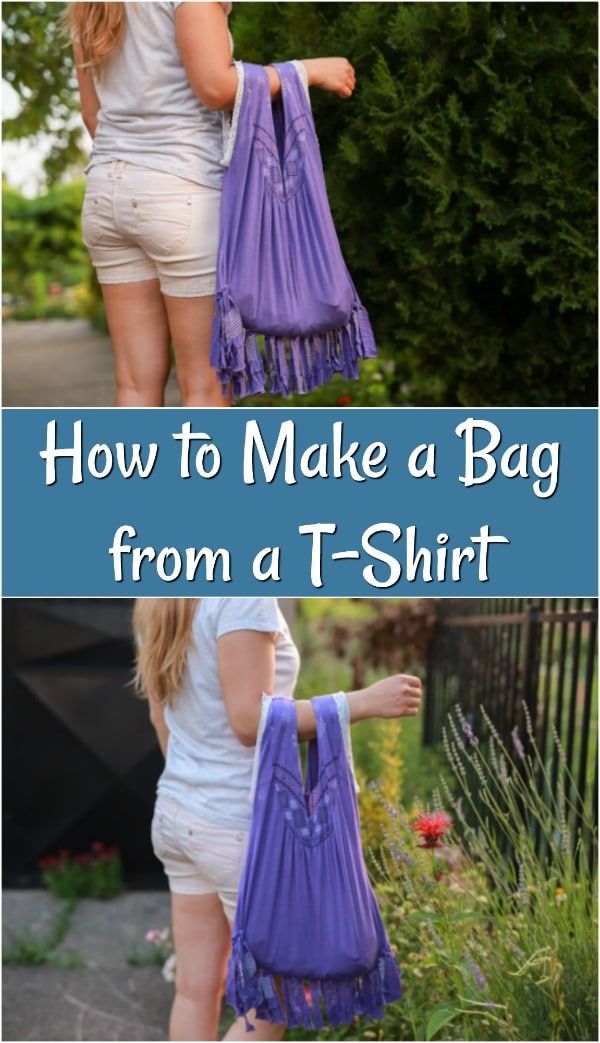 Bag from a T-Shirt
-
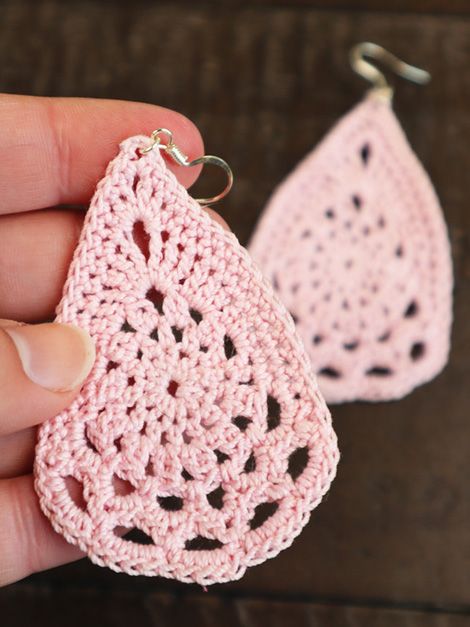 Crochet Elegant Tear Drop Earring
- Knitting Ideas
-
 Knitted Slouchy Structural Hat
-
 Knitted Double Layer Headband
-
 Knitted Hair Scrunchie