Crochet Tunisian Chevron Scarf


If you're looking to add a touch of handmade warmth to your wardrobe, the Crochet Tunisian Chevron Scarf might just be the perfect project for you! This charming scarf features elegant chevron pattern stitches, making it a stylish and cozy accessory for any outfit. With a soothing rhythm of crochet stitches, creating this scarf can be both relaxing and rewarding.
Whether you're a seasoned crocheter or a beginner wanting to try something new, this scarf is a fun and creative way to brighten up your winter days with a pop of handmade charm. So grab your yarn and hooks, and let's crochet our way to a cozy and stylish accessory that's sure to keep you warm and smiling all season long!
MATERIALS
- Lion Brand Landscapes Breeze, worsted weight (#4); 68% modal, 26% acrylic, 6% wool [157 yards / 90 gram skein]. Sample uses 1230 total yards achieved with 4 skeins each of two colors – (A) Horseshoe and (B) Willow.
- 8mm Tunisian crochet hook with 24″ cord (like this one!)
- Scissors
- Tapestry needle
- Locking stitch markers
- Steam blocking supplies (learn more about steam blocking HERE!)
FINISHED SIZE
80” long x 24” wide
GAUGE
4” = 14 sts x 8 rows in chevron pattern, unblocked
ABBREVIATIONS
- Cc = change color
- Ch = chain
- FwdP = Forward Pass
- Lts = Last Tunisian Stitch (see Special Stitches)
- Rep = repeat
- RetP = Return Pass (see Special Stitches)
- Sk = skip
- St(s) = stitch(es)
- Tks = Tunisian knit stitch (learn it HERE)
- Tss = Tunisian simple stitch (learn it HERE)
- Yo = yarn over
SPECIAL STITCHES
–Last Tunisian Stitch (Lts): Insert hook under BOTH vertical bars of the last stitch and complete as for Tss.
–Return Pass (RetP): Ch 1, (yarn over, pull through the next 2 loops on hook) until 1 loop remains on hook.
NOTES
–Do not fasten off any colors until instructed to do so.
–When skeins are exhausted, proceed to the next skein.
Wrap Pattern
Section 1
With A, ch 85.
ROW 1: Starting in the 2nd ch from the hook, pull up a loop in the back bump of each ch across, RetP.
ROW 2: Yo, tss 5, sk 1, tks 1, sk 1, *tss 5, yo, tks 1, yo, tss 5, sk 1, tks 1, sk 1; rep from * to last 6 sts, tss 5, yo, Lts. RetP.
Repeat Row 2 until the first skein of A is exhausted – approximately 10”. Cc to B after last full row of A.
Section 2
ROW 1: With B, continue in chevron pattern for FwdP and RetP. Cc to A at end of RetP.
ROWS 2-3: With A, continue in chevron pattern for FwdP and RetP. Cc to B at the end of Row 3.
Repeat Rows 1-3 until the second skein of A is exhausted – this section is approximately 15”.
End the last Row 3 repeat at the end of the FwdP. Fasten off B from beginning of row and cc to B at end of row.
Place marker at the beginning of this row.
Section 3
You are currently at the end of a FwdP with B attached. Complete RetP with B.
ROW 1: Continue in chevron pattern, completing the FwdP in B and the RetP in A.
ROW 2: Continue in chevron pattern, completing the FwdP in A and the RetP in B.
Repeat Rows 1-2 for 20” using the marker placed in Section 2 as a guide. End with a Row 1 rep. Fasten off B.
Place marker at the beginning of the last row.
Section 4
ROW 1: With A, continue in chevron pattern for FwdP and RetP. Cc to B at end of RetP.
ROWS 2-3: With B, continue in chevron pattern for FwdP and RetP. Cc to A at the end of Row 3.
Repeat Rows 1-3 for 15” using the marker placed in Section 3 as a guide. End with a Row 3 rep. Do not change to A at the end of the last row. Fasten off A.
Place marker at the beginning of the last row.
Section 5
ROW 1: With B, continue in chevron pattern for FwdP and RetP.
Repeat Row 1 to 10” using the marker placed in Section 4 as a guide.
BIND OFF: Sl st in each st across row. Fasten off.
Finishing
- Remove all markers.
- Weave in all ends.
- Steam block to final dimensions.
- Recipes
-
 Pasta with Pea Sauce
-
 Creamy Bacon Ranch Pasta Salad
-
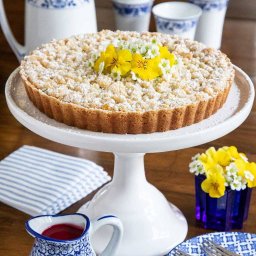 Lemon Curd Shortbread Tart
- Funny Pictures
-
 Funny Dog Memes About Funny Pups
-
 Funny Memes You Should See Right Now
-
 Humorous Memes to Start Your Day Right
- Crochet Ideas
-
 Crochet Slanting Cross Puff Stitch
-
 Crochet Spiral Post Stitch
-
 Crochet Beautiful Headband
- Lifehacks
-
 Diagonal Stripes Crochet Stitch Tutorial
-
 How to Crochet the Bobblet Stitch Photo Tutorial
-
 Pretty Pebbles Stitch Photo Tutorial
- DIY
-
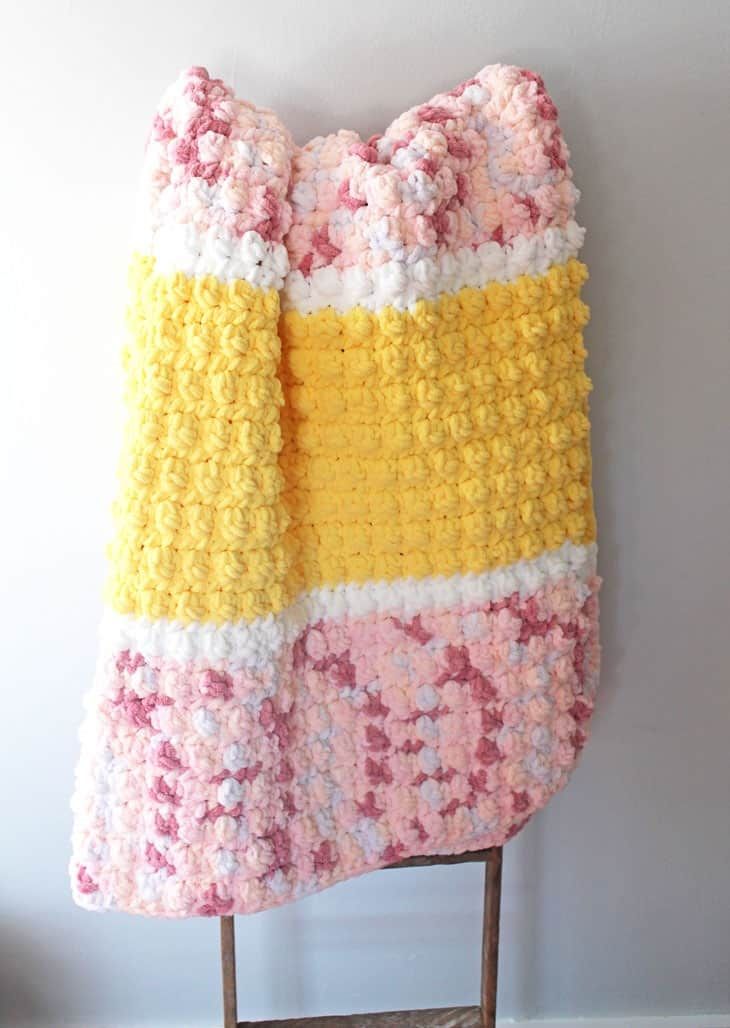 Crochet Pink Lemonade Blanket
-
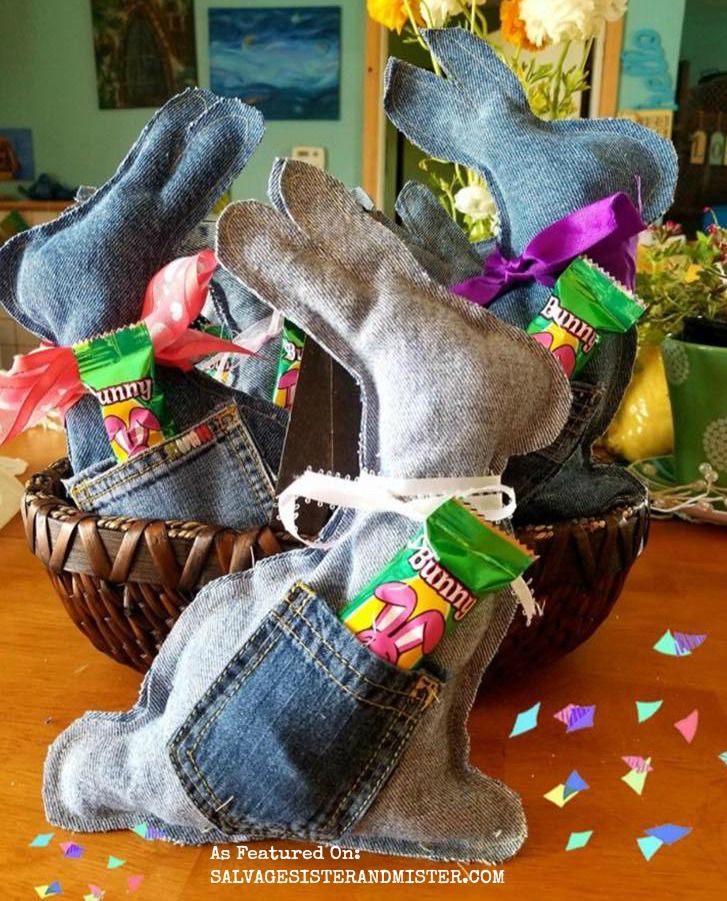 DIY Denim Bunny
-
 Crochet Up and Down Stripe Cotton Washcloth
- Knitting Ideas
-
 Knitted Throw Square
-
 Knitted Kids Dinosaur Cardigan
-
 Knitted Decimal Cardigan