Crochet Beautiful Buttons
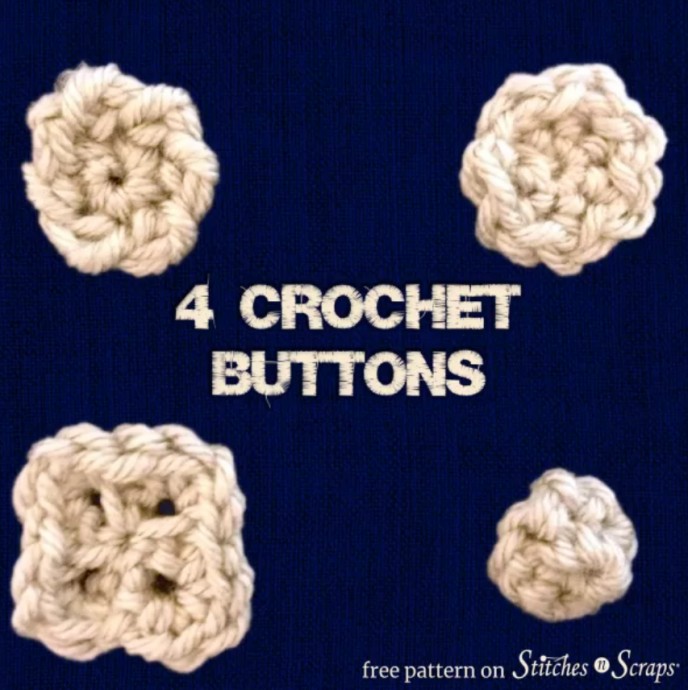
Create your own unique buttons using the art of crocheting. Craft beautiful buttons that will add a special touch to your garments or accessories. By crocheting buttons, you can customize them to match your projects perfectly. Experiment with different colors, sizes, and designs to create buttons that are truly one-of-a-kind.
Materials
- Yarn: 5-10 yds worsted weight yarn
- Hook: Size I (5.5 mm) crochet hook
- Notions: Yarn needle
Project Level
Easy: Basic stitches worked in the round, crab stitch/reverse single crochet.
Size/Gauge
Buttons 1-3 are about 1″ across. Button 4 is about 1/2-3/4″ across.
Exact gauge is not critical for this project but may affect yardage needed.
Abbreviations used
This pattern uses US terms.
- ch = chain
- rev sc = reverse single crochet / crab stitch
- RS = right side
- sc = single crochet
- sc2tog =single crochet 2 stitches together
- sl st = slip stitch
- sp = space
- st(s) = stitch(es)
- WS = wrong side
Instructions
Leave long starting and/or ending tails. You can use these tails to attach the buttons to your project.
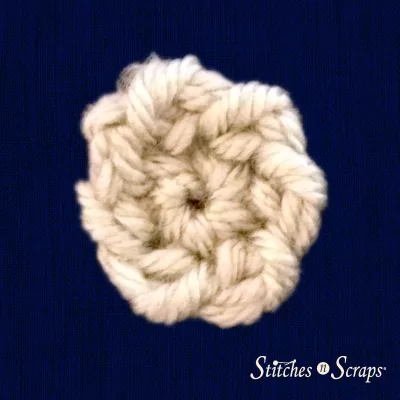
Button 1
Rnd 1 (RS): Ch 2, 6 sc in 2nd ch from hook, join with sl st in first st. (6 sc)
For a thicker button, make 2 separate pieces of rnd 1 and then work rnd 2 through both pieces together.
Rnd 2: Ch 1, working from left to right around the circle, rev sc in each st around. (6 rev sc)
Fasten off.
Use tail to sew rnd 2 closed.
Button 2:
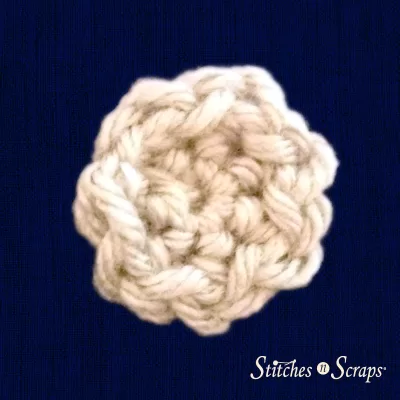
Rnd 1 (RS): Ch 2, 6 sc in 2nd ch from hook, join with sl st in first st. (6 sc)
For a thicker button, make 2 separate pieces of rnd 1 and then work rnd 2 through both pieces together.
Rnd 2: (Ch 1, sl st) in each st around
Fasten off.
Button 3:
Rnd 1 (WS): Ch 4, sc in 4th ch from hook (skipped chs count as ch 2-sp), [ch 2, sc] 3 times in same ch, join with a sl st to first ch 2 sp. (4 sc, 4 ch-2 sps)
Rnd 2: Ch 1, turn, 2 sc in same ch-2 sp, sl st in next sc, [2 sc in next ch-2 sp, sl st in next sc] 3 times. (8 sc)
Fasten off.
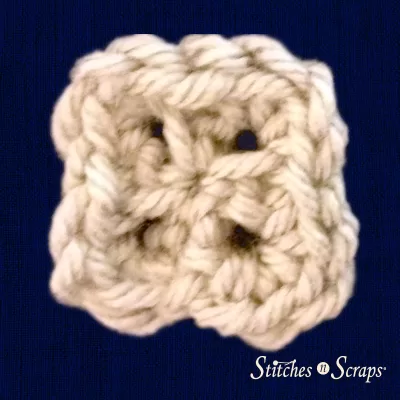
Button 4:
Rnd 1 (WS): Ch 2, 6 sc in 2nd ch from hook, join with sl st in first st. (6 sc)
Rnd 2: Ch 1, turn, sc2tog in first 2 sts, [sc2tog in next 2 sts] twice. (3 sc2tog)
Fasten off.
Sew tail through each st on Rnd 2 and pull tightly to close.


