Whimsical Rainbow Fairy Doll Crochet Pattern


Create your very own whimsical fairy doll with a rainbow twist by crocheting an adorable amigurumi creation. This project allows you to showcase your crochet skills while also adding a touch of magic to your crafting repertoire. By using a variety of colorful yarns, you can bring this fairy doll to life in a unique and enchanting way. From her flowing rainbow dress to her delicate wings, every detail of this amigurumi creation will delight both children and adults alike. Whether you choose to add sparkly beads for a touch of glamour or opt for a more whimsical approach with tiny flowers in her hair, the possibilities are endless. This project is not only a fun and creative way to pass the time, but it also makes for a thoughtful and handmade gift for someone special. So grab your crochet hook, select your favorite yarn colors, and get ready to bring a little bit of fairy magic into your world with this charming amigurumi creation.
Materials
- Sport yarn with colors: beige, pink, purple, blue, green, yellow
- Crochet hook N 2
- Black embroidery thread
- Sewing needle, yarn needle, pins, scissors
- Fiberfill
Finished toy approximately 10cm.
Abbreviations
- AR – Amigurumi Magic ring
- MR – Amigurumi Magic ring
- App – application
- ll – lift loop
- sc : Single Crochet
- inc : Increase
- dec : Decrease
- tr : Triple Crochet/ Treble Crochet
- st : Stitch
- dc : Double Crochet
- hdc : Half Double Crochet
- sl-st : Slip Stitch
- ch : Chain
- ..in : make increase into same stitch as many as the number which is given in front of “inc” abbreviation (exp; 3inc, 4inc..).
- FLO : Crochet into front loops only
- BLO : Crochet into back loops only
- BL : Bobble Stitch – do 5dc all in the same stitch and then yarn over and pull through all the loops on your hook (the original loop + 1 loop for each partially completed dc)
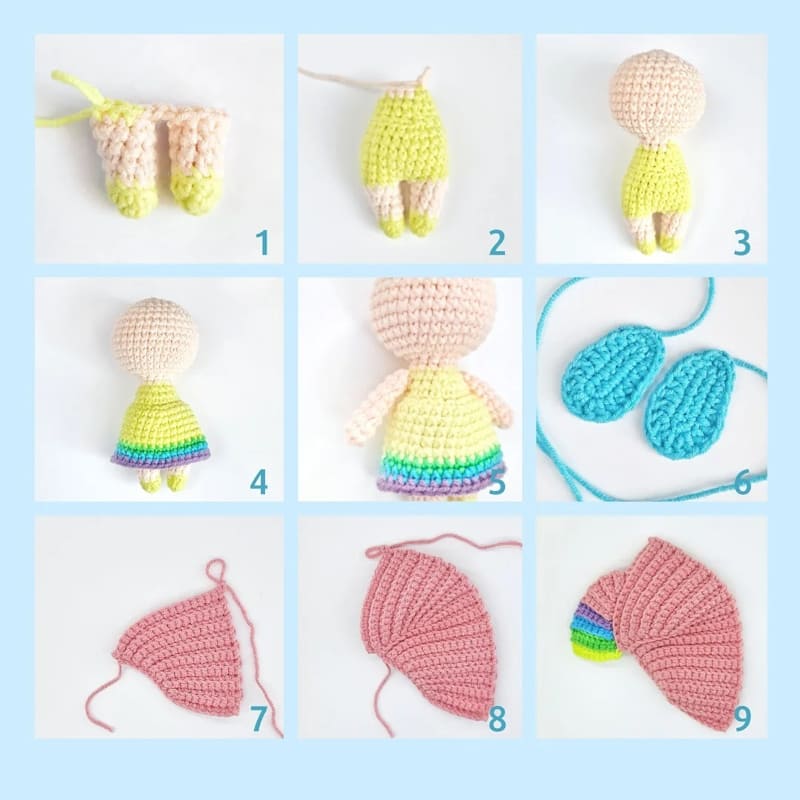
Legs, Body, and Head
Stuff during the process. Crochet the first leg. Start with yellow color:
Rnd 1. 6 sc in magic ring
Rnd 2. (inc, 2 sc) x 2 (8)
Change to beige:
Rnd 3. Into BLO 8 sc (8)
Rnd 4. 8 sc (8)
Rnd 5. 4 sc, inc, 3 sc (9)
Rnd 6. 4 sc, inc, 4 sc (10)
Fasten off.
Crochet the second leg, do not fasten off. Make 2 ch and join with the first leg. Continue crocheting the body in the round, change to yellow:
Rnd 1. 10 sc on the first leg, 2 sc on 2 ch, 10 sc on the second leg, 2 sc on 2 ch (opposite side) (24)
Rnd 2 – 5. 24 sc (24) (4 rnds)
Rnd 6. (6 sc, dec) x 3 (21)
Rnd 7. (5 sc, dec) x 3 (18)
Rnd 8. Into BLO 18 sc (18)
Rnd 9. 18 sc (18)
Rnd 10. (4 sc, dec) x 3 (15)
Change to beige:
Rnd 11. (3 sc, dec) x 3 (12)
Rnd 12. 12 sc (12)
Rnd 13. 12 inc (24)
Rnd 14. (3 sc, inc) x 6 times (30)
Rnd 15. (4 sc, inc) x 6 times (36)
Rnd 16 – 22. 36 sc (36) (7 rnds)
Rnd 23. (4 Sc, dec) x 6 (30)
Rnd 24. (3 sc, dec) x 6 (24)
Rnd 25. (2 sc, dec) x 6 (18)
Rnd 26. (1 sc, dec) x 6 (12)
Rnd 27. 6 dec (6)
Fasten off, tighten the hole.
Skirt
With yellow color: Go to the rnd 8 of the body.
Rnd 1. Into FLO (2 sc, inc)x 6 (24)
Rnd 2. (7sc, inc) x 3 (27)
Rnd 3. 27 sc (27)
Rnd 4. (8 sc, inc) x 3 (30)
Rnd 5. 30 sc (30)
Rnd 6. 4 sc, inc (9 sc, inc) x 2, 5 sc (33) Change to green:
Rnd 7. 33 sc (33) Change to blue:
Rnd 8. (10 sc, inc) x 3 (36) Change to purple:
Rnd 9. 36 sc (36)
Fasten off.
Arms (2 details)
With beige color:
Rnd 1. 6 sc in magic ring
Rnd 2. Inc, 5 sc (7)
Rnd 3. 7 sc (7)
Rnd 4. dec, 5 sc (6)
Rnd 5 – 6. 6 sc (6) (2 rnds)
Rnd 7. dec, 4 sc (5) Stuff slightly.
Tighten the hole, fasten off, leaving a long tail for sewing.
Wings (2 details)
With blue color:
Ch 8, start on the 2nd ch from the hook:
Rnd 1. 6 sc, 3 sc in last ch, on the other side of ch: 5 sc, inc (16)
Rnd 2. inc, 3 hdc, 2 dc, (2 dc in 1 ch) x 3, 2 dc, 3 hdc, 2 inc (22)
Fasten off leaving a long tail for sewing.
Hair
Crochet in rows. With pink color:
Ch 18, start on the 2nd ch from the hook:
R1. 9 sc, sl st, ch 1, turn (10)
R2. sl st, 9 sc, ch 1, turn (10)
R3. 10 sc, sl st, ch 1, turn (11)
R4. sl st, 10 sc, ch 1, turn (11)
R5. 11 sc, sl st, ch 1, turn (12)
R6. sl st, 11 sc, ch 1, turn (12)
R7. 12 sc, sl st, ch 1, turn (13)
R8. sl st, 12 sc, ch 1, turn (13)
R9. 13 sc, sl st, ch 1, turn (14)
R10. sl st, 13 sc, ch 1, turn (14)
R11. 14 sc, sl st, ch 1, turn (15)
R12. sl st, 14 sc, ch 1, turn (15)
R13. 15 sc, sl st, ch 1, turn (16)
R14. sl st, 15 sc, ch 1, turn (16)
R15. 16 sc, sl st, ch 1, turn (17)
R16. sl st, 16 sc, ch 1, turn (17) (see the photo 7)
R17 – 32. Repeat instructions of 1 – 16 rows. (see the photo 8)
R33. 9 sc, sl st, ch 1, turn (10)
R34. sl st, 2 sc, ch 1, turn (3)
R35. 3 sc, sl st, ch 1, turn (4)
R36. sl st, 3 sc, ch 1, turn (4)
R37. 4 sc, sl st, ch 1, turn (5)
R38. sl st, 4 sc, ch 1, turn (5)
R39. 5 sc, sl st, ch 1, turn (6)
R40. sl st, 5 sc, ch 1, turn (6)
Change to purple:
R41. 6 sc, sl st, ch 1, turn (7)
R42. sl st, 6 sc, ch 1, turn (7)
Change to blue:
R43. 7 sc, sl st, ch 1, turn (8)
R44. sl st, 7 sc, ch 1, turn (8)
Change to green:
R 45. 8 sc, sl st, ch 1, turn (9)
R 46. sl st, 8 sc, ch 1, turn (9)
Change to yellow:
R 47. 9 sc, sl st, ch 1, turn (10)
R 48. sl st, 9 sc, ch 1, turn (10) (see the photo 9)
Fasten off.
Assembling
Sew the arms to between rounds 9 and 10 of the body. Embroider the eyes over round 18 of the head. Sew the hair to the head. Sew the wings to the body.
- Recipes
-
 Spicy Chili Recipe with Three Meats and Beans
-
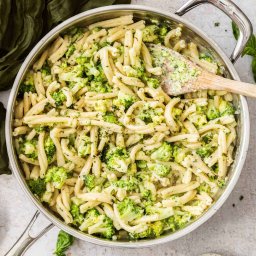 Creamy Broccoli Pasta
-
 30 Minute Bang Bang Shrimp
- Funny Pictures
-
 Too Cute to Be Real
-
 Cooking Memes We All Need
-
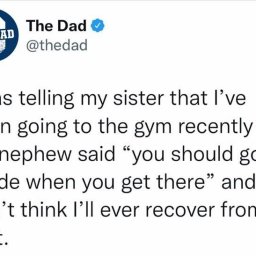 Funny Tweets With a Bit of Truth of Life
- Crochet Ideas
-
 Crochet Beautiful Mouse
-
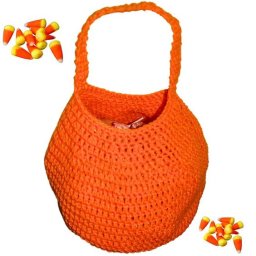 Crochet Fun Pumpkin Bag
-
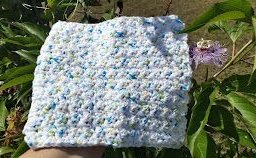 Crochet Easy Textured Washcloth/Dishcloth
- Lifehacks
-
 Wedged In: Wedge Crochet Stitch and Granny Square Photo Tutorial
-
 Diagonal Knit Look Crochet Stitch Photo Tutorial
-
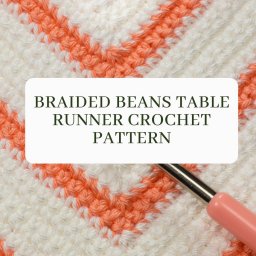 Braided Beans Table Runner Crochet Pattern
- DIY
-
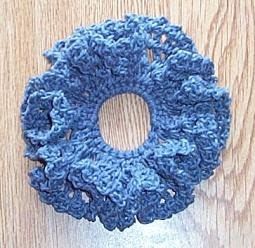 Crochet Full and Fluffy Lacy Scrunchie
-
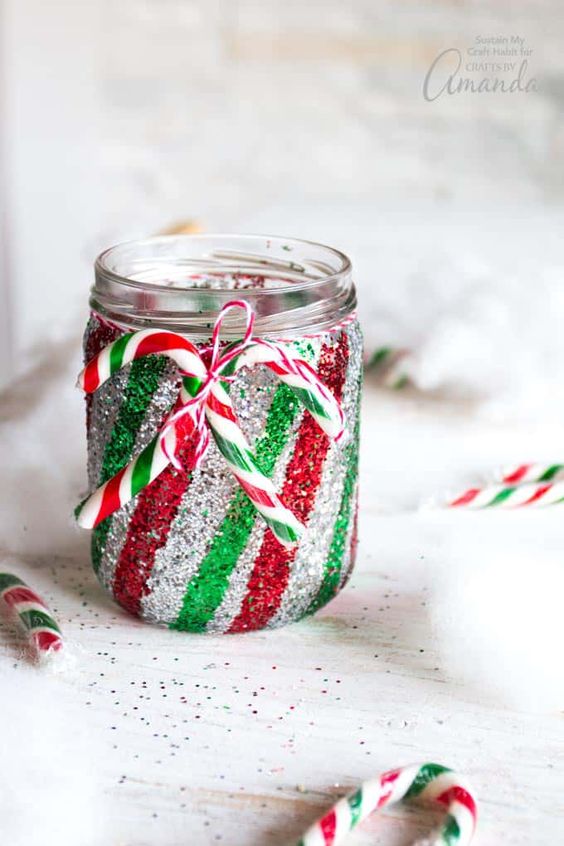 Candy Cane Mason Jar Luminary
-
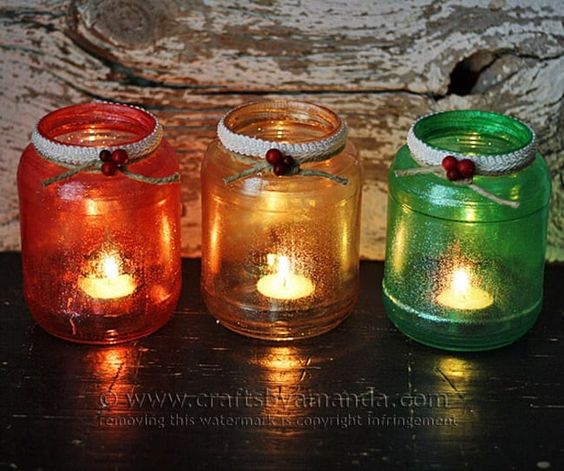 Glitter Christmas Luminaries
- Knitting Ideas
-
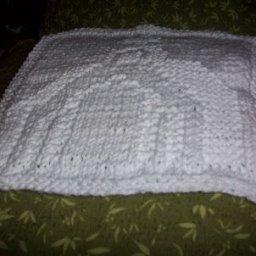 Knitted Church Dishcloth
-
 Knitted Twist and Scrub Dishcloth
-
 Knitted Waves Of Grain Dishcloth