
How to Create Your Own Charming Crocheted Wallet

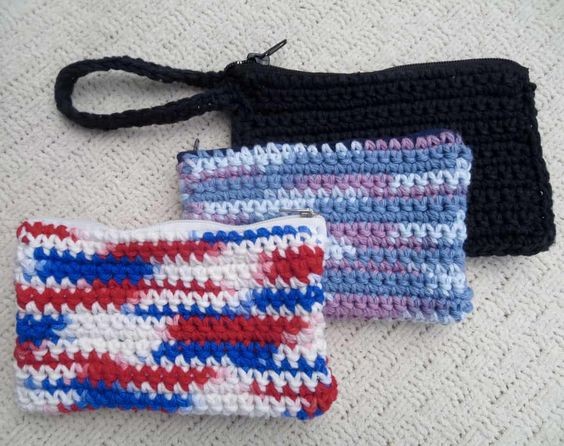
Create Your Charming Crocheted Purse
Create your very own charming purse using the art of crocheting. Craft a delightful wallet that is not only practical but also stylish. With just a few simple materials and basic crochet stitches, you can design a unique accessory that showcases your creativity and craftsmanship. Choose your favorite yarn colors and experiment with different patterns to personalize your wallet to suit your taste.
Crocheting a wallet allows you to express your individuality and create a one-of-a-kind piece that is sure to turn heads wherever you go. Whether you are a seasoned crocheter or a beginner looking for a fun project, making an adorable wallet is a rewarding and enjoyable experience that will leave you with a beautiful accessory to treasure.
Materials
– Hook size E and G
– 100% cotton yarn, I used Lilly’s Sugar N’ Cream
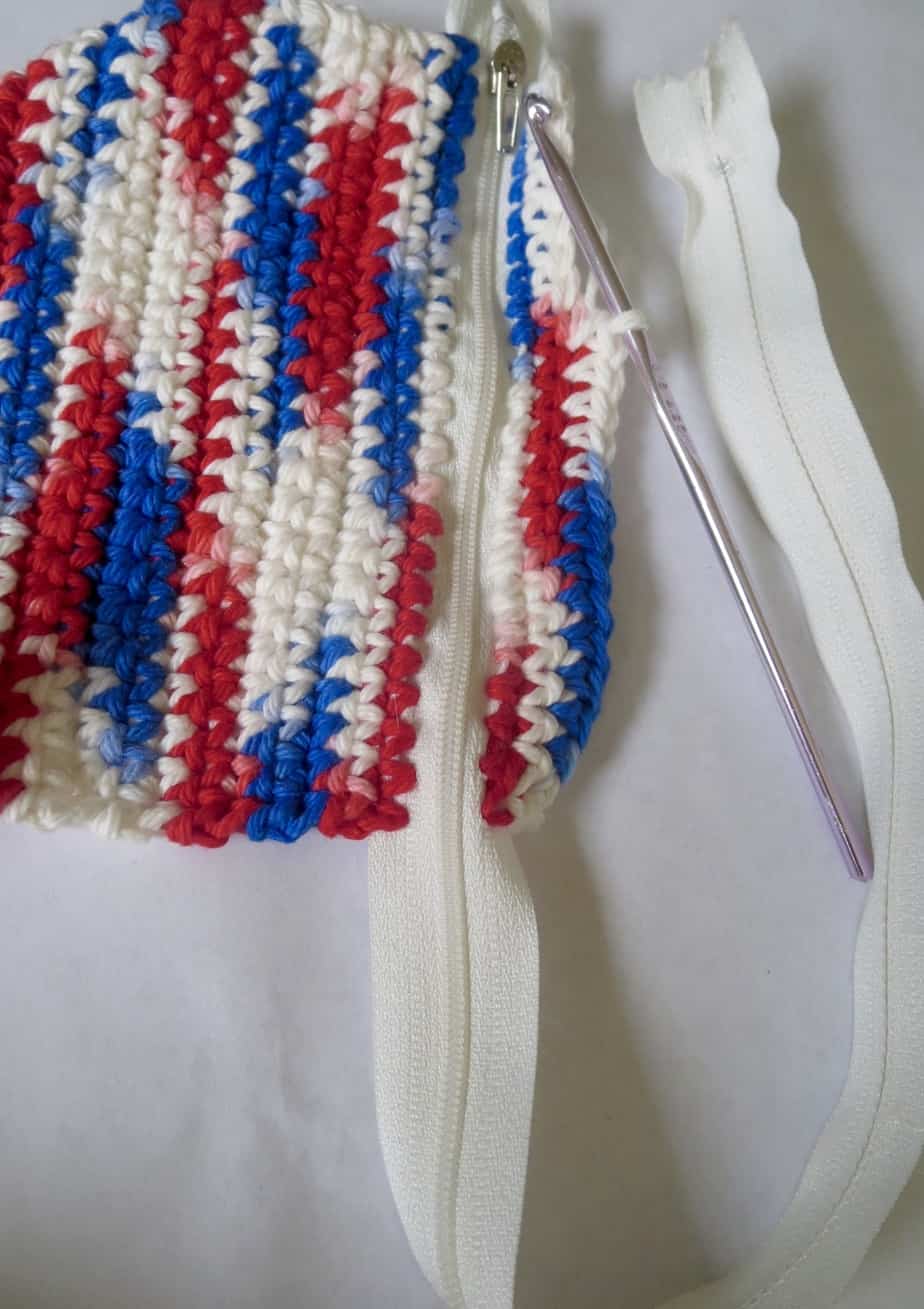
– Awl or sharp needle to poke holes in zipper, I used a metal hook and it poked through quite easily
– 6” zipper
– Threading floss of similar color as yarn
– Scissors
– Blunt needle, sewing needle
– Button
Abbreviations
ch = chain (s)
st(s) = stitches
sl st = slip stitch
sc = single crochet
Notes
If you don’t have a 6″ zipper but have a long plastic zipper of any size you can easily cut it down. Poke the holes needed in the pattern below along the zipper.
Taking some threading floss, thread a blunt needle and sew up and over the part of the zipper that you want it to end at. Fasten off.
Now you can safely cut off the remaining part of the zipper that is not needed.
Pattern
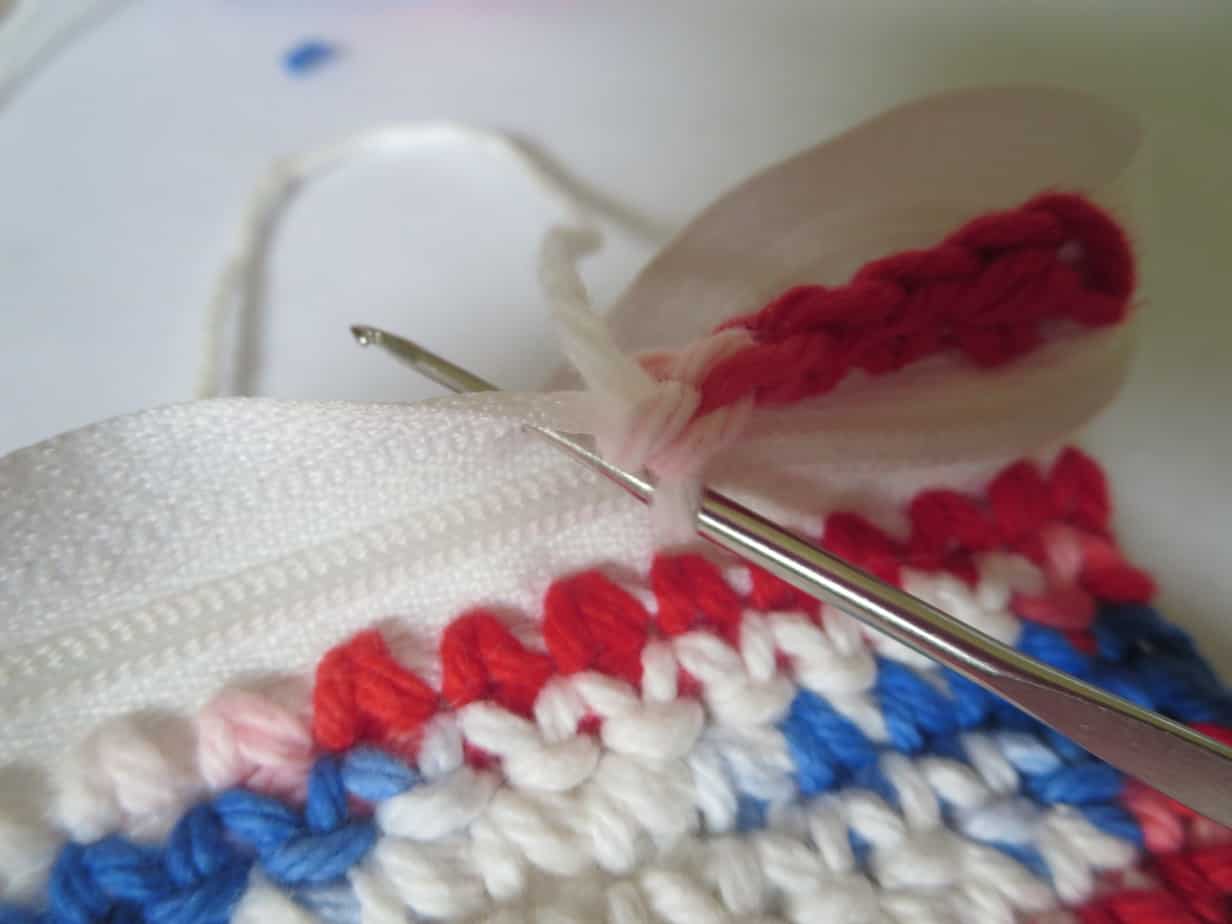
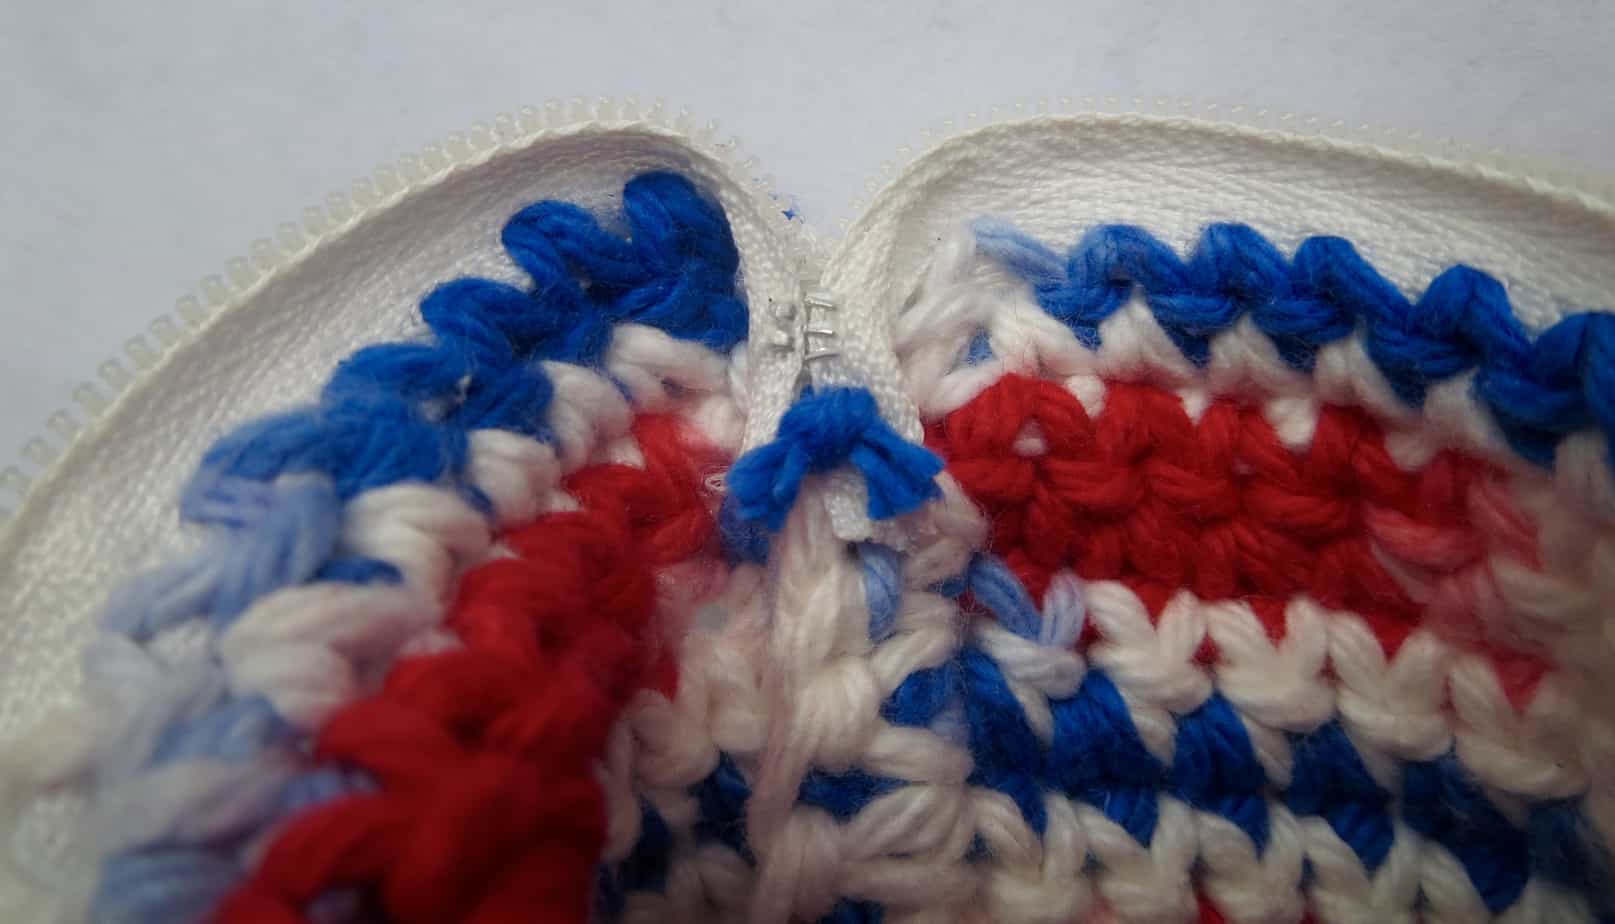
Poke 23 sts along each side of the zipper (the right side of the zipper is facing you). With E hook draw up a lp and sc down the row. You will work each side separately then sew together at the end. Switch to size G hook.
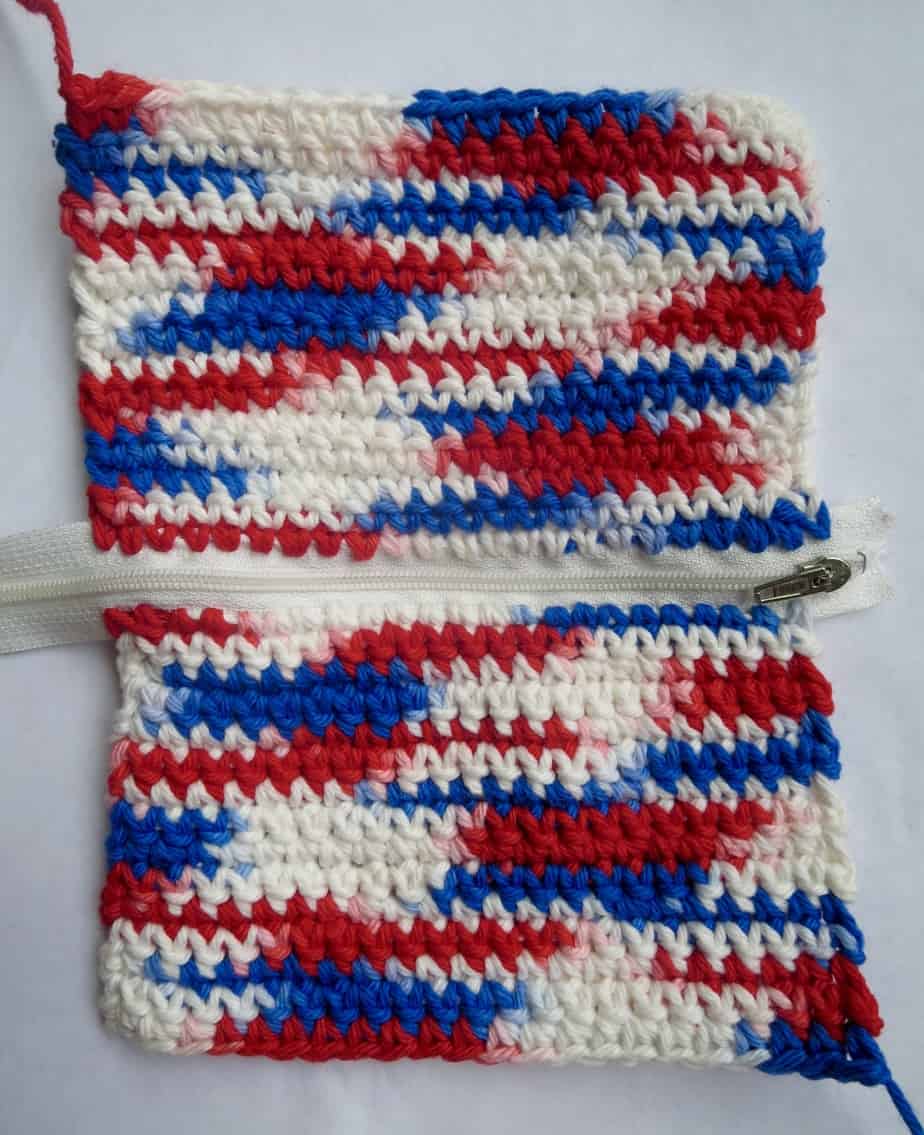
Row 1: Ch 1, sc in each st across, turn (23).
Row 2: Repeat row 1, 14 more times.
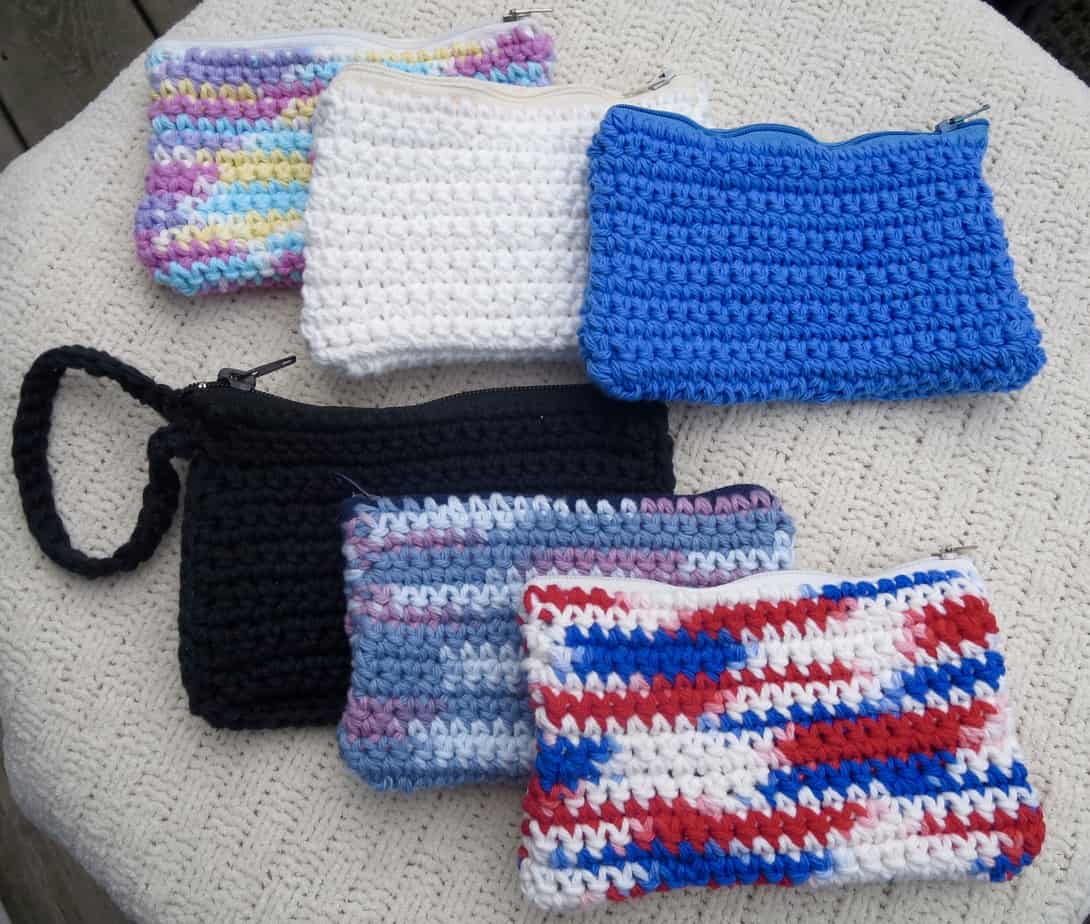
Repeat the same pattern down the other side of the bag. Tip - Iron over top the stitches by the zipper to help it lay flat to prevent the zipper portion from being wavy (I forgot to do so with the blue pouch below and you can see the zipper part is somewhat wavy at the top.
Turn bag inside out and sc around the outer edge of the bag. Leave the zipper unzipped a little so it will be easier to turn right side out.
Make sure to get right up under either end of the zipper. Fasten off. Turn bag right side out.
With threading floss fold over the extra flaps at the end of the zipper and sew them down on each side. Fasten off on the inside of the bag.
Optional - Add a cute wristlet strap by pulling up a loop at the top on the side and ch 30.
Sl st into the first st you made, ch 1 and sc around the loop you made.
Sl st into first st again and fasten off.
Weave in all ends.
Great job! You’re done!
- Recipes
-
 Marry Me Pork Chops
-
 Butterflied prawns with cherry and lime leaf sambal
-
 2 Ingredient No Bake Healthier Cottage Cheese Chocolate Cake
- Funny Pictures
-
 Cute and Astonishing Pics of Capybara You Have to See
-
 Don’t Worry it’s Monday, Friday is Coming Soon!
-
 Hilarious Memes Most People Will Relate To
- Crochet Ideas
-
 Crochet Variegated Slouchy Hat
-
 Crochet Valentine Doily
-
 Crochet Triple Heart Bookmark
- Lifehacks
-
 How to Crochet the Boardwalk Stitch Photo Tutorial
-
 Regal Stitch Crochet Pattern Photo Tutorial
-
 How to Crochet the Modified Moss Stitch Photo Tutorial
- DIY
-
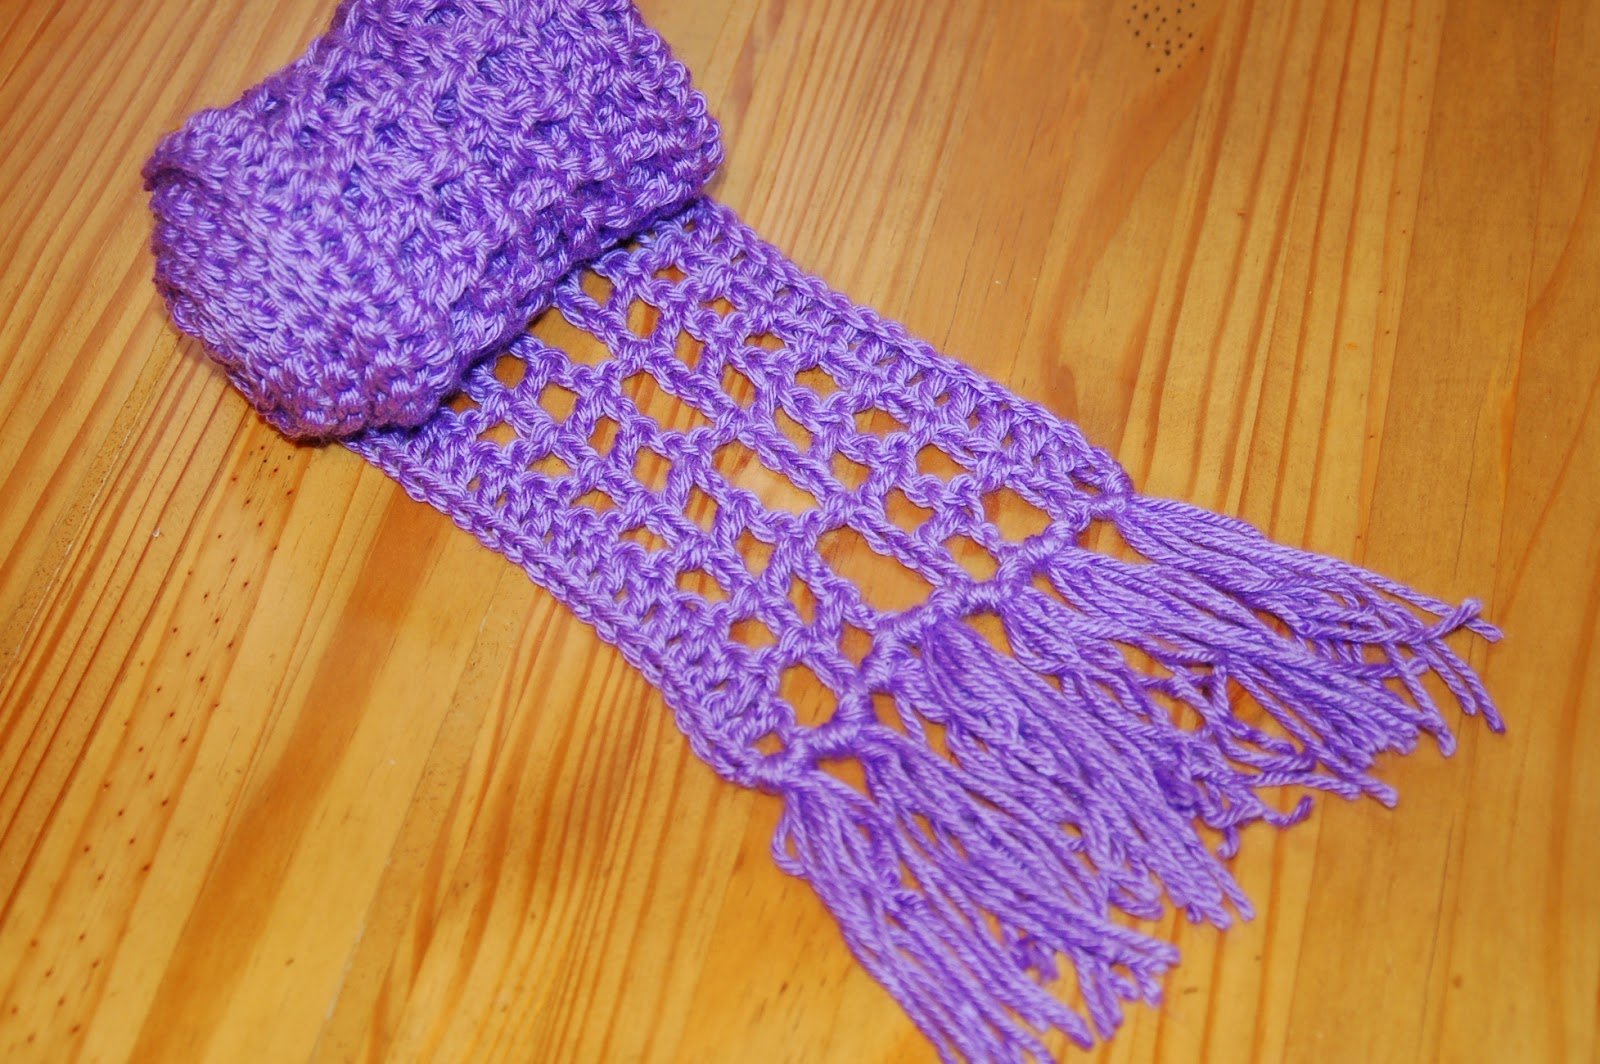 Crochet Summertime Scarf
-
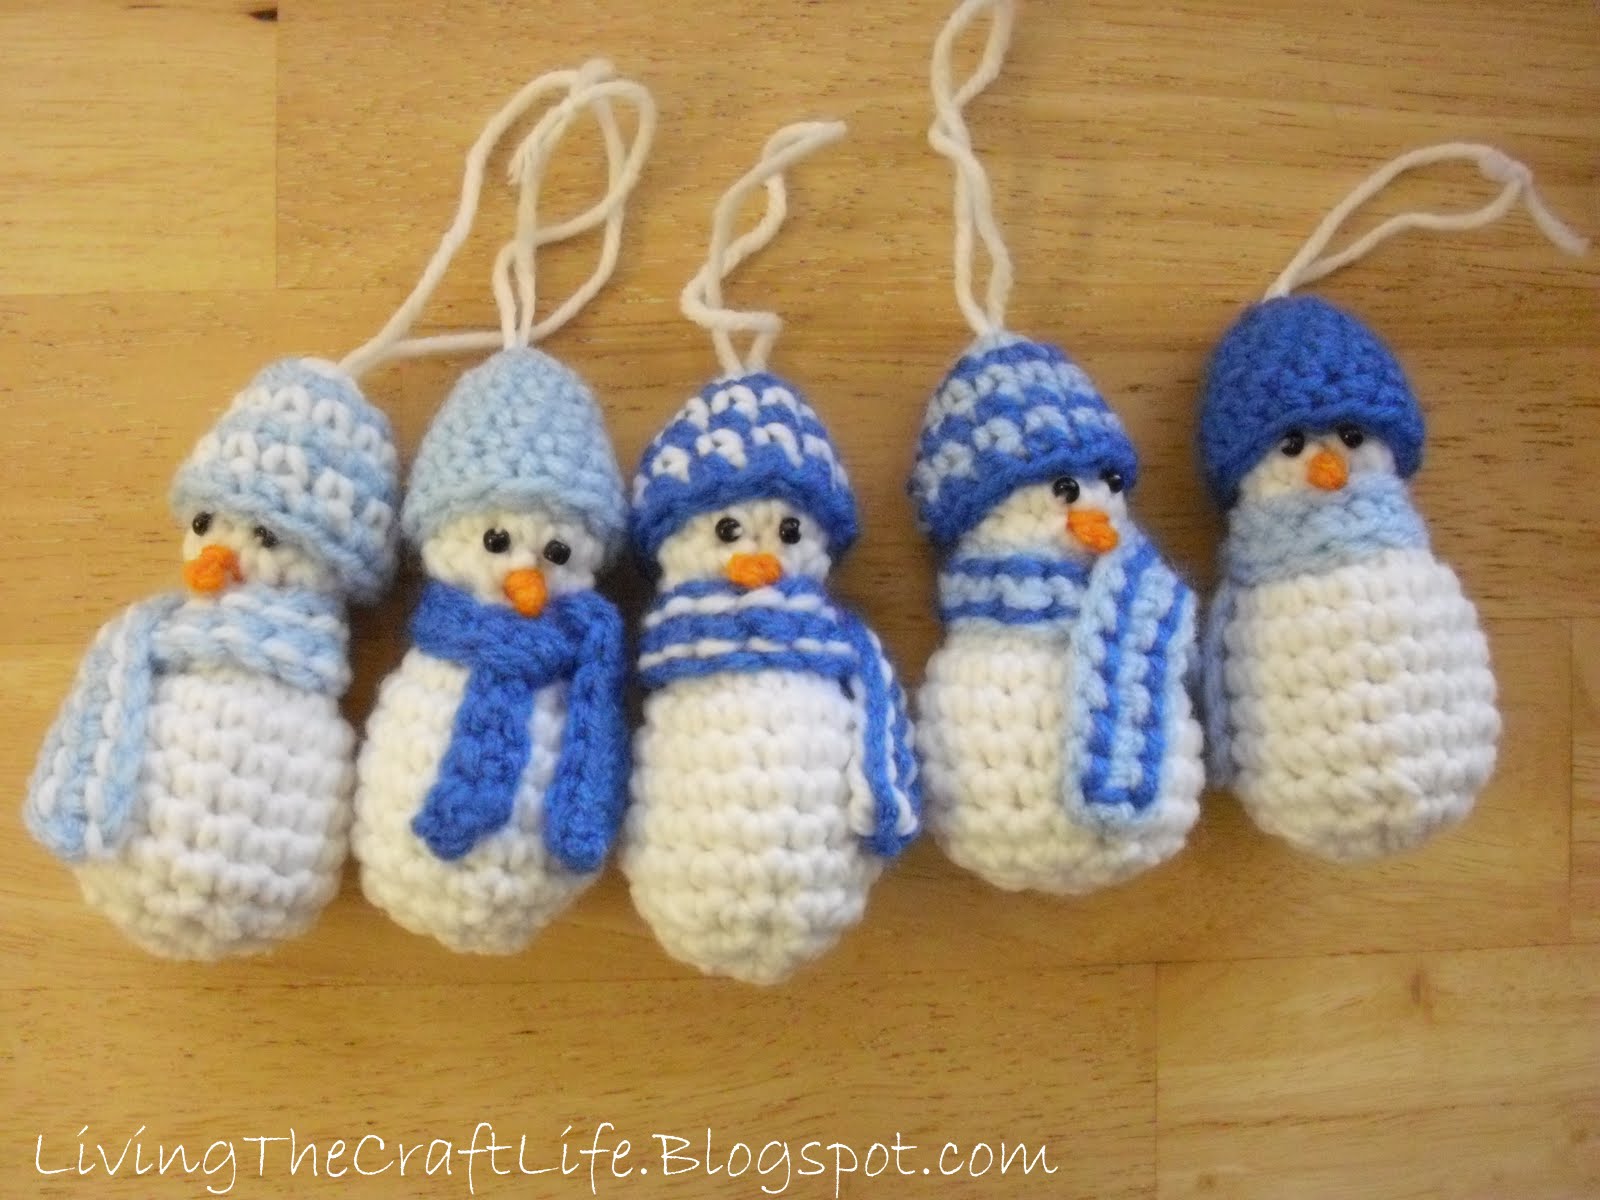 Crochet Mini Snowman Christmas Ornament
-
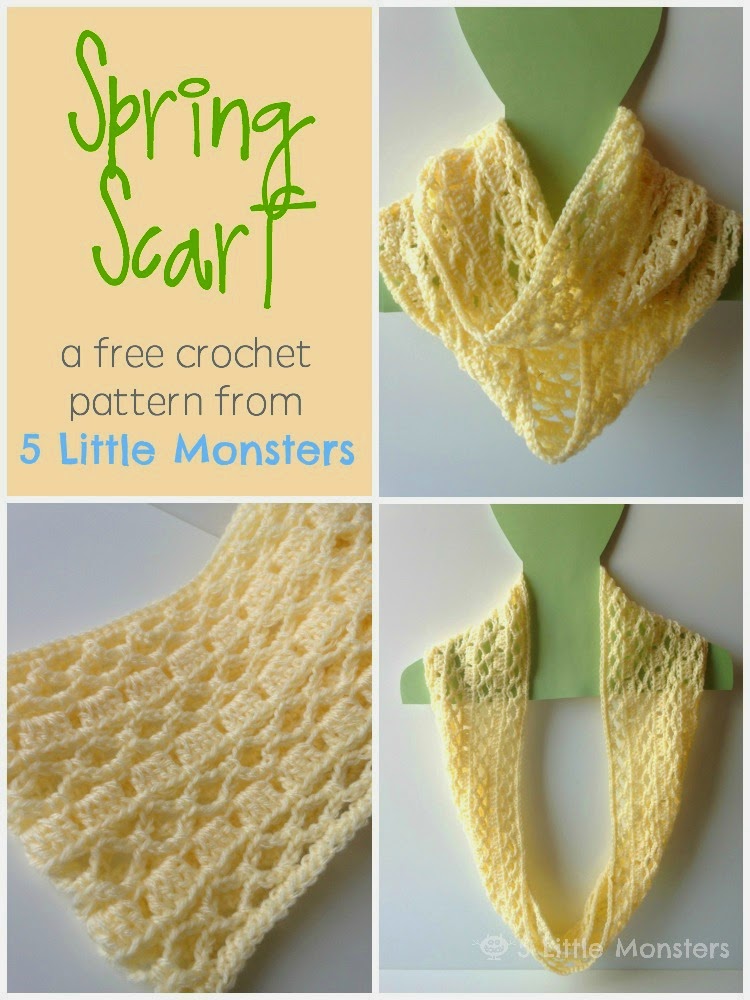 Crochet Spring Scarf
- Knitting Ideas
-
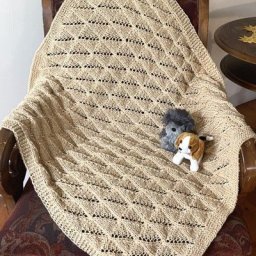 Knitted Pleated Lace Blanket
-
 Knitted Meerkat Dishcloth
-
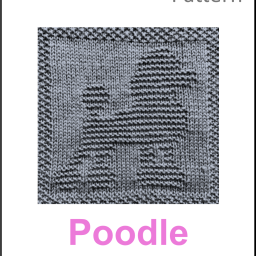 Knitted Poodle Dog Dishcloth