CrochetMenScarvesHatsGlovesSweatersCardigansSocksOther clothingWomenScarvesHatsGlovesShawls and cover upSweatersCardigansSocksSlippersBagsOther clothingChildrenScarvesHatsGlovesSweatersCardigansSocksSlippersOther clothingHomeBlankets and plaidsRugsHome decorationsPetsSchemesKnittingOther hand-madeChat
Crochet Bow Choker
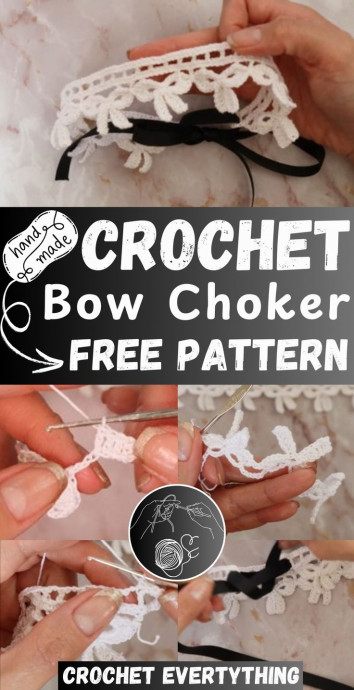
Crochet bow chokers are super adorable and perfect for adding a touch of sweetness to any outfit! They are versatile accessories that can easily elevate your look with a dash of charm. Whether you're going for a casual daytime vibe or dressing up for a special occasion, a crochet bow choker is a fun and fashionable choice that will surely make you stand out.
Plus, the handmade touch adds an extra layer of uniqueness that is bound to draw compliments. So go ahead and embrace your girly side with a crochet bow choker - it's a delightful accessory that you'll love wearing!Materials Needed:
- Crochet thread (recommendation: size 10)
- Crochet hook, size 1mm
- Ribbon or additional thread for the necklace tie
- Scissors
- Tapestry needle for weaving in ends
Pattern Overview:
Create a charming bow necklace with small, connected crochet bows.
This tutorial is perfect for an intermediate crocheter who is comfortable with basic and some advanced stitches.
Foundation Row:
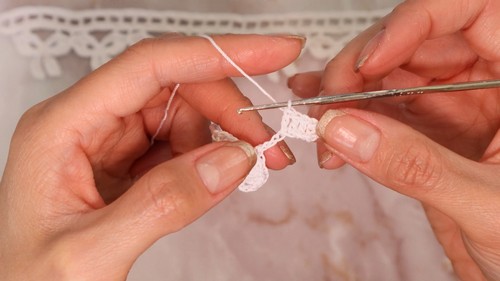
Start:
Create a slip knot, then chain 4 stitches.
First Triple Crochet:
Hold the last chain and chain another 4. Triple crochet into the 4th chain from the hook.
Second Triple Crochet:
Chain 4, then triple crochet into the first chain (above previous triple crochet).
Close First Bow:
Chain 3 to close the first bow unit.
Repeat:
Depending on desired necklace length, repeat steps 2-4 for each bow (typically 8 bows for a full necklace).
Shaping the Bows
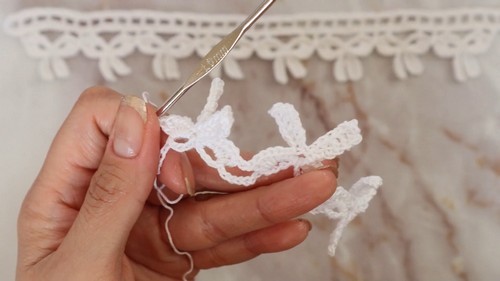
Turn Work:
Chain 1 and turn your work.
Fill Bows:
In the triple crochet chain space, perform 3 double crochets, 2 half double crochets, and 2 single crochets.
Chain Links:
Chain 6, then chain 3 more, starting in the 4th chain from the hook, crochet 4 double crochets back down the chain.
Complete All Bows:
Repeat the above sequence for each bow along the foundation row, then slip stitch to close the row.
Refining the Bows
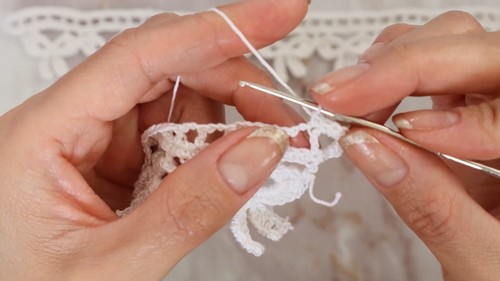
Flip Work:
Turn the bows so they face downward.
Repeat Fills:
Place 3 double crochets, 2 half double crochets, and 2 single crochets into the same space as the first row bows.
Cinch Bows:
Use a single crochet captured from the bottom of the bow to pull tight and help define the bow shape.
Continue Pattern:
Repeat across all bows, placing a chain 1 between sequences.
Space Between Bows
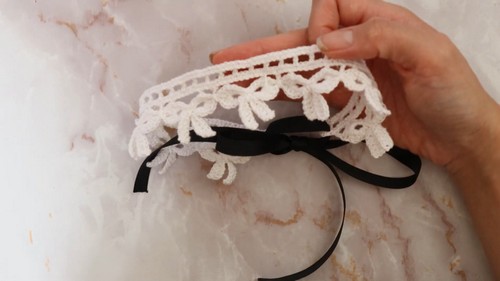
Begin Space Row:
Chain 5, turn your work.
Post Stitches:
Execute a front post single crochet, chain 6, and continue the pattern.
Pinching Bows:
After the chains, pinch three chains together with a double crochet from the bottom.
Complete Row:
Repeat across, ending with a slip stitch to secure.
Final Edging
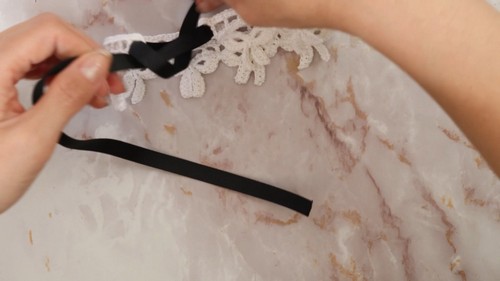
Edge Start:
Chain 1, turn your work.
Single Crochets:
Place a single crochet into each stitch, adjusting in the chain spaces to maintain a straight edge.
Finish Edge:
Slip stitch to finalize the edging.
Finishing and Assembly:
Tie Preparation:
Chain 5, create a loop by slip stitching into the end chain.
Loop Crochets:
Work 8 single crochets into the loop for strength and visual appeal.
Ribbon Insertion:
Thread ribbon through the loops on each necklace end.
Weave in Ends:
Use a tapestry needle to weave in all loose ends securely.
Adjustment:
Trim any excess ribbon/thread and ensure that the necklace sits comfortably when worn.
No comments
Write a comment
