Crochet Mulberry Shadow Pocket Scarf - How to Create a Cozy Accessory

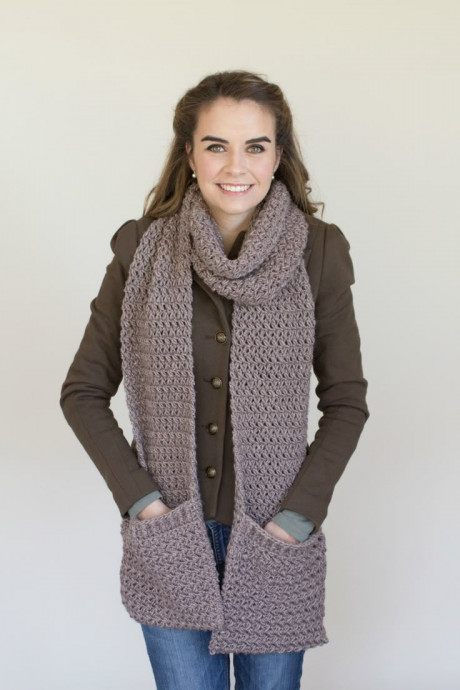
The Crochet Mulberry Shadow Pocket Scarf is a charming and versatile accessory that adds a touch of coziness to any outfit. With its lovely mulberry hue and convenient pockets, this scarf is both stylish and functional. Whether you're looking to stay warm on a chilly day or simply want to add a pop of color to your ensemble, this scarf is the perfect choice.
Its soft, hand-crocheted design makes it a delightful accessory that you'll reach for time and time again. Enjoy the warmth and style this lovely scarf brings to your wardrobe!Materials Needed for the Crochet Scarf
- 7.0mm (2) Crochet Hook
- 580yds [640, 670yds] Chunky Yarn (12ply) – Juniper Moon Farm Moonshine Chunky
- Tapestry Needle
Finished Size Details
Changes for child and teen/adult size are in [ ].
Toddler (2 – 5 Yrs)
- Scarf Width: 7″ (18cm)
- Scarf Length: 67” (170cm)
Child (6 – 12 Yrs)
- Scarf Width: 8″ (20cm)
- Scarf Length: 73” (185cm)
Teen – Adult
- Scarf Width: 9″ (23cm)
- Scarf Length: 79” (201cm)
Gauge
17 stitches + 16 rows = 4″/10cm in single crochet
Stitches & Abbreviations
- st(s) – stitch(es)
- ch – chain stitch
- sl st – slip stitch
- sc – single crochet
- fpdc – front post double crochet
- mb st – mini bean stitch
Front Post Double Crochet (fpdc)
YO, insert your hook under the post of the next stitch. YO, and draw up a loop (3 loops on hook). YO, and draw through 2 loops on your hook (2 loops on hook). YO, and draw through the last 2 loops on your hook.
Mini Bean Stitch (mb st)
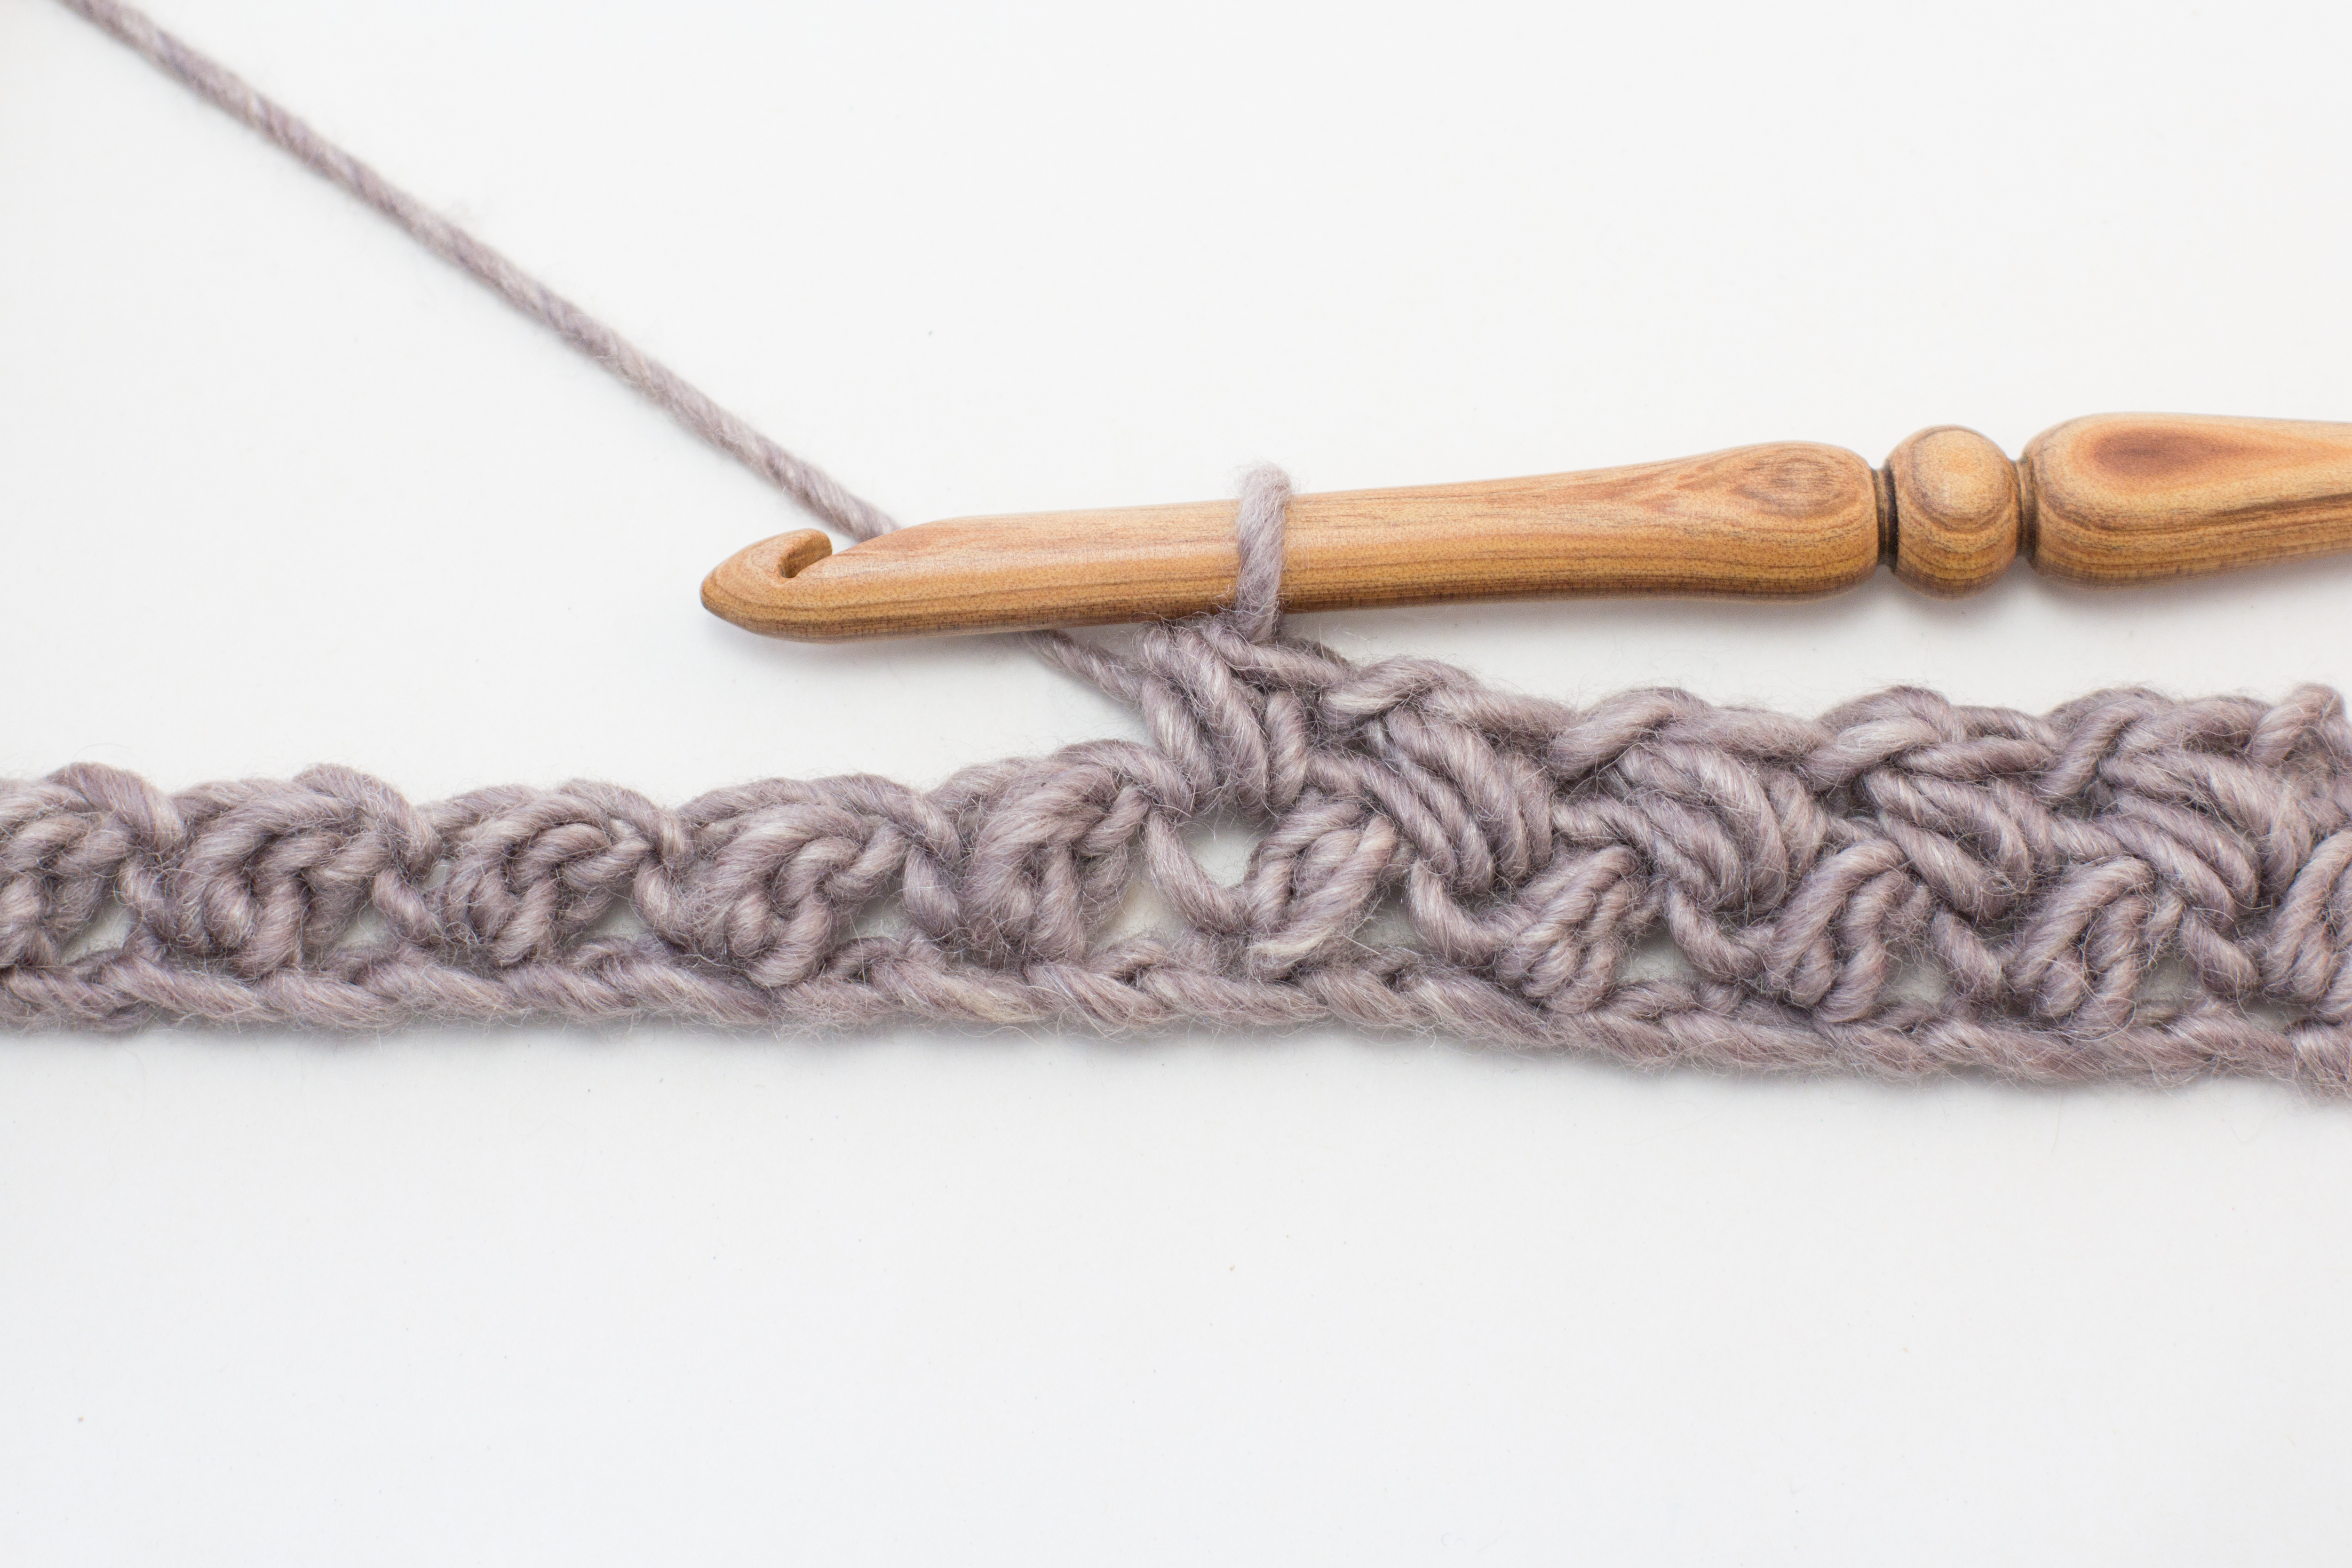
Insert your hook into the “side” of the Mini Bean Stitch from the previous row. YO, and pull back through that stitch (2 loops on hook). YO, insert your hook into the same space. YO, and pull back through that stitch (4 loops on hook). YO, draw through all 4 loops on your hook, then ch1.
Skill Level
This is an “Easy” level crochet pattern (includes “How-To” photos). You must be familiar with basic crochet stitches and techniques. Directions are written so that they are easy to read and follow. All patterns are in English and written in standard US terms.
Crochet Pattern Instructions
Note: This scarf is worked in the row, from side to side. The ends of the scarf are folded over and seamed in place to create the pockets.
Scarf
- Ch19 [23, 27] using chunky yarn and 7.0mm hook.
- Row 1: 1 mb st in 3rd ch from hook. *Skip 1 st, 1 mb st in the next st. Repeat from the * 8 [10, 12] times. Turn your work. (9 [11,13] sts)

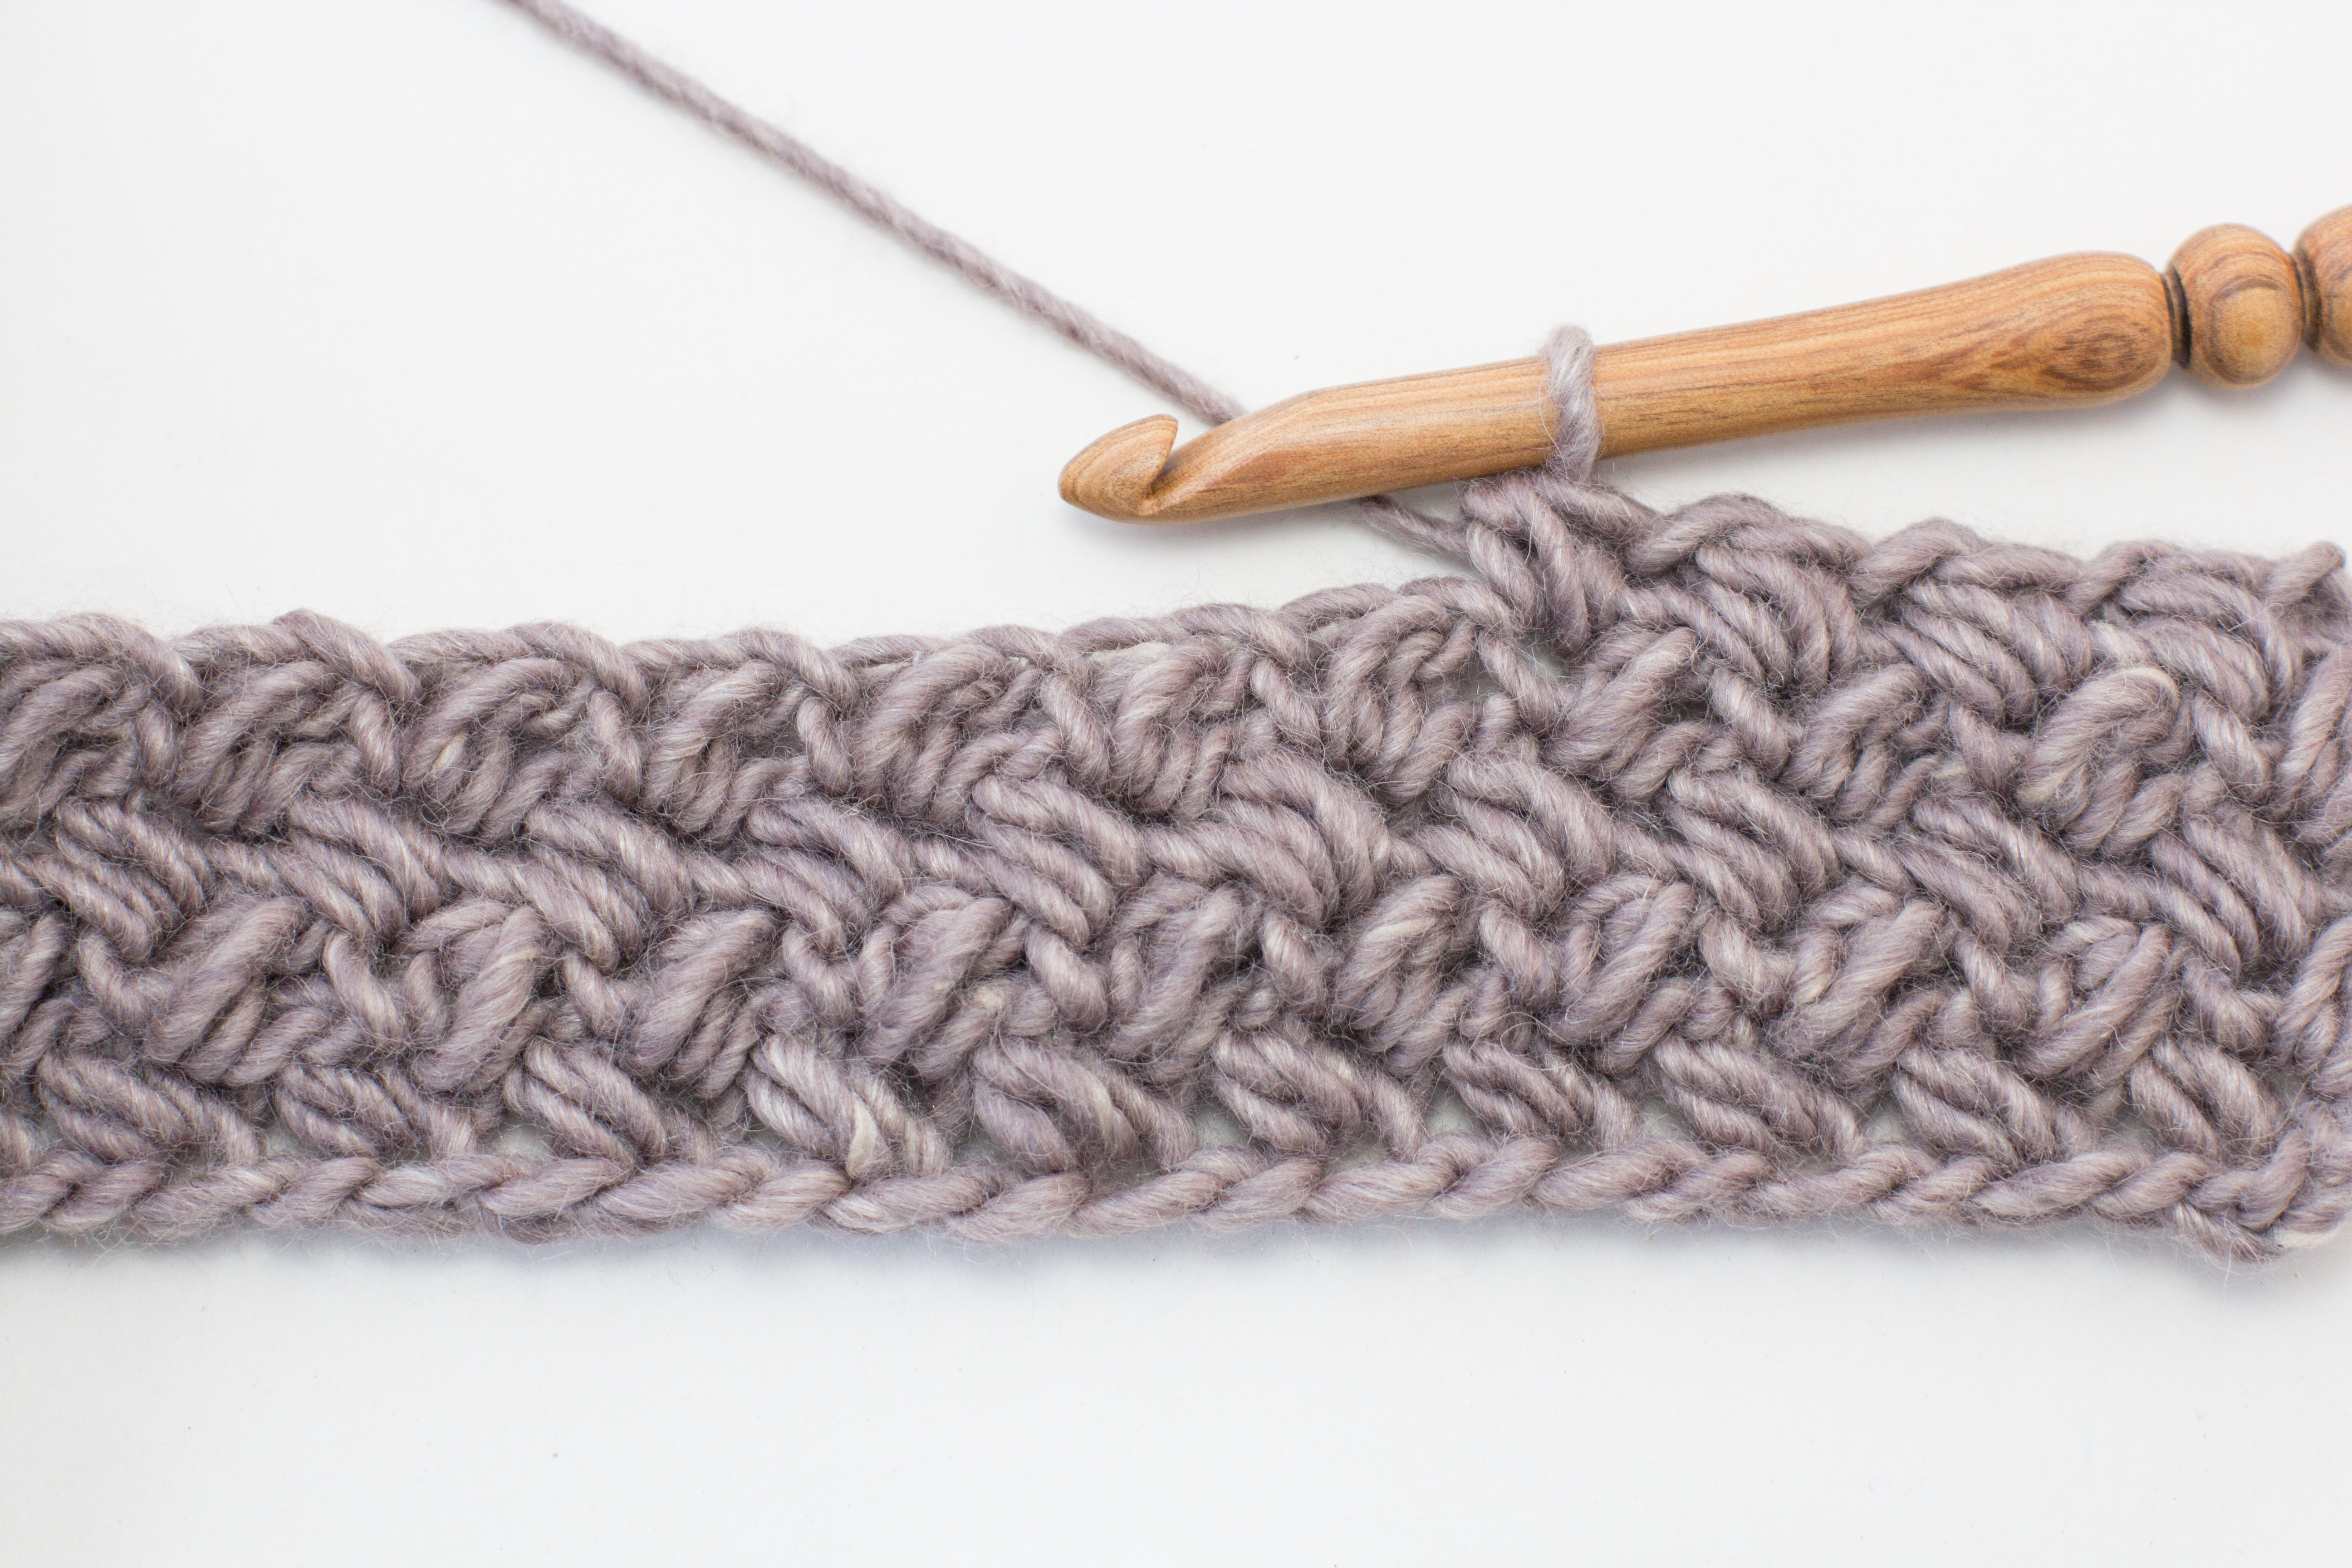
- Row 2: Ch2, 1 mb st in the side of the mb st from the previous row. *Skip 1 st, 1 mb st in the side of the mb st from the previous row. Repeat from the * 8 [10, 12] times. Turn your work. (9 [11,13] sts)
- Row 3 – 92 [110, 128]: Ch2, 1 mb st in the side of the mb st from the previous row. *Skip 1 st, 1 mb st in the side of the mb st from the previous row. Repeat from the * 8 [10, 12] times. Turn your work. (9 [11,13] sts)

Ribbing – Right End of Scarf
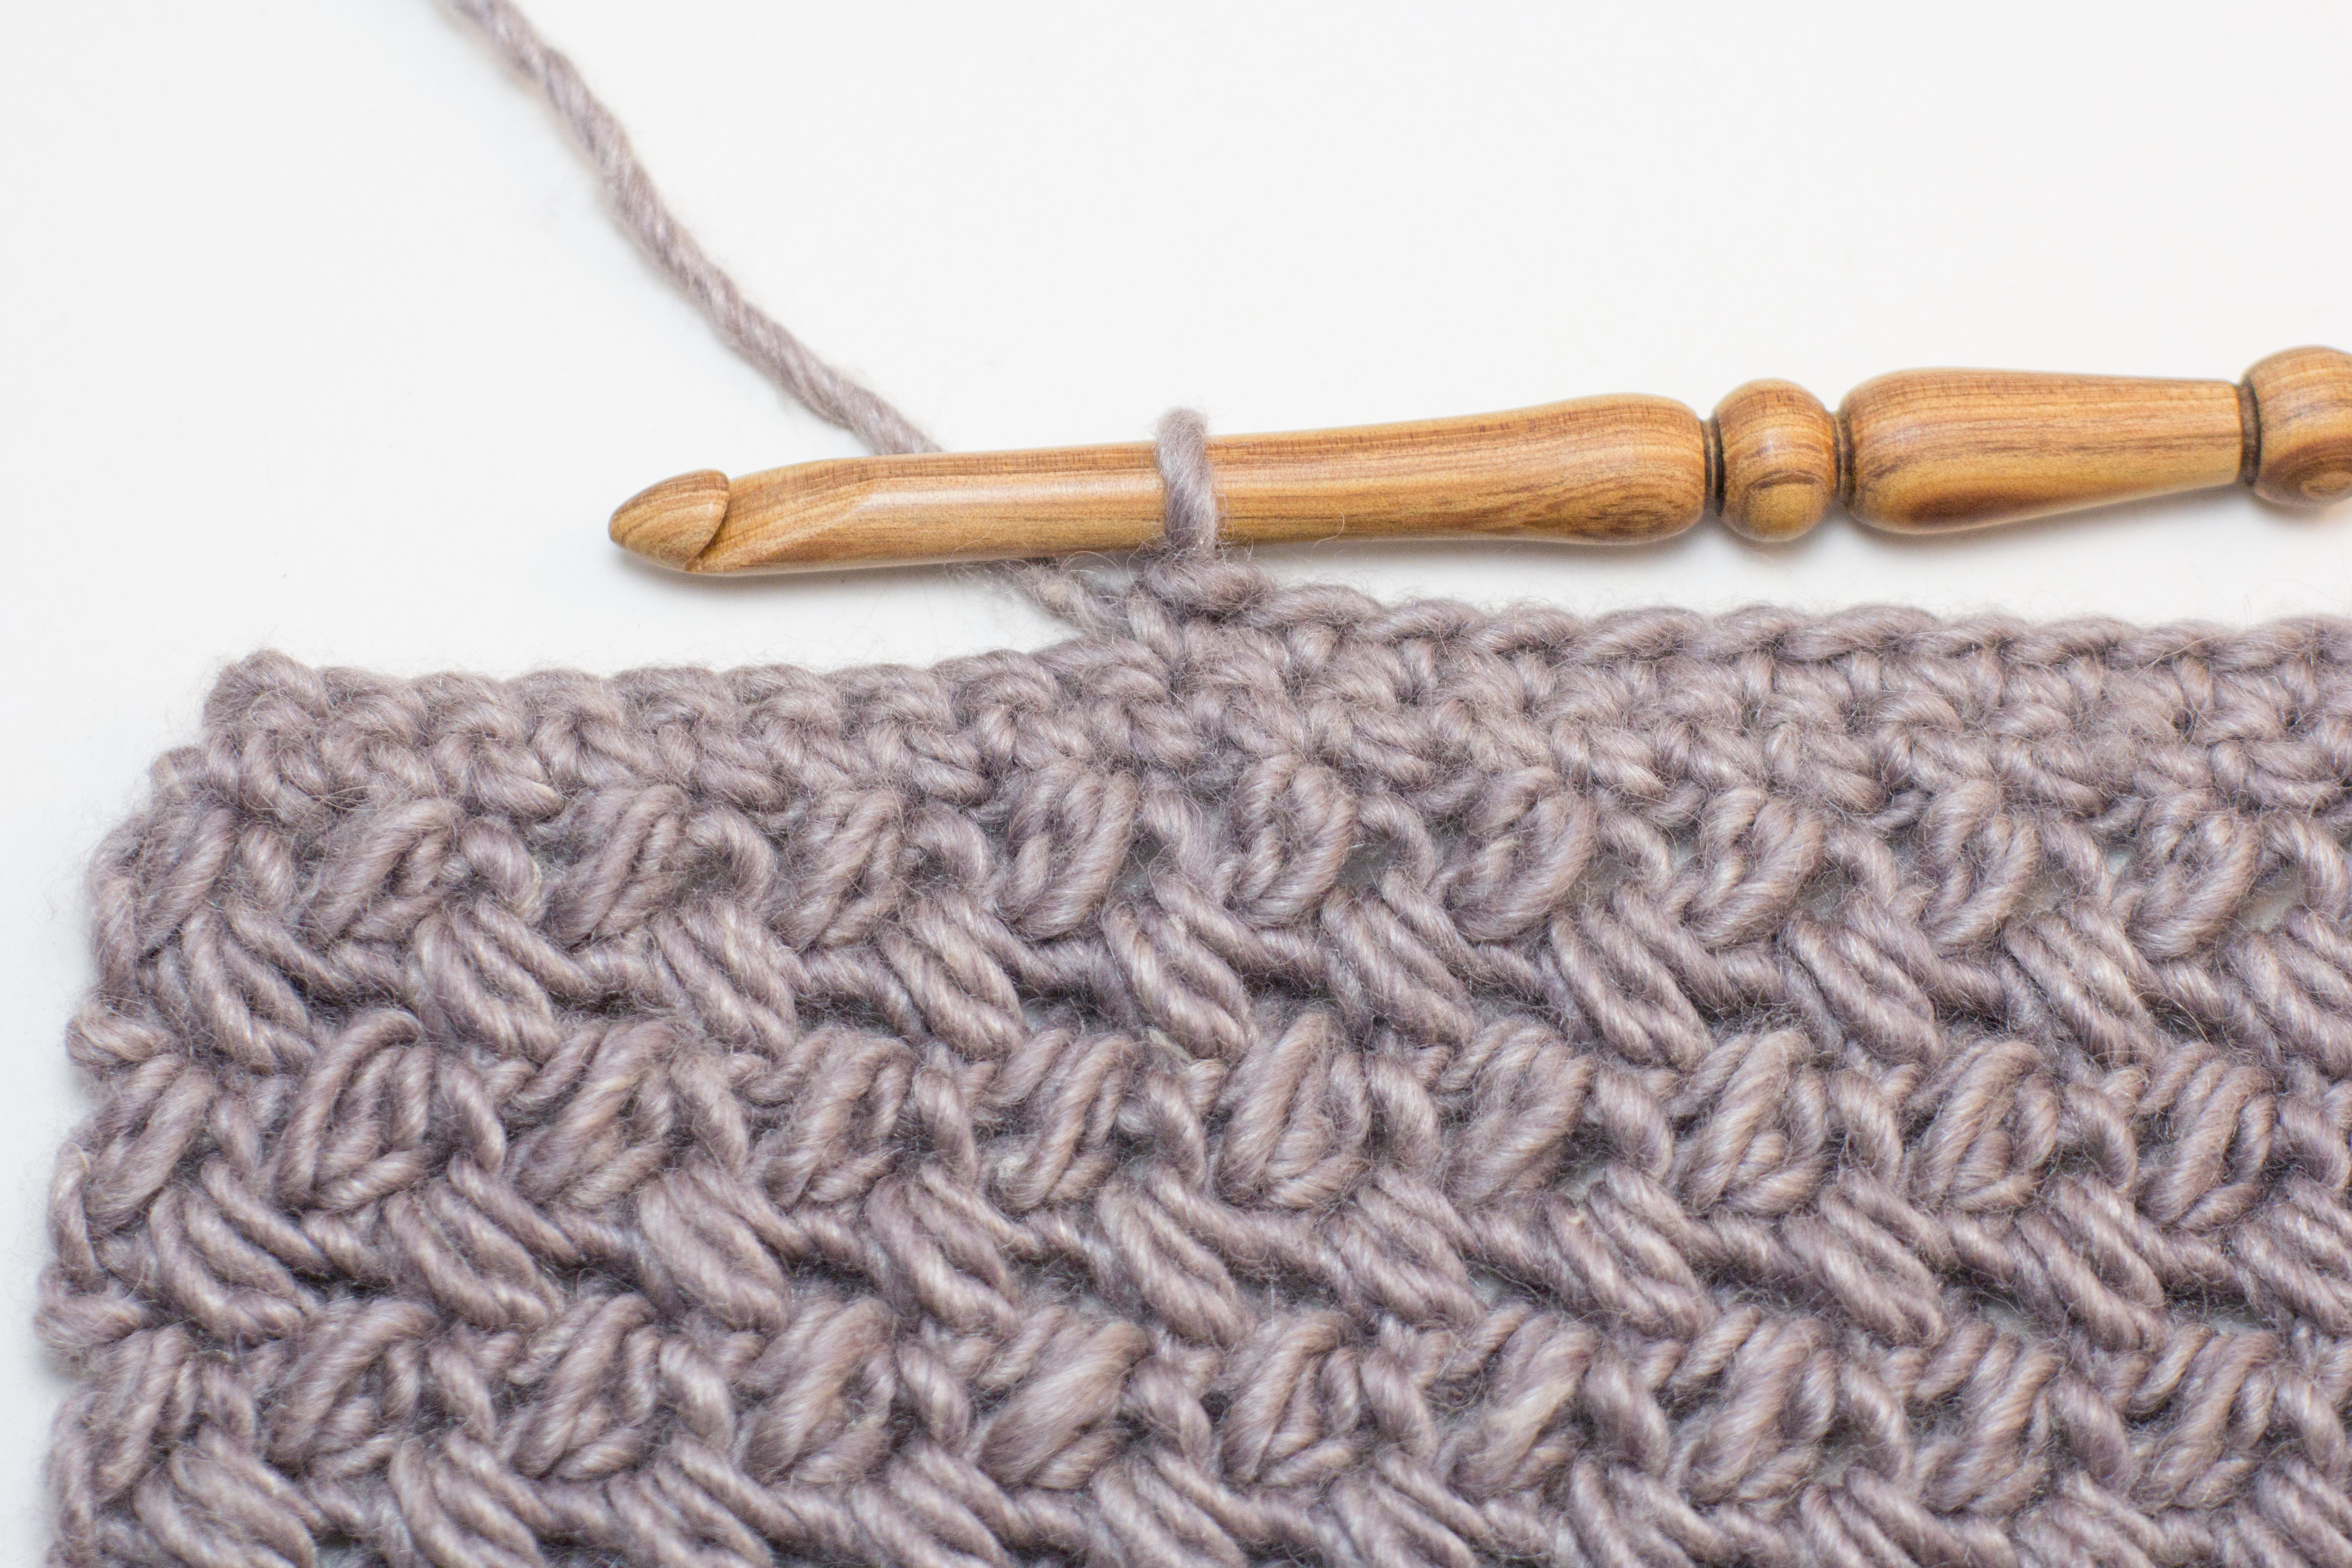
- Row 93 [111, 129]: Ch1, 1 sc in same st. 1 sc in the next 16 [20,24] chains and sts. Turn your work. (17 [21,25] sts)
- Row 94 [112, 130]: Ch1, 1 sc in same st. 1 sc in the next 16 [20,24] sts. Turn your work. (17 [21,25] sts)
- Row 95 [113, 131]: Ch1, 1 sc in same st. *1 fpdc around next sc from 2 rows below. 1 sc in next st. Repeat from the * 8 [10,12] times. Turn your work.
- Row 96 [114, 132]: Repeat “Row 94 [112, 130]”.
- Row 97 [115, 133]: Repeat “Row 95 [113, 131]”.
Fasten off, weave in loose ends.

Ribbing – Left End of Scarf
- Attach yarn to the last st of “Row 1” of Scarf.
- Row 1: Ch1, 1 sc in same st. 1 sc in the next 16 [20,24] chains and sts. Turn your work. (17 [21,25] sts).
- Row 2: Ch1, 1 sc in same st. 1 sc in the next 16 [20,24] sts. Turn your work. (17 [21,25] sts).
- Row 3: Ch1, 1 sc in same st. *1 fpdc around next sc from 2 rows below. 1 sc in next st. Repeat from the * 8 [10,12] times. Turn your work.
- Row 4: Repeat “Row 94 [112, 130]”.
- Row 5: Repeat “Row 95 [113, 131]”.
Fasten off, weave in loose ends.
Creating the Pockets
Taking one end of the scarf, fold it back 15” [17”,19”] on top of the scarf (this will create the pocket), making sure the “Ribbing” is on the outside. Sew up the sides. Repeat on the other end of the scarf.
