Crochet Mushroom Keychain
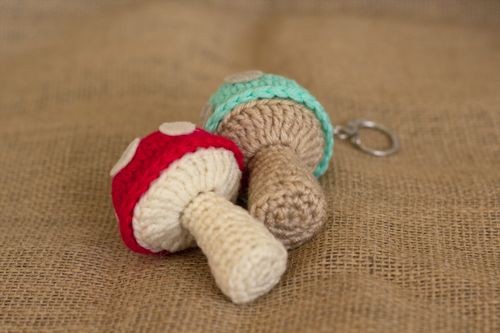
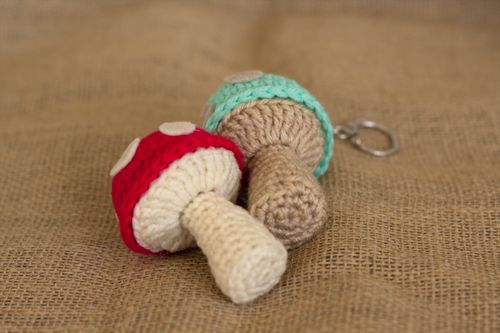
Crochet mushroom keychains are a delightful and whimsical accessory that adds a touch of charm to your keys or bags. These miniature creations are not just practical but also have a handmade warmth to them that makes them special. With their adorable design, they bring a smile to your face every time you reach for your keys.
Crafting these cute keychains can be a relaxing and rewarding activity, allowing you to unleash your creativity and bring a bit of joy to your daily routine. Whether you make them as a thoughtful gift for a friend or keep one for yourself, these crochet mushroom keychains are sure to brighten up your day in the most charming way.You will need:
scraps of beige and red yarn (or colors of your choice)
– light brown and off white felt
– fiberfill for stuffing
– glue gun, or fabric glue
– yarn needle
The size of the mushroom is approximatively 3 inches, crocheted with a 2.75mm hook (the larger the size of the hook, the larger your mushroom will be).
Abbreviations:
rnd = round
sc = single crochet
inc = increase
dec = decrease
blo = back loops only
flo = front loops only
ch = chain
tr = treble
PATTERN
Stem:
With beige yarn, make a magic ring
Rnd 1: 5 sc in the center of the ring (5)
Rnd 2: 2 sc in each st around (10)
Rnd 3: [1 sc, inc] 5 times (15)
Rnd 4: blo, sc in each st around (15)
Rnd 5: [5 sc, dec] 2 times, 1 sc (13)
Rnd 6: sc in each st around (13)
Optional: I put a little piece of cardboard at the bottom to keep it flat
Rnd 7: [4 sc, dec] 2 times, 1 sc (11)
Rnd 8 to 9: sc in each st around (11)
Rnd 10: [3 sc, dec] 2 times, 1 sc (9)
rnd 11 to 13: sc in each st around (9)
Rnd 14: ch 3, 2 tr in same st, 3 tr in each st around, join to first tr (26)
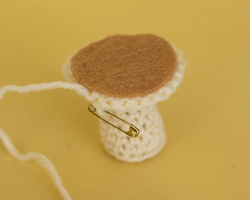
Fasten off, and stuff your stem with fiberfill. Cut a circle in a piece of light brown felt, a little smaller than the circumference of your last row. Glue it on your mushroom then resume your work.
Cap:
With red yarn, make a magic ring
Rnd 1: 5 sc in the center of the ring (5)
Rnd 2: 2 sc in each st around (10)
Rnd 3: [1 sc, inc] 5 times (15)
Rnd 4: [2 sc, inc] 5 times (20)
Rnd 5: [3 sc, inc] 5 times (25)
Rnd 6: inc, 24 sc (26)
Rnd 7 to 8: sc in each st around (26)
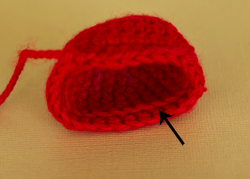
Rnd 9: flo, sc in each st around (26)
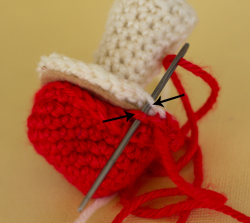
Fasten off, and leave a long tail for sewing. Insert your remaining thread on the other side of the cap to start embroidering. Sew around using the stitches underneath the cap and front loops of the stem. You can add stuffing half way through the sewing, but don’t stuff too much or the bottom of the cap will not be flat. Fasten off, and hide your loose threads by embroidering them within stitches.
