Crochet Ribbed Potholder

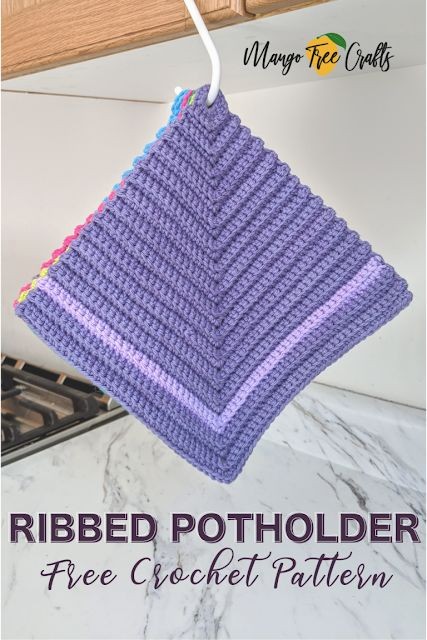
Crochet ribbed potholders are not only practical kitchen essentials but also fun and satisfying to make! The ribbed texture adds both visual appeal and extra thickness to protect your hands from heat. Whether you choose a bold color or a more neutral tone, these potholders make a lovely addition to your home or a thoughtful gift for a friend who loves to cook.
So grab your crochet hook and yarn, and get ready to whip up a stack of cozy ribbed potholders that will brighten up your kitchen in no time!Materials Used:
- Worsted weight 100% cotton yarn (I used Lily Sugar and Cream)
- Hook F (3.75mm)
- Tapestry needle
Abbreviations:
CH – chain
ST – stitch
R – row
SC – single crochet
SL ST – slip stitch
Keep in Mind:
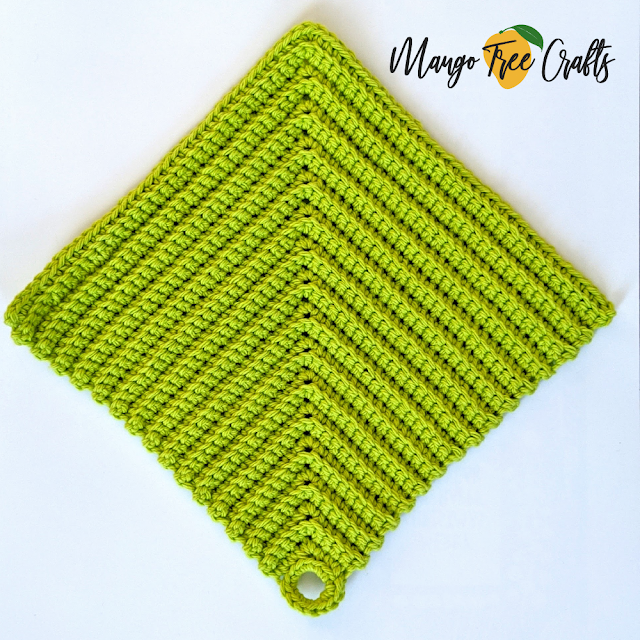
- The size of the finished potholder is approximately 8″x8″
- The pattern is worked in back loops (this is how the ribbed look is created)
- Only the first row is worked in the round (to form a loop for hanging), all other rounds are worked back and forth and the work is turned
- CH1 at the beginning of the row does not count as stitch
- Feel free to use yarn in different colors and/or alternate the colors
Pattern:
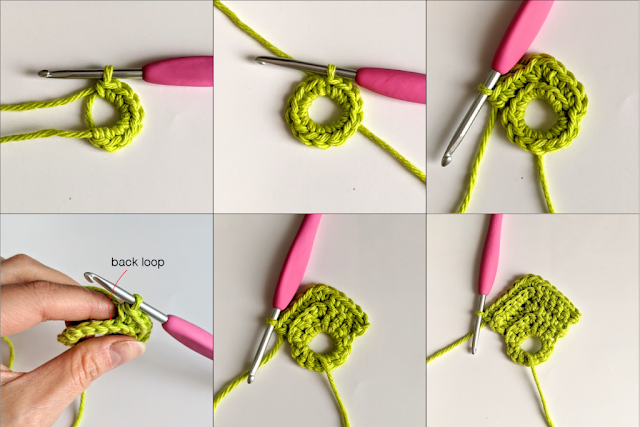
R1: Start with a magic ring, 14 SC into the magic ring, join with SL ST. (14) – This is the loop of the potholder.
R2: CH1, 3 SC into the next 3 ST, 3 SC into the next ST, 3 SC into the next 3 ST, turn. (9)
R3: CH1, 4 SC into the next 4 ST, 3 SC into the next ST, 4 SC into the next 4 ST, turn. (11)
R4: CH1, 5 SC into the next 5 ST, 3 SC into the next ST, 5 SC into the next 5 ST, turn. (13)
R5: CH1, 6 SC into the next 6 ST, 3 SC into the next ST, 6 SC into the next 6 ST, turn. (15)
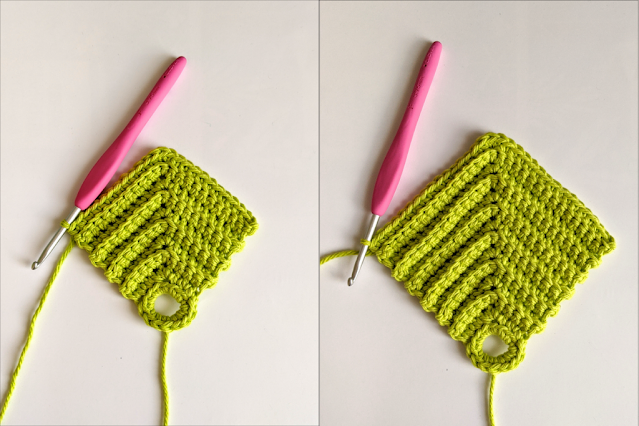
See photos below for visual help.

R6: CH1, 7 SC into the next 7 ST, 3 SC into the next ST, 7 SC into the next 7 ST, turn. (17)
R7: CH1, 8 SC into the next 8 ST, 3 SC into the next ST, 8 SC into the next 8 ST, turn. (19)
R8: CH1, 9 SC into the next 9 ST, 3 SC into the next ST, 9 SC into the next 9 ST, turn. (21)
R9: CH1, 10 SC into the next 10 ST, 3 SC into the next ST, 10 SC into the next 10 ST, turn. (23)
R10: CH1, 11 SC into the next 11 ST, 3 SC into the next ST, 11 SC into the next 11 ST, turn. (25)
R11: CH1, 12 SC into the next 12 ST, 3 SC into the next ST, 12 SC into the next 12 ST, turn. (27)
R12: CH1, 13 SC into the next 13 ST, 3 SC into the next ST, 13 SC into the next 13 ST, turn. (29)
R13: CH1, 14 SC into the next 14 ST, 3 SC into the next ST, 14 SC into the next 14 ST, turn. (31)
R14: CH1, 15 SC into the next 15 ST, 3 SC into the next ST, 15 SC into the next 15 ST, turn. (33)
R15: CH1, 16 SC into the next 16 ST, 3 SC into the next ST, 16 SC into the next 16 ST, turn. (35)
R16: CH1, 17 SC into the next 17 ST, 3 SC into the next ST, 17 SC into the next 17 ST, turn. (37)
R17: CH1, 18 SC into the next 18 ST, 3 SC into the next ST, 18 SC into the next 18 ST, turn. (39)
R18: CH1, 19 SC into the next 19 ST, 3 SC into the next ST, 19 SC into the next 19 ST, turn. (41)
R19: CH1, 20 SC into the next 20 ST, 3 SC into the next ST, 20 SC into the next 20 ST, turn. (43)
R20: CH1, 21 SC into the next 21 ST, 3 SC into the next ST, 21 SC into the next 21 ST, turn. (45)
R21: CH1, 22 SC into the next 22 ST, 3 SC into the next ST, 22 SC into the next 22 ST, turn. (47)
R22: CH1, 23 SC into the next 23 ST, 3 SC into the next ST, 23 SC into the next 23 ST, turn. (49)
R23: CH1, 24 SC into the next 24 ST, 3 SC into the next ST, 24 SC into the next 24 ST, turn. (51)

R24: CH1, 25 SC into the next 25 ST, 3 SC into the next ST, 25 SC into the next 25 ST, turn. (53)
R25: CH1, 26 SC into the next 26 ST, 3 SC into the next ST, 26 SC into the next 26 ST, turn. (55)
R26: CH1, 27 SC into the next 27 ST, 3 SC into the next ST, 27 SC into the next 27 ST, turn. (57)
R27: CH1, 28 SC into the next 28 ST, 3 SC into the next ST, 28 SC into the next 28 ST, turn. (59)
R28: CH1, 29 SC into the next 29 ST, 3 SC into the next ST, 29 SC into the next 29 ST, turn. (61)
R29: CH1, 30 SC into the next 30 ST, 3 SC into the next ST, 30 SC into the next 30 ST, turn. (63)
R30: CH1, 31 SC into the next 31 ST, 3 SC into the next ST, 31 SC into the next 31 ST, turn. (65)
R31: CH1, 32 SC into the next 32 ST, 3 SC into the next ST, 32 SC into the next 32 ST, turn. (67)
R32: CH1, 33 SC into the next 33 ST, 3 SC into the next ST, 33 SC into the next 33 ST, turn. (69)
Cut off and weave in the ends.

