Crochet Adorable Mouse

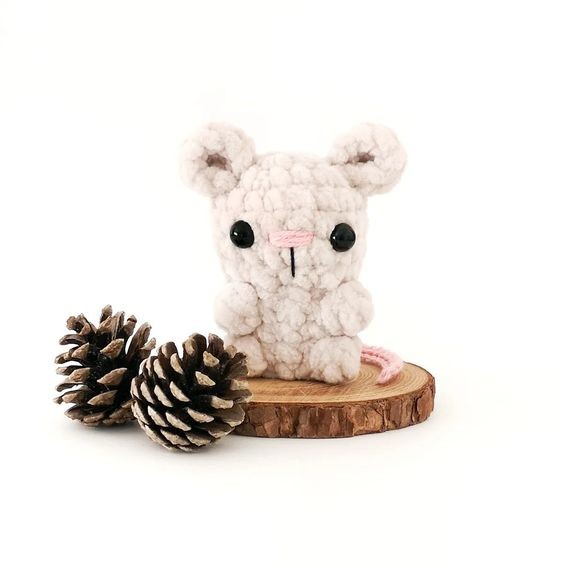
Create a charming little mouse using the art of crocheting. Craft a lovable creature with soft yarn and a crochet hook, following a pattern that will guide you through each step of the process. Choose your favorite colors to bring your mouse to life, adding details like whiskers and a tail to make it even more adorable.
Crocheting a mouse can be a fun and rewarding project, perfect for both beginners and experienced crafters alike. Whether you're making it as a gift for a friend or simply as a decorative piece for your home, a crocheted mouse is sure to bring a smile to anyone's face. Let your creativity shine as you customize your mouse with different accessories and embellishments, making each one unique and special. So grab your crochet supplies and get ready to create your very own adorable mouse today!Materials
- Super bulky yarn in light grey (I used Premier Yarns Parfait Chunky in Mushroom)
- DK weight yarn in pink for the nose and tail (I used Paintbox Yarns Cotton DK in Blush Pink)
- 4.5mm crochet hook
- 2.5mm crochet hook
- 8mm safety eyes
- 4 ply yarn in black or black embroidery floss
- Polyester fiberfill
- Stitch marker, yarn needle, scissors
Abbreviations (US Terms)
- ch – chain
- sc – single crochet
- inc – increase
- invdec – invisible decrease
- FLO – front loop only
- bo – bobble stitch
- hdc – half double crochet
- sl st – slip stitch
- st/s – stitch/es
- […] – repeat the instructions in brackets
- (…) – indicates stitch count at end of round
Special Stitches
Bobble Stitch (bo)
- Yarn over.
- Insert your hook into the indicated stitch.
- Yarn over and pull up a loop (3 loops on hook).
- Yarn over and pull through first 2 loops (2 loops on hook).
- Repeat steps 1-4 three more times in the same stitch (5 loops on hook).
- Yarn over and pull though all 5 loops on hook.
- Push bobble to the right side of fabric.
Finished Size
The finished mouse measures approximately 3″ (7.5cm) tall not including the tail. Size may vary depending on tension and materials used.
Gauge
Gauge is not important in this pattern. Use a hook size to match your chosen yarn. Make sure that your stitches are tight enough to prevent stuffing showing through and adjust hook size if
Notes
- Pieces are worked in a continuous spiral. Mark the first stitch of each round with a removable stitch marker.
- All bobble stitches are worked in the front loop only.
Pattern Instructions
Mouse (4.5mm hook, light grey super bulky yarn)
R1: Ch 2, 6 sc in second ch from hook (6)
R2: [Inc] x6 (12)
R3: [Sc, inc] x6 (18)
R4-6: [Sc] x18 (18) 3 rounds
R7: [Sc, invdec] x6 (12)
R8: [FLO sc] x12 (12)
R9: 4 sc, FLO bo, 3 sc, FLO bo, 3 sc (12)
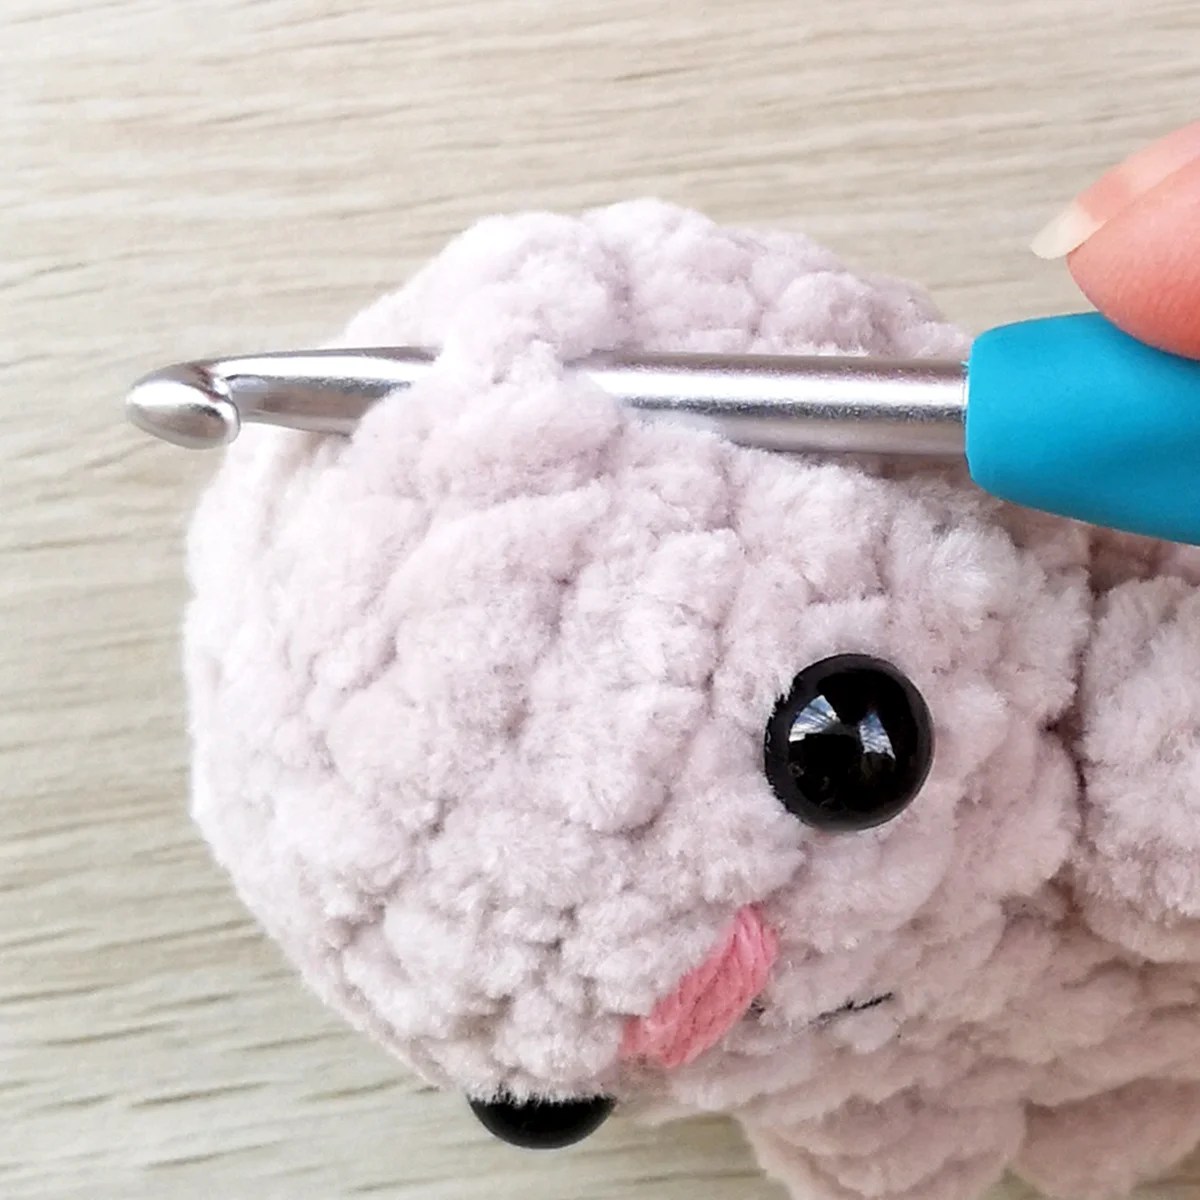
Insert safety eyes between R5 and R6, 3 sts apart.
Stuff the head and continue to stuff as you go.
R10: [Sc] x12 (12)
R11: 4 sc, FLO bo, 3 sc, FLO bo, 3 sc (12)
R12: [Sc, invdec] x4 (8)
Cut the yarn leaving a tail and pull through last st. Weave the yarn tail through the front loops only of the final round and pull to close. Hide the end inside the mouse.
Facial Details
Using pink DK weight yarn, sew a nose between R5 and R6, centred between the eyes (approximately 1 st long). Sew over it 3-4 times or until you have your desired look.
Using 4 ply black yarn or black embroidery floss, make a single vertical st down from the centre of the nose over 1.5 rounds.
Ears
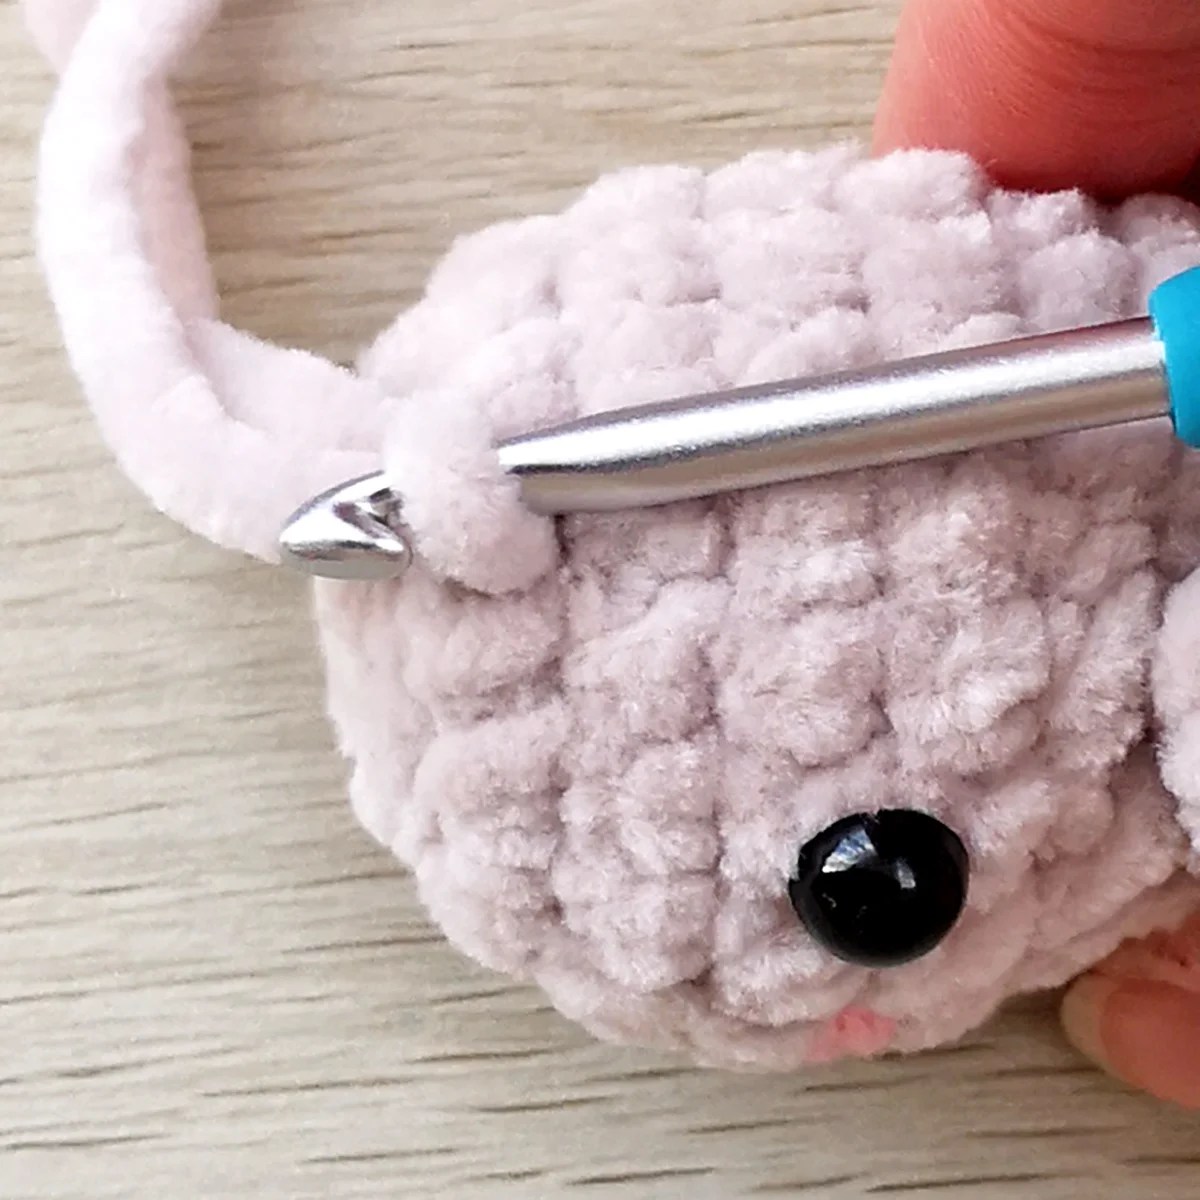
Starting on the right with the mouse facing up, insert your hook into a stitch in R3 approximately 1.5 stitches away from the eye. Place light grey yarn on your hook and pull through.


Ch 2, 6 hdc in second ch from hook (6)
Insert your hook through the back loop of the first hdc and sl st in the same space in R3.
Fasten off and weave in ends.
Repeat on the other side starting from the top of the head.
Tail (2.5mm hook, pink DK weight yarn)
With a slip knot on your hook, join pink yarn with a slip stitch at the centre back of the body between R11 and R12.
Ch 21, sl st in second ch from hook and in each ch across (20)
Fasten off and weave in ends.
Gently stretch and manipulate the tail to straighten it out.
