How to Sew a Stylish Pullover


You'll Need:
Pullover;
Textile fabric;
Tailor's pins;
Scissors;
Measuring tape;
Ruler;
Chalk;
Tool for forming corners and edges;
Threads.
Instructions
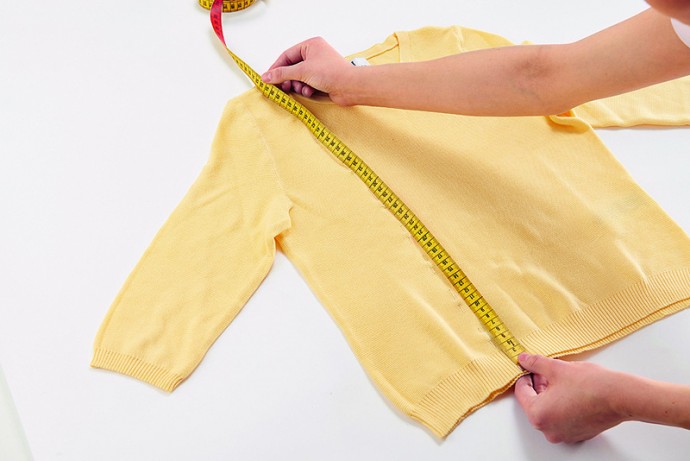
From one side of the pullover at a distance of approx. 13 cm from the side seam and in the middle of the shoulder seam, stick in the pins and measure the length front and back (here it turned out about 110 cm).
Cut out the trimming: length = value from step 1 + 50 cm, width = 32 cm.
Fold the trimming detail along in half along the front side inwards and grind short sections with a zigzag or overlock stitch with a 5 mm allowance.
Turn the trimming part to the front side and align the corners and edges using the tool for forming corners and edges.
Along the open longitudinal sections, lay two lines for assembly (stitch length 5 mm) at a distance of 3 mm and 5 mm.
Pull the trimming on the thread to the length of the pullover (here 110 cm). Distribute the assembly evenly, tie knots at the ends of the threads.
Pin the trimming to the pullover along the line marked with pins with the front to the front and grind it to a width of 1 cm. Unfold the trimming and sew it from the front to a width of 1 cm.
