How to Crochet an Adorable Gnome for Your Home Decor
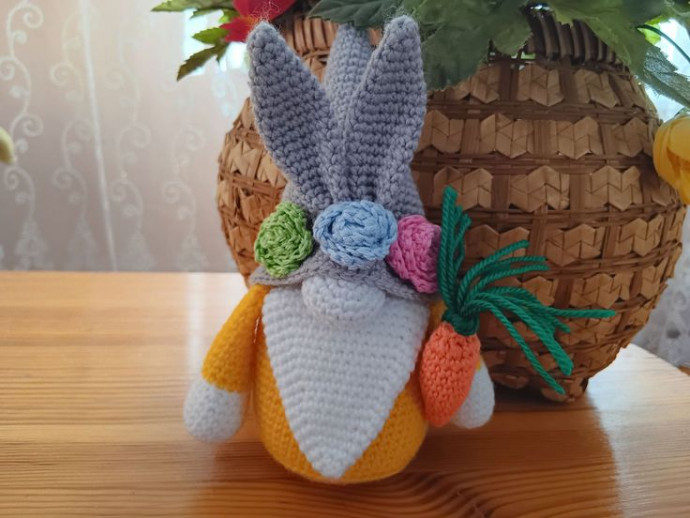
Crocheting an adorable gnome is a delightful and rewarding project that will bring a touch of whimsy to your home décor or make a charming gift for a loved one. With its cozy hat, bushy beard, and rosy cheeks, this little gnome will surely brighten up any space and bring a smile to anyone who sees it.
Whether you're a seasoned crocheter or a beginner looking for a fun and easy project, crafting your own gnome is a wonderful way to add a touch of handmade charm to your life. So grab your yarn, hook, and a cup of tea, and let's get crocheting some gnome magic together!Supplies You Will Need
cotton yarn (e.g. Schachenmayr Catania 125m/50g) in two colors: orange and white, a bit of black for the eyebrows, crochet hook 3 mm, safety eyes or 2 black little beads, scissors, yarn needle, Fiberfil stuffing, black bead or button for the nose.
Skill Level
Easy
Size
The ready amigurumi is approx. 20 cm, can be made bigger or smaller depending on the yarn and hook you use.
Skills You Need
- chain
- single crochet
- double crochet
- half double crochet
- slip stitch
- increase
- decrease
Abbreviations
- Ch = chain
- St = stitch
- Sc = single crochet
- Sl st = slip stitch
- Dec = decrease stitch (two single crochets together)
- Inc = increase stitch (two single crochets in one stitch)
- Dc = double crochet
- Rnd = Round
- * = repeat instructions for the times indicated
- (...) = total amount of stitches
Tips
- Do not join rounds, work in a continuous spiral.
- Use a stitch marker or piece of yarn to keep track of the last stitch in each round.
- All stitches are worked into both loops, unless stated otherwise in the pattern.
- When filling with polyester stuffing, pull apart each large chunk into many smaller chunks. This ensures an even distribution of firmness within the amigurumi.
- Amigurumi can be made in any desired colors.
- Seamless way of changing color when working in the round: Pick up the new color at the end of the round: inset your hook into the stitch, yarn over the new color and pull through the stitch and the loop on your hook to complete the stitch.
Instructions
The gnome consists of several parts which you crochet separately and then you will sew them together.
To Make a Magic Ring
- Loop the thread twice around your middle finger.
- Put the hook under both loops, pull the yarn under the loops and hook the thread again.
- Pull the thread through the new loop. The first crochet stitch is ready!
- Repeat the needed number of times.
- Pull the inner threads to tighten the ring.
Body
Work with yellow color yarn.
Round 1: 6 sc into Magic Ring
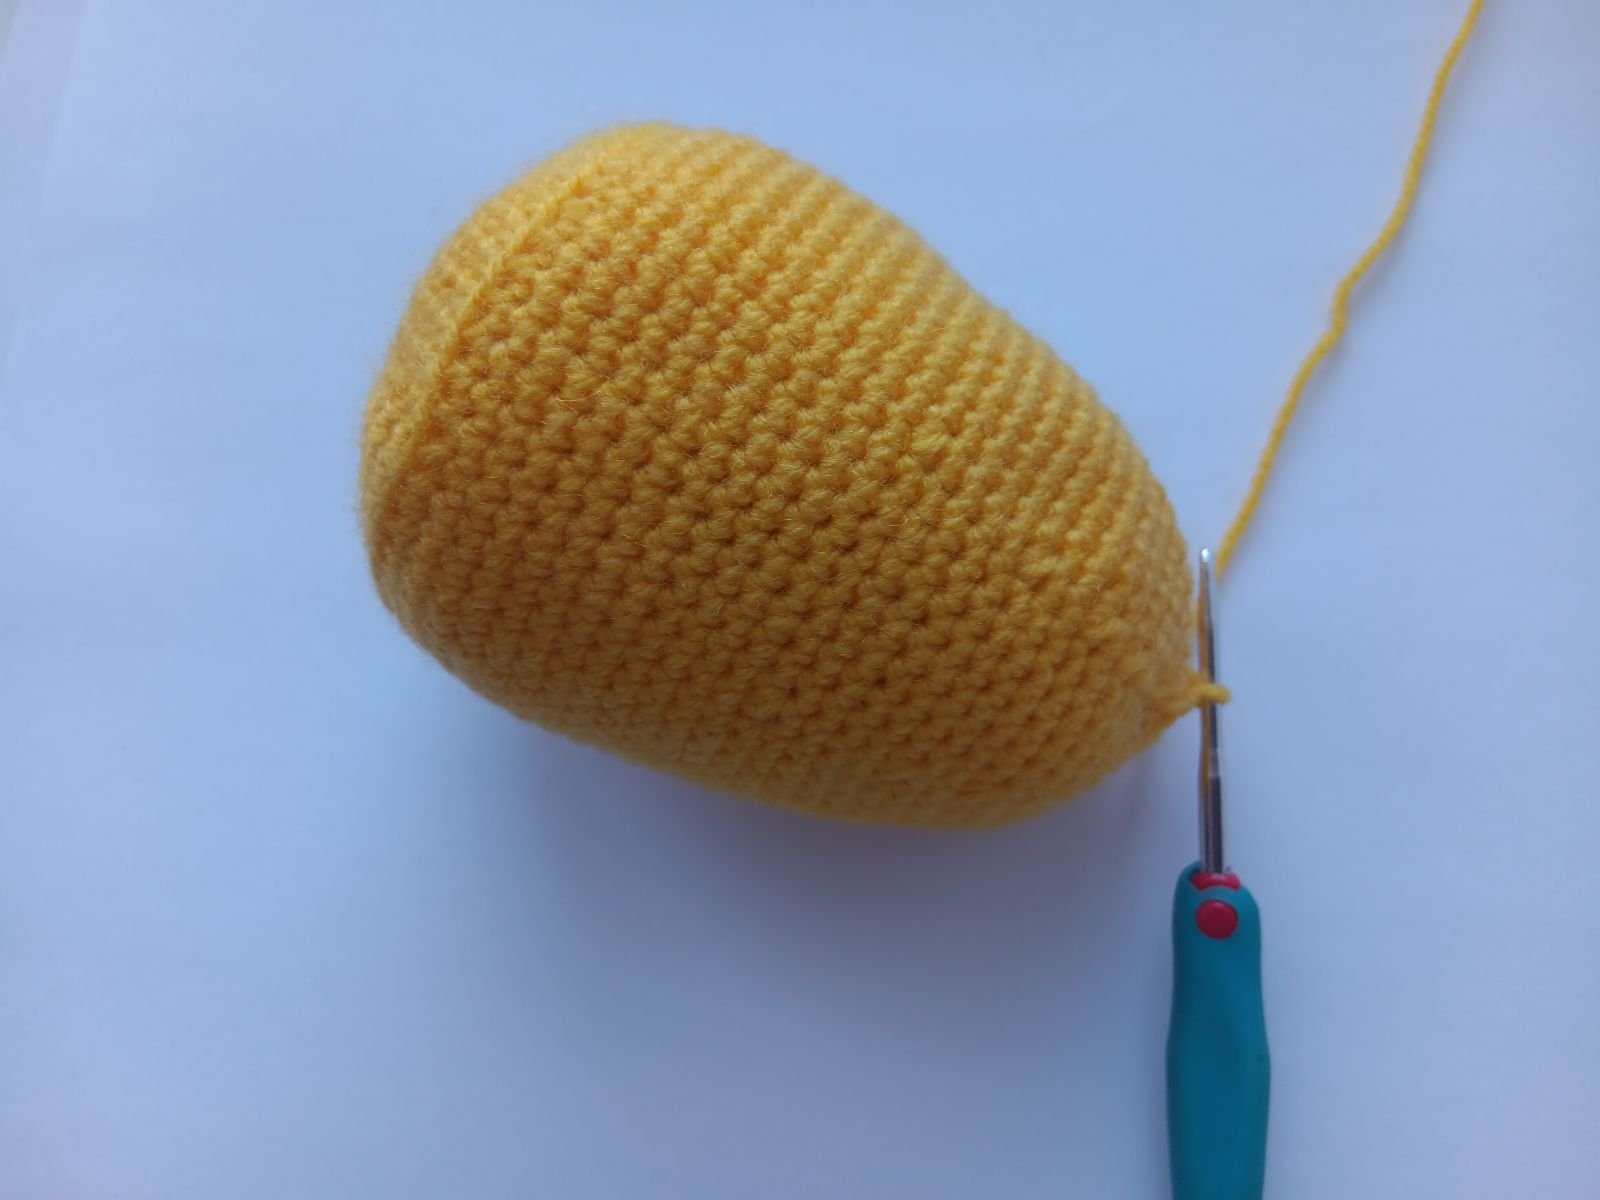
Round 2: inc 6 times (12 stitches)
To add weight to the bottom, add little stones, rice or Poly Pellets.
Stuff the body firmly.
Arm (2x)
Start with white or skin color yarn.
Round 1: 6 sc into Magic Ring
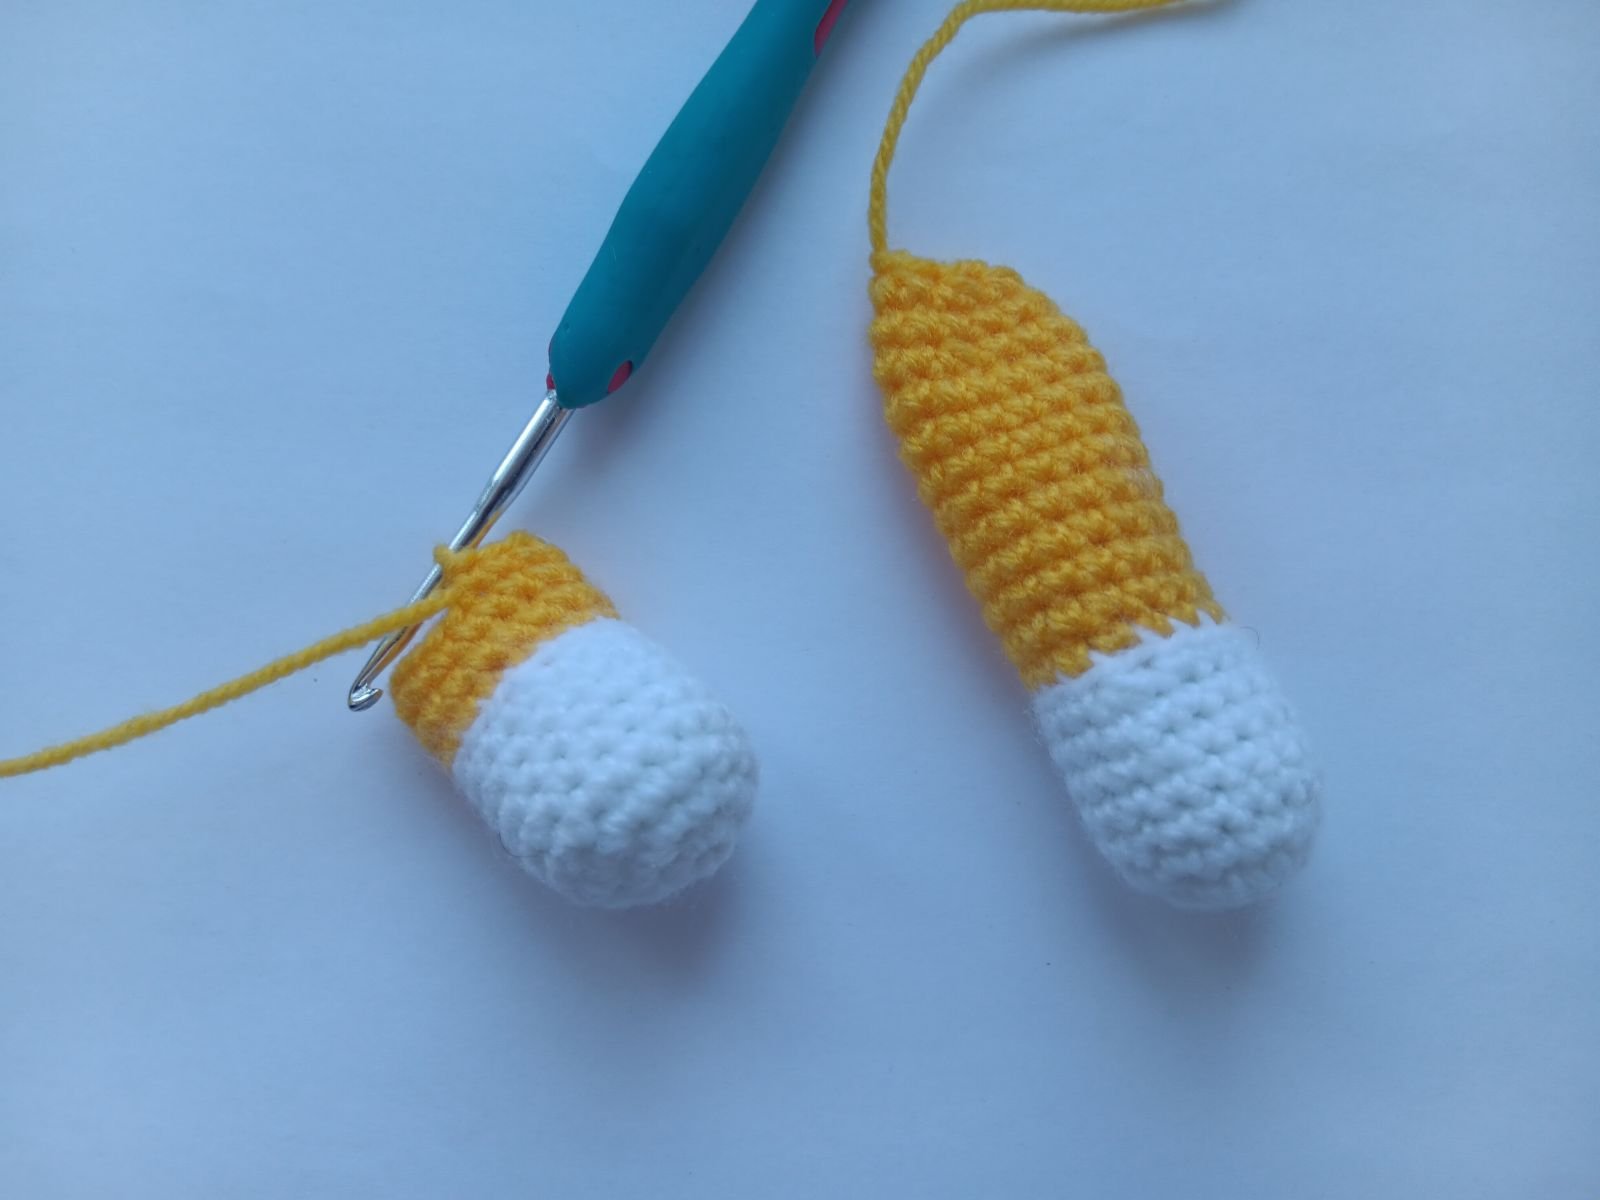
Round 2: inc 6 times (12 stitches)
Bind off leaving a long tail for sewing. Work the second arm the same way.
Nose
Work with white or skin color yarn.
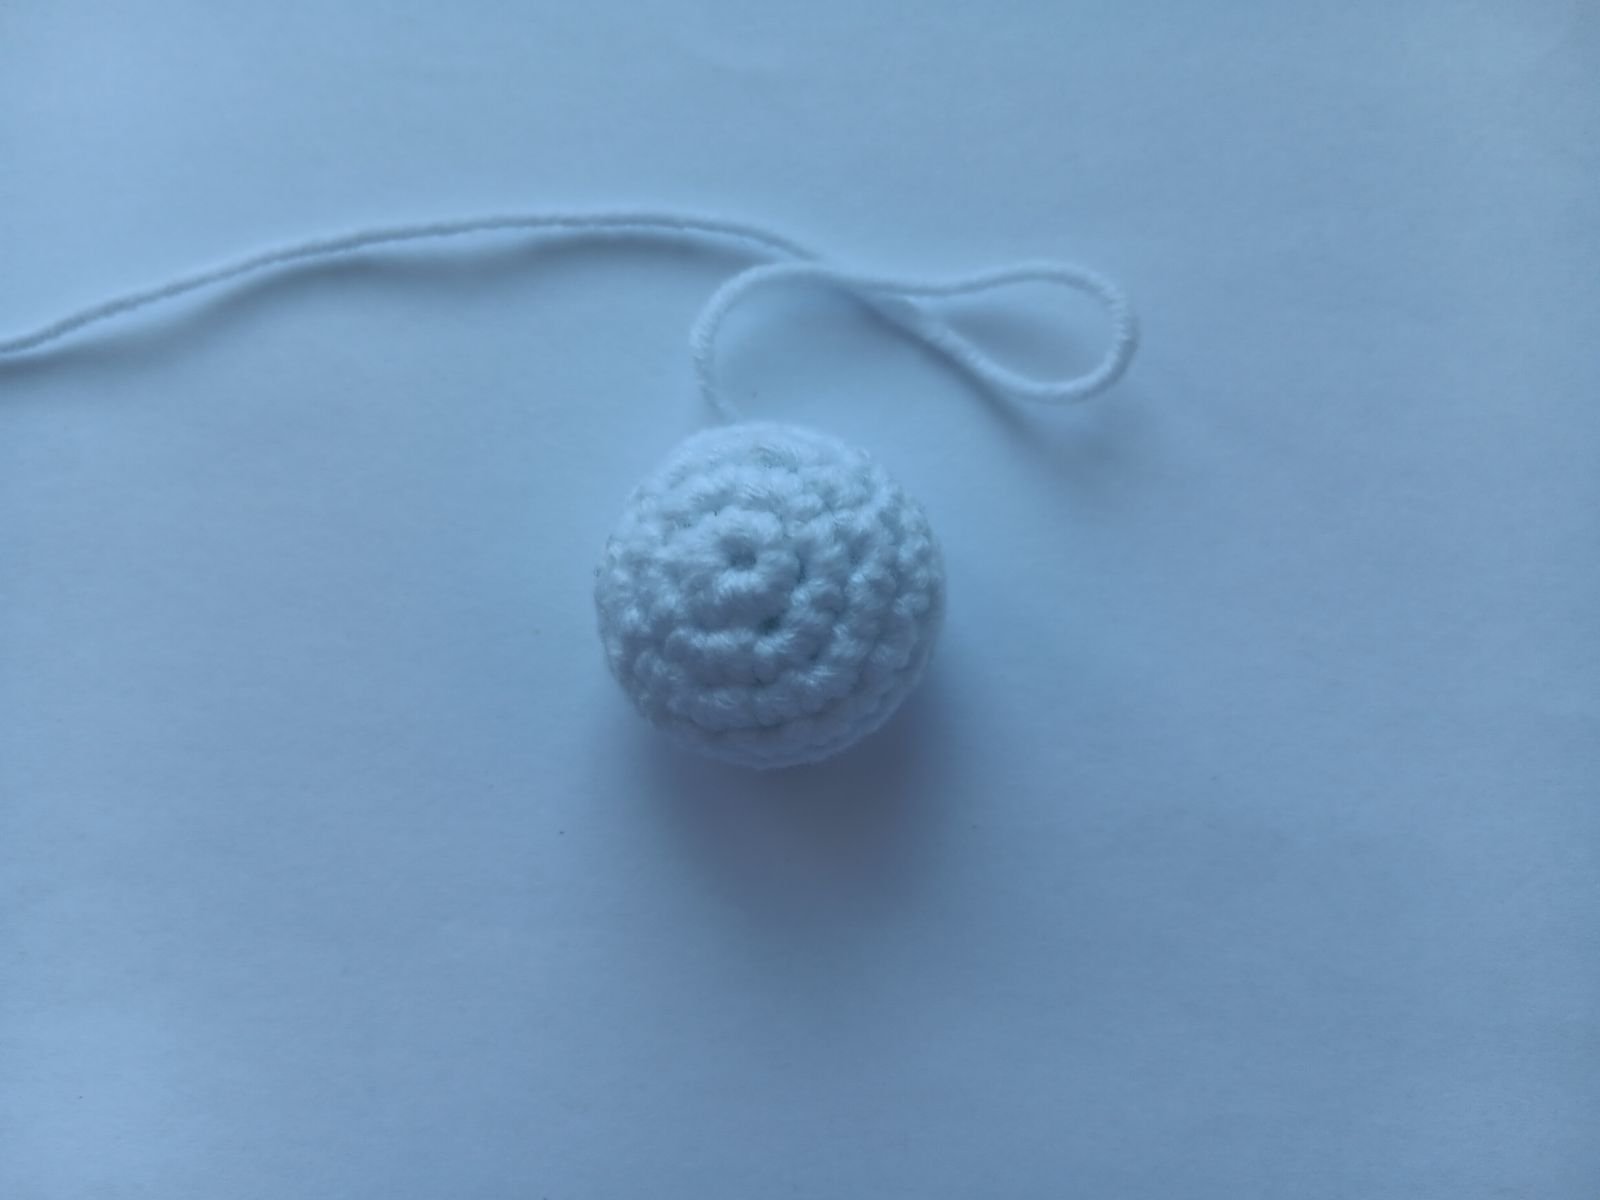
Round 1: 6 sc into Magic Ring.
Round 2: inc 6 times (12 stitches)
Round 3: *sc in next st, inc* (18 stitches)
Rounds 4-6: sc in each of next 18 stitches
Round 7: *dec, sc in the next stitch* (12 stitches)
Stuff the nose slightly.
Round 8: sc in each of next 18 stitches
Bind off leaving a long tail for sewing.
Hat
Crochet using grey color yarn.
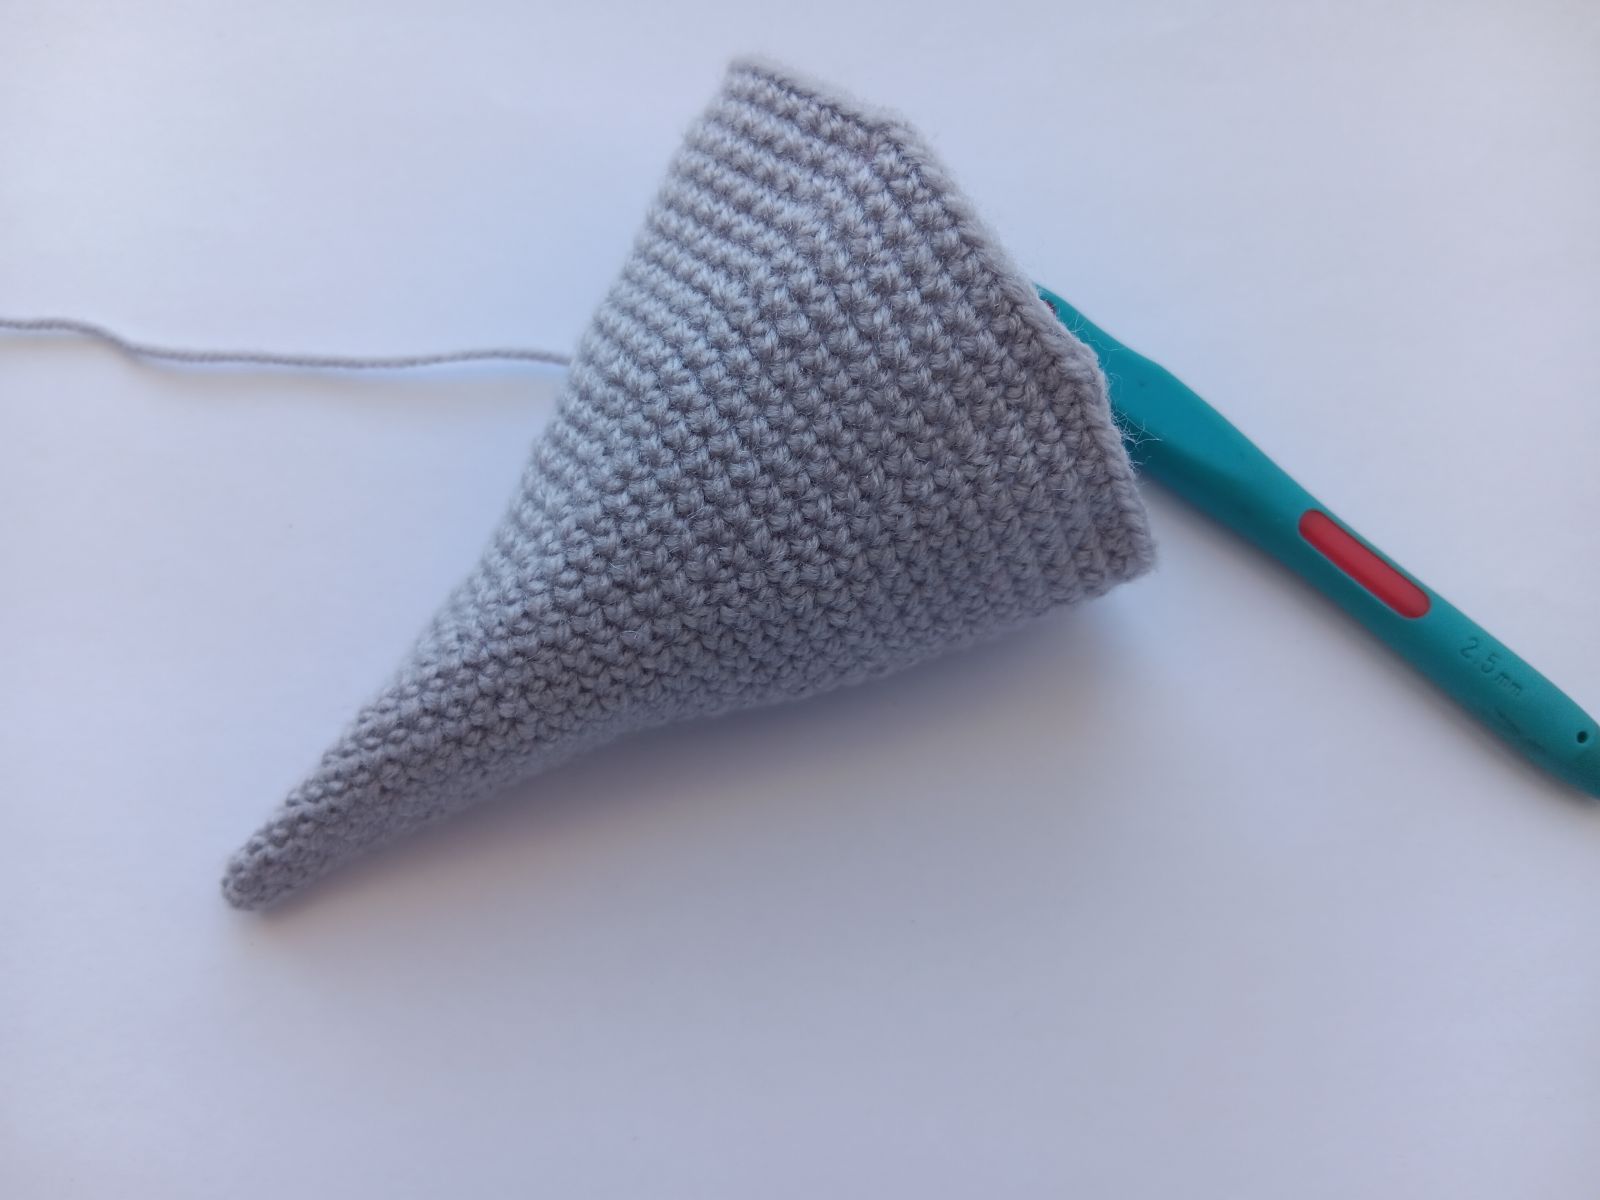
Round 1: 6 sc into Magic Ring
Round 2: *sc in next st, inc* (9 stitches)
Round 3: sc in each of next 9 stitches
Round 4: *sc in each of next 2 stitches, inc* (12 stitches)
Round 5: sc in each of next 12 stitches
Round 6: *sc in each of next 3 stitches, inc* (15 stitches)
Round 7: sc in each of next 15 stitches
Round 8: *sc in each of next 4 stitches, inc* (18 stitches)
Rounds 9-10: sc in each of next 18 stitches
Round 11: *sc in each of next 5 stitches, inc* (21 stitches)
Rounds 12-13: sc in each of next 21 stitches
Round 14: *sc in each of next 6 stitches, inc* (24 stitches)
Round 15: sc in each of next 24 stitches
Round 16: *sc in each of next 7 stitches, inc* (27 stitches)
Round 17: sc in each of next 27 stitches
Round 18: *sc in each of next 8 stitches, inc* (30 stitches)
Round 19: sc in each of next 30 stitches
Round 20: *sc in each of next 4 stitches, inc* (36 stitches)
Rounds 21 -22: sc in each of next 36 stitches
Round 23: *sc in each of next 5 stitches, inc* (42 stitches)
Rounds 24-26: sc in each of next 42 stitches
Round 27: *sc in each of next 6 stitches, inc* (48 stitches)
Rounds 28-30: sc in each of next 48 stitches
Round 31: *sc in each of next 7 stitches, inc* (54 stitches)
Rounds 32-33: sc in each of next 54 stitches
Round 34: *sc in each of next 8 stitches, inc* (60 stitches)
Rounds 35-42: sc in each of next 60 stitches
Bind off leaving a long tail for sewing.
Beard
Crochet using white color yarn.
Round 1: 6 single crochets into Magic Ring.
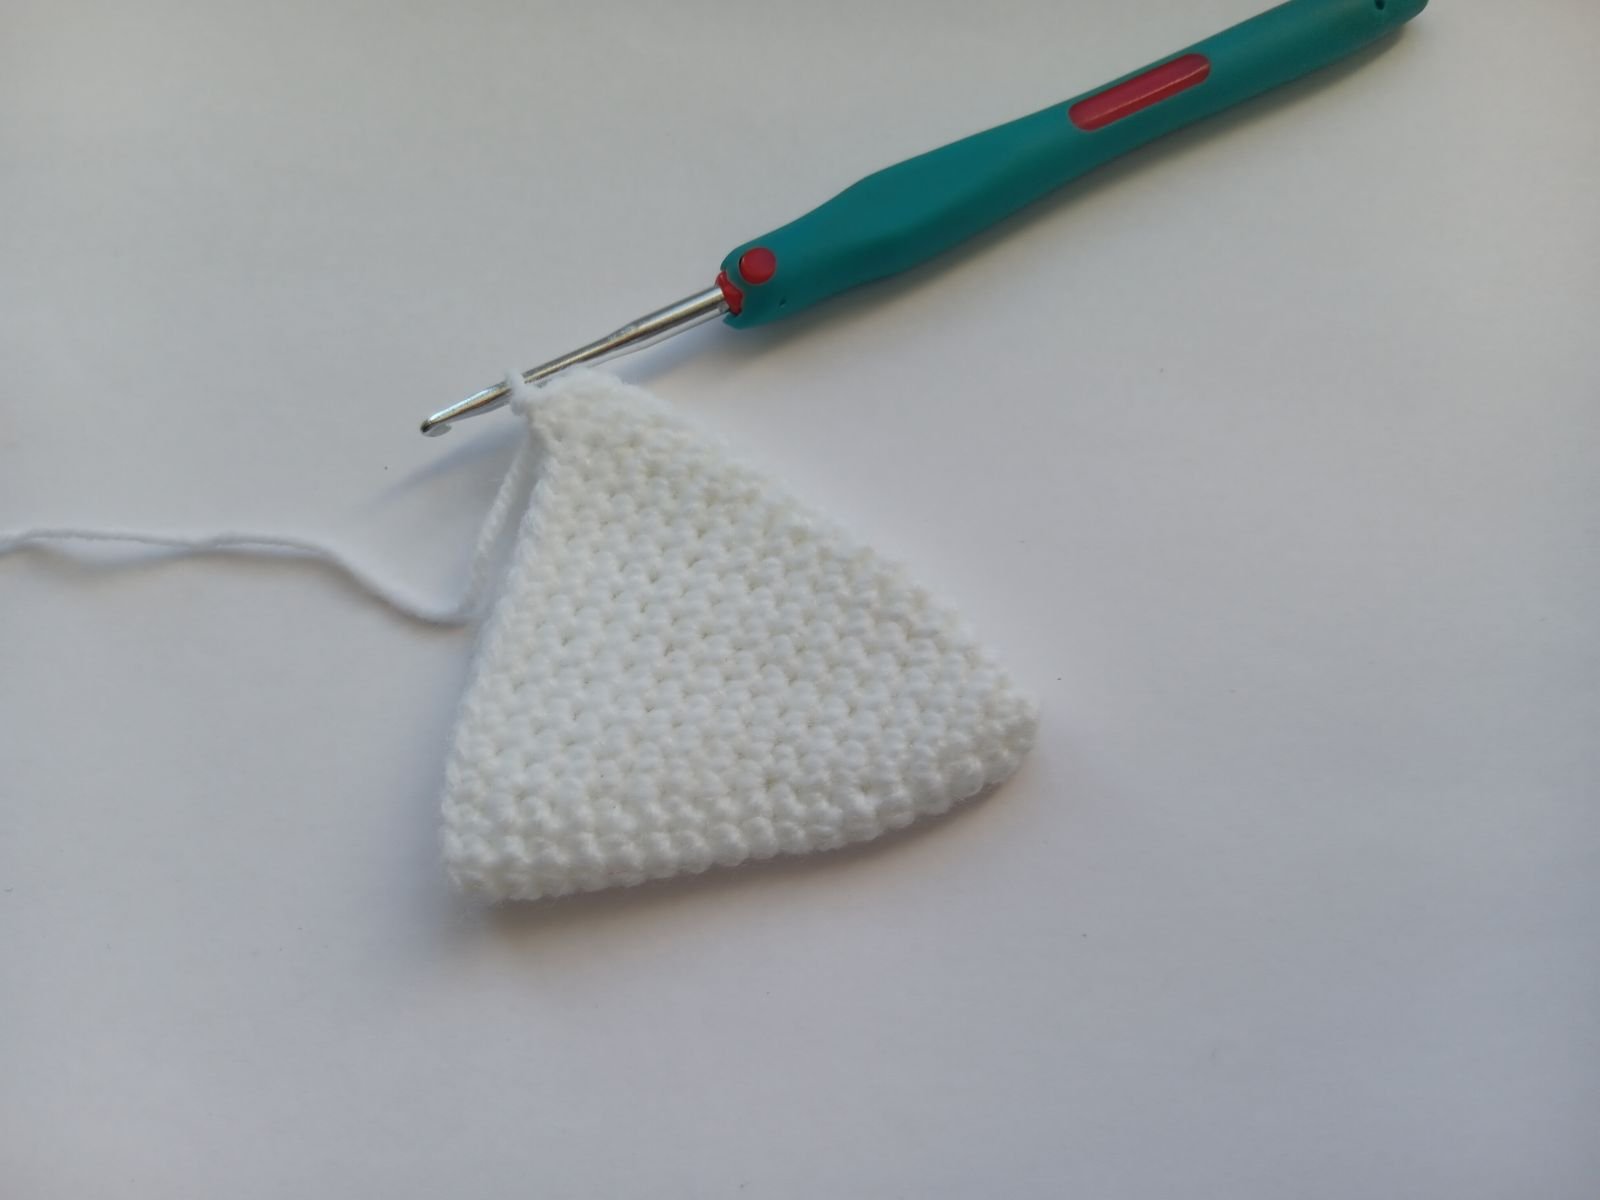
Round 2: single crochet in each of next 6 stitches
Bind off leaving a long tail for sewing. Sew the beard to the body of your gnome.
Blume
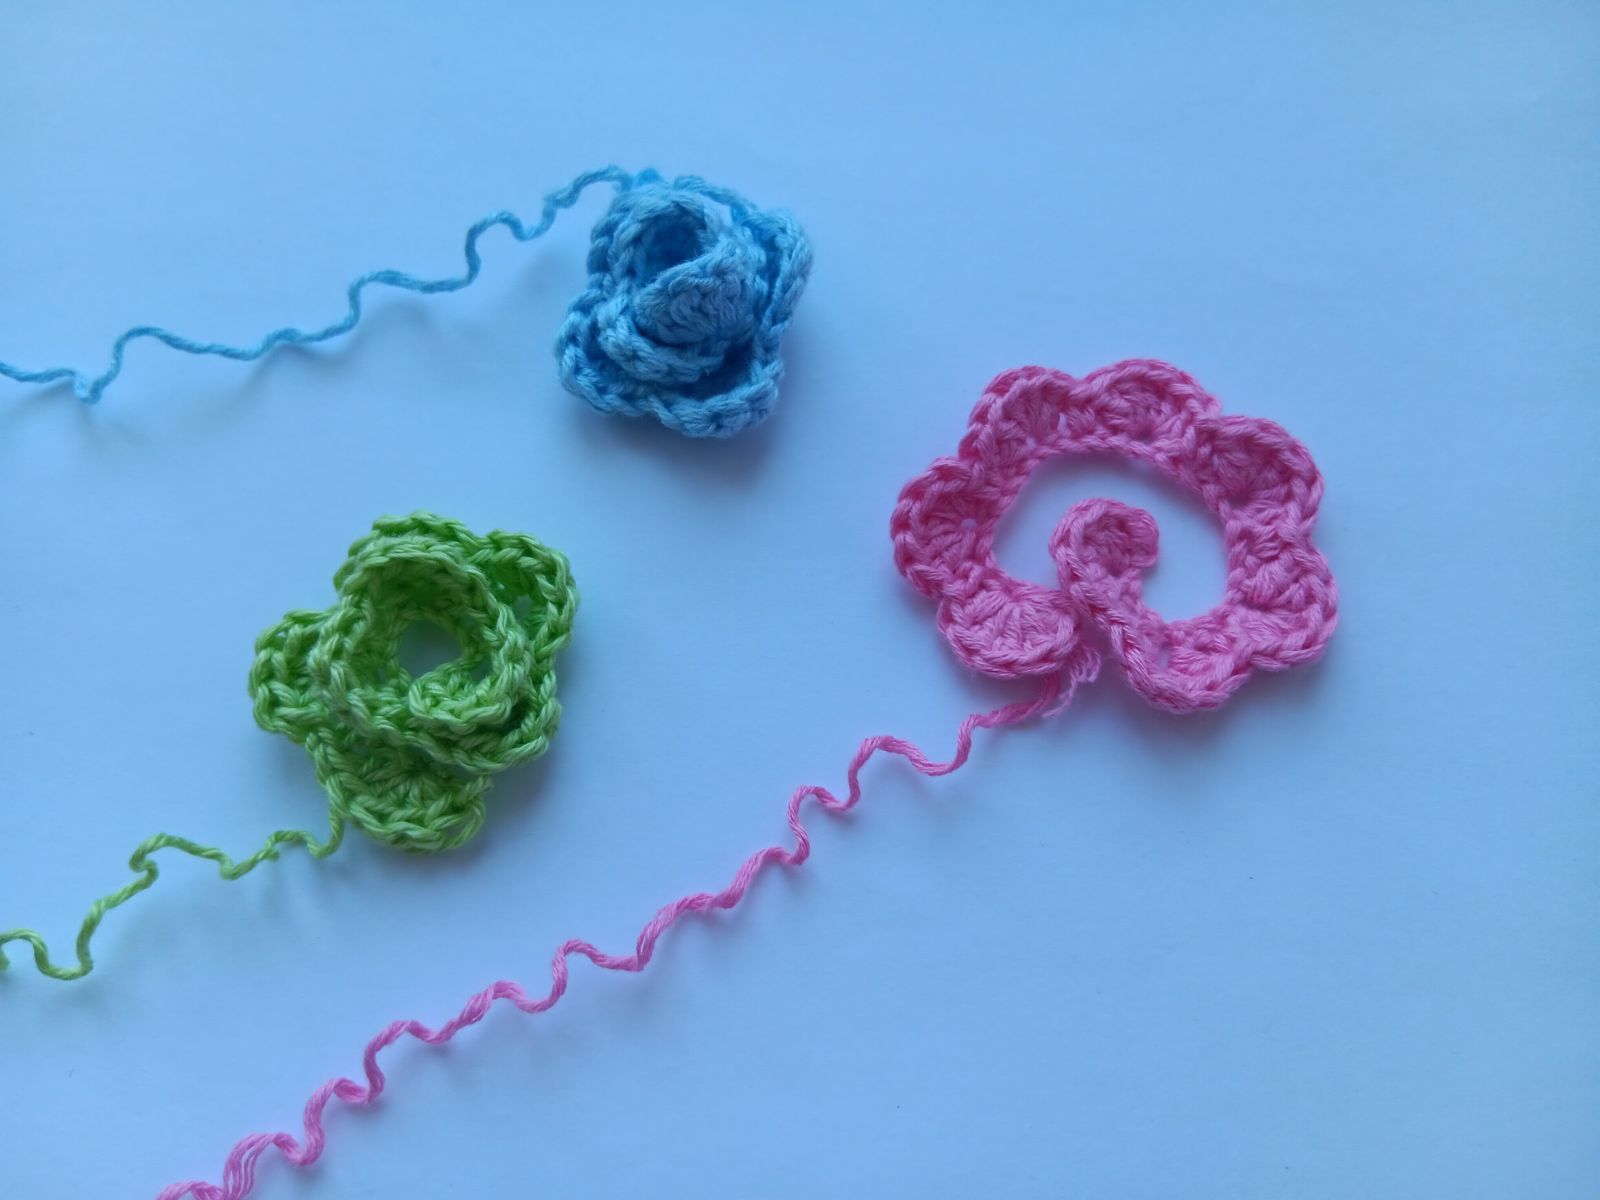
Row 1: chain 32 stitches
Bind off leaving a long tail for sewing.
Ear (2x)
Crochet using grey color yarn.
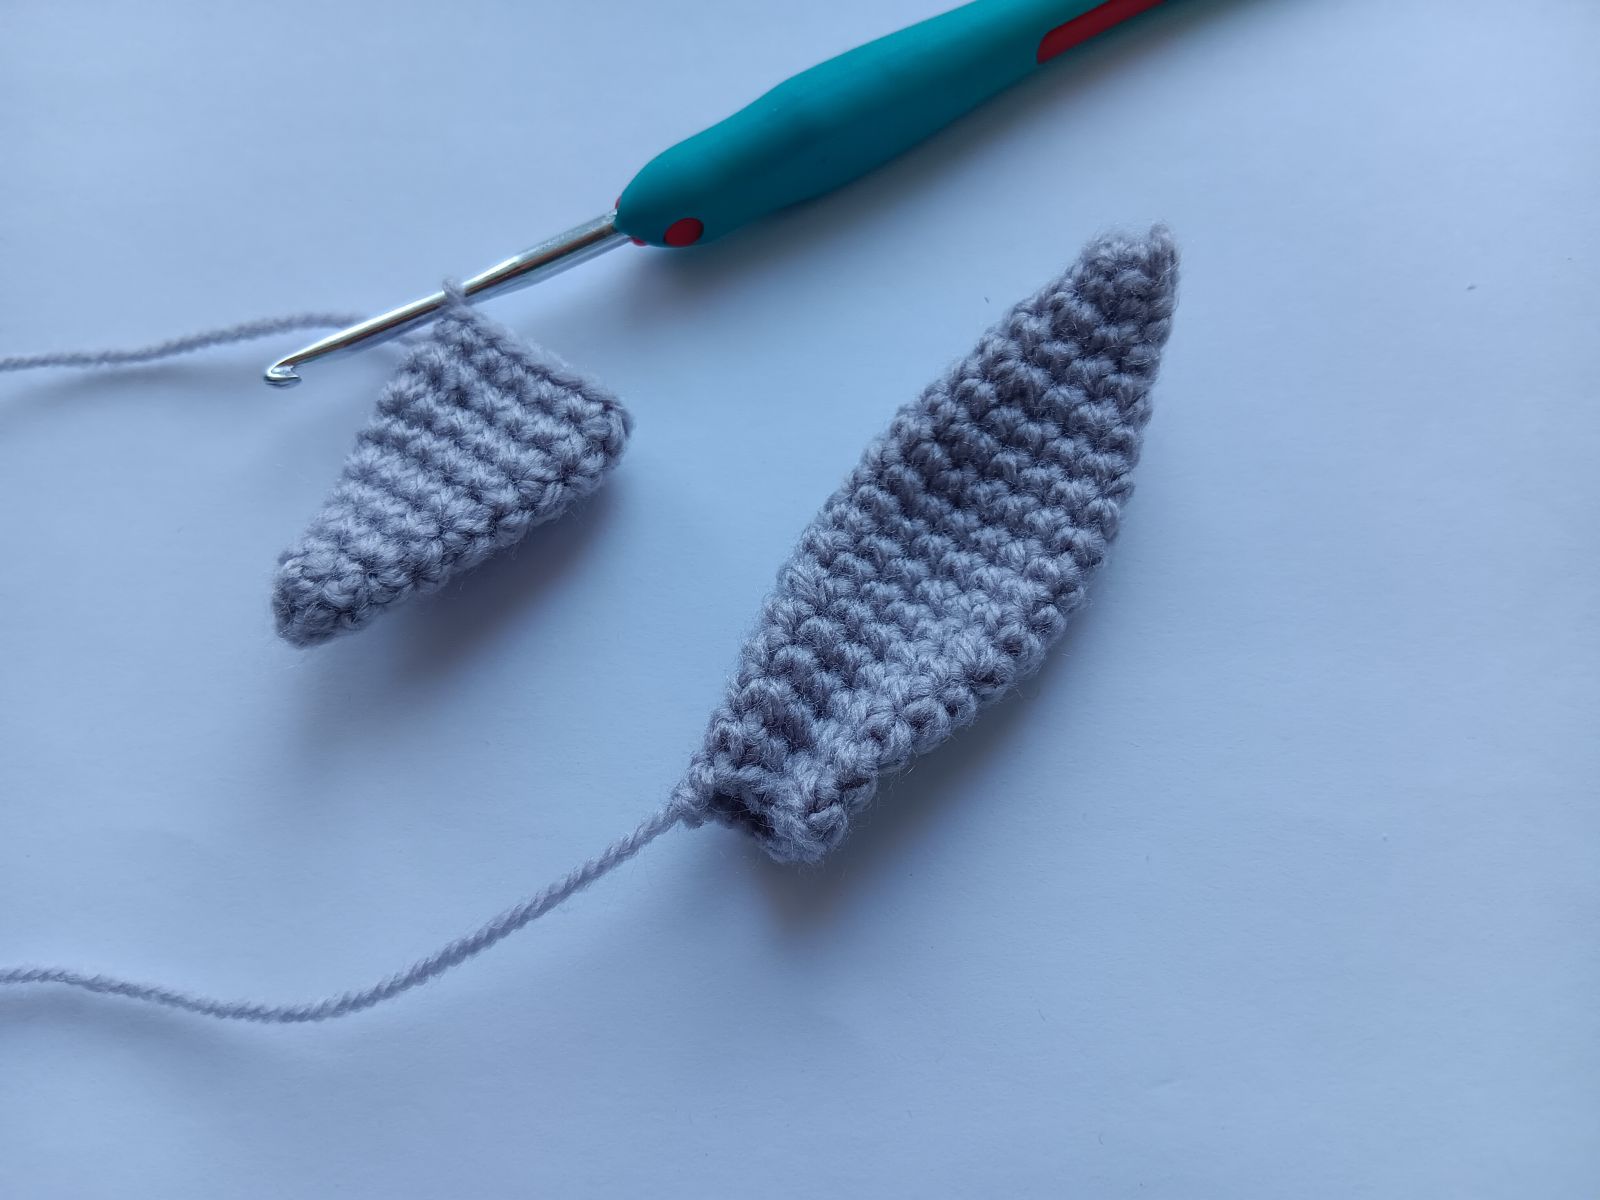
Round 1: 6 sc into Magic Ring
Bind off leaving a long tail for sewing. Do not stuff the ear. Work the second ear the same way.
Carrot
Crochet using orange color yarn.
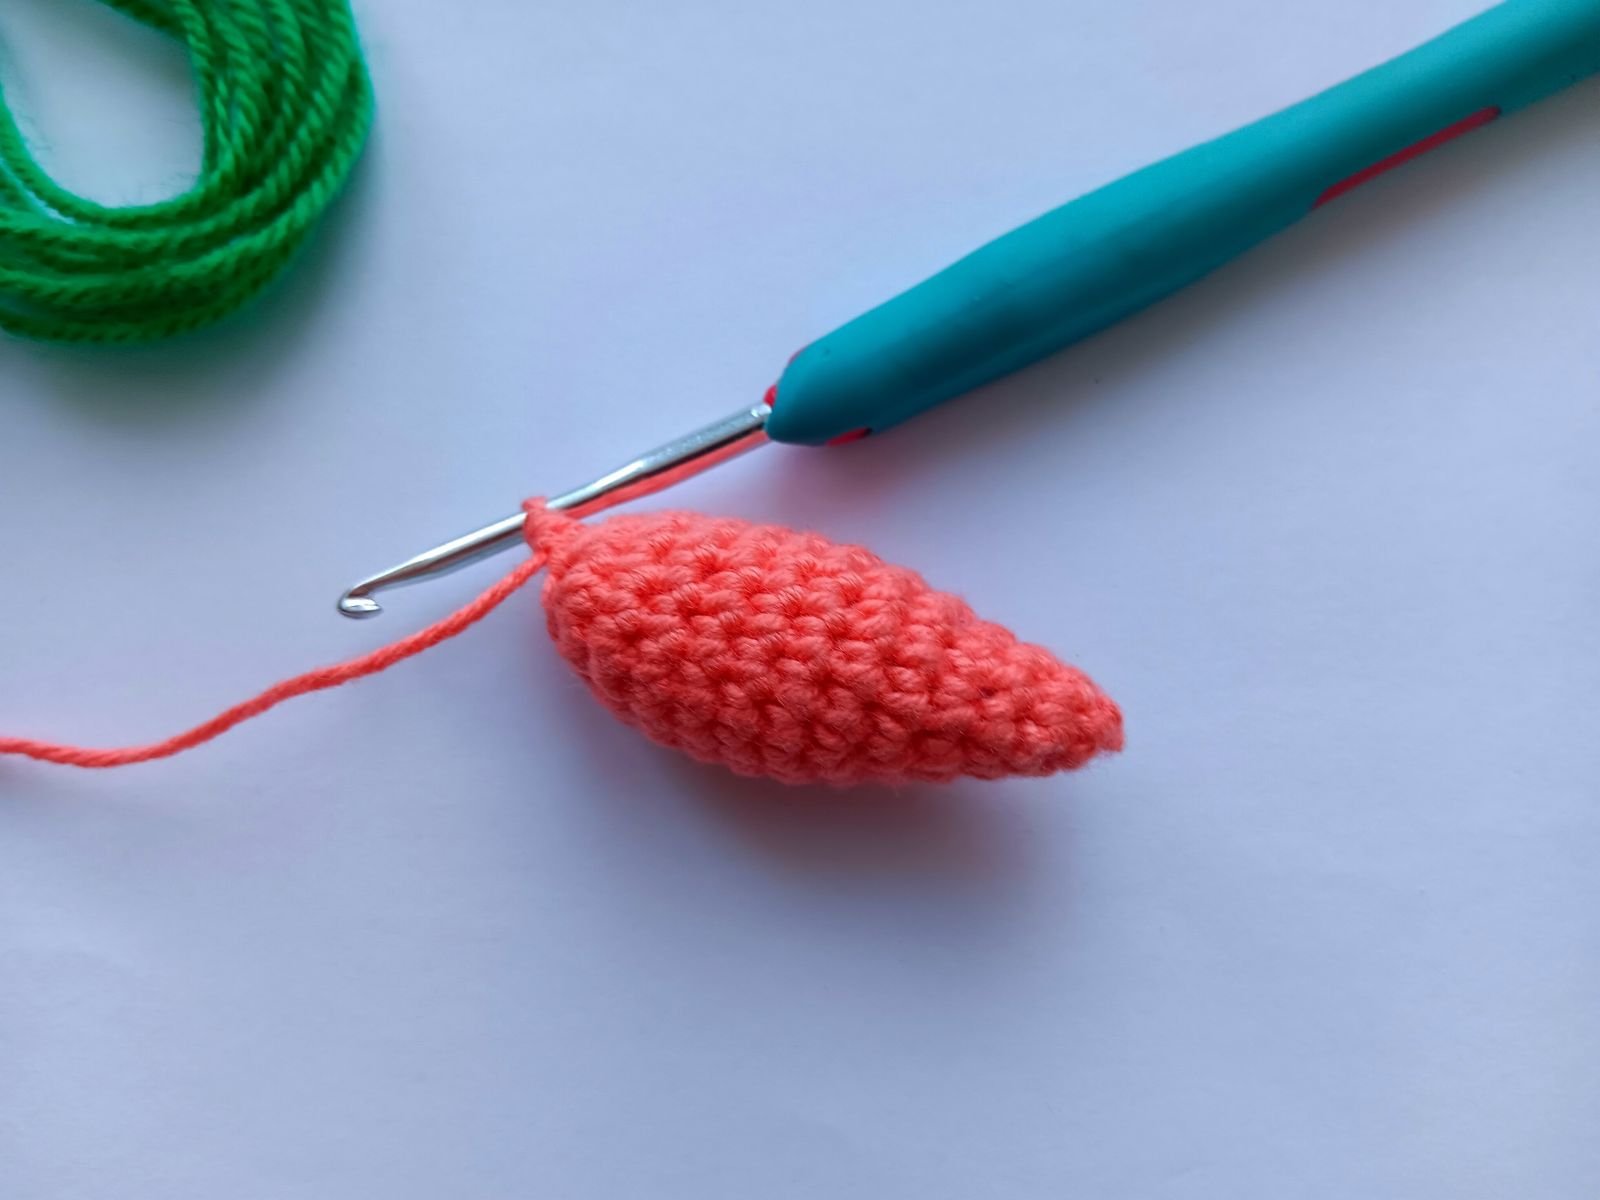
Round 1: 4 sc into Magic Ring
Assembly
Since all the elements of your gnome are crocheted, it’s time to sew them together. Use a blunt sewing needle.
Sew arms to the body. Be sure to step back and take a look to make sure they are even.
Sew the beard to the body of your gnome.
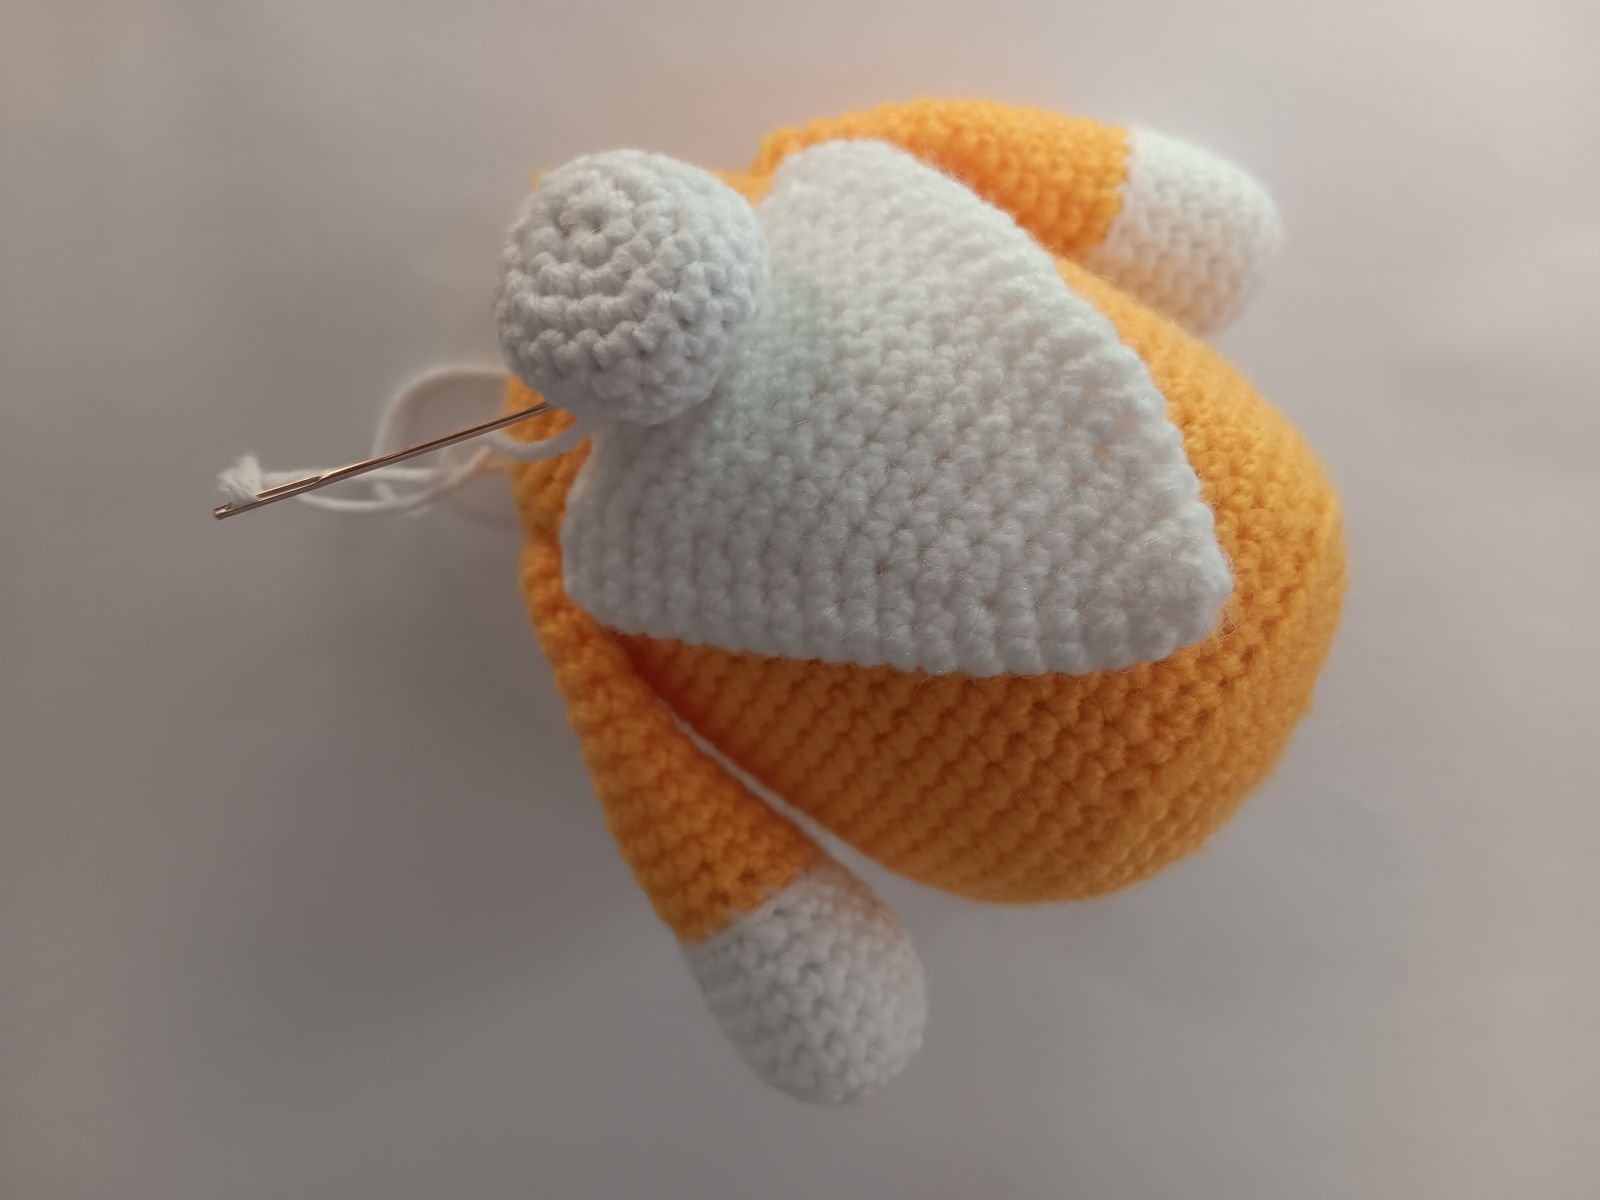
Mark where you want the nose to be and sew it to the head of the gnome.
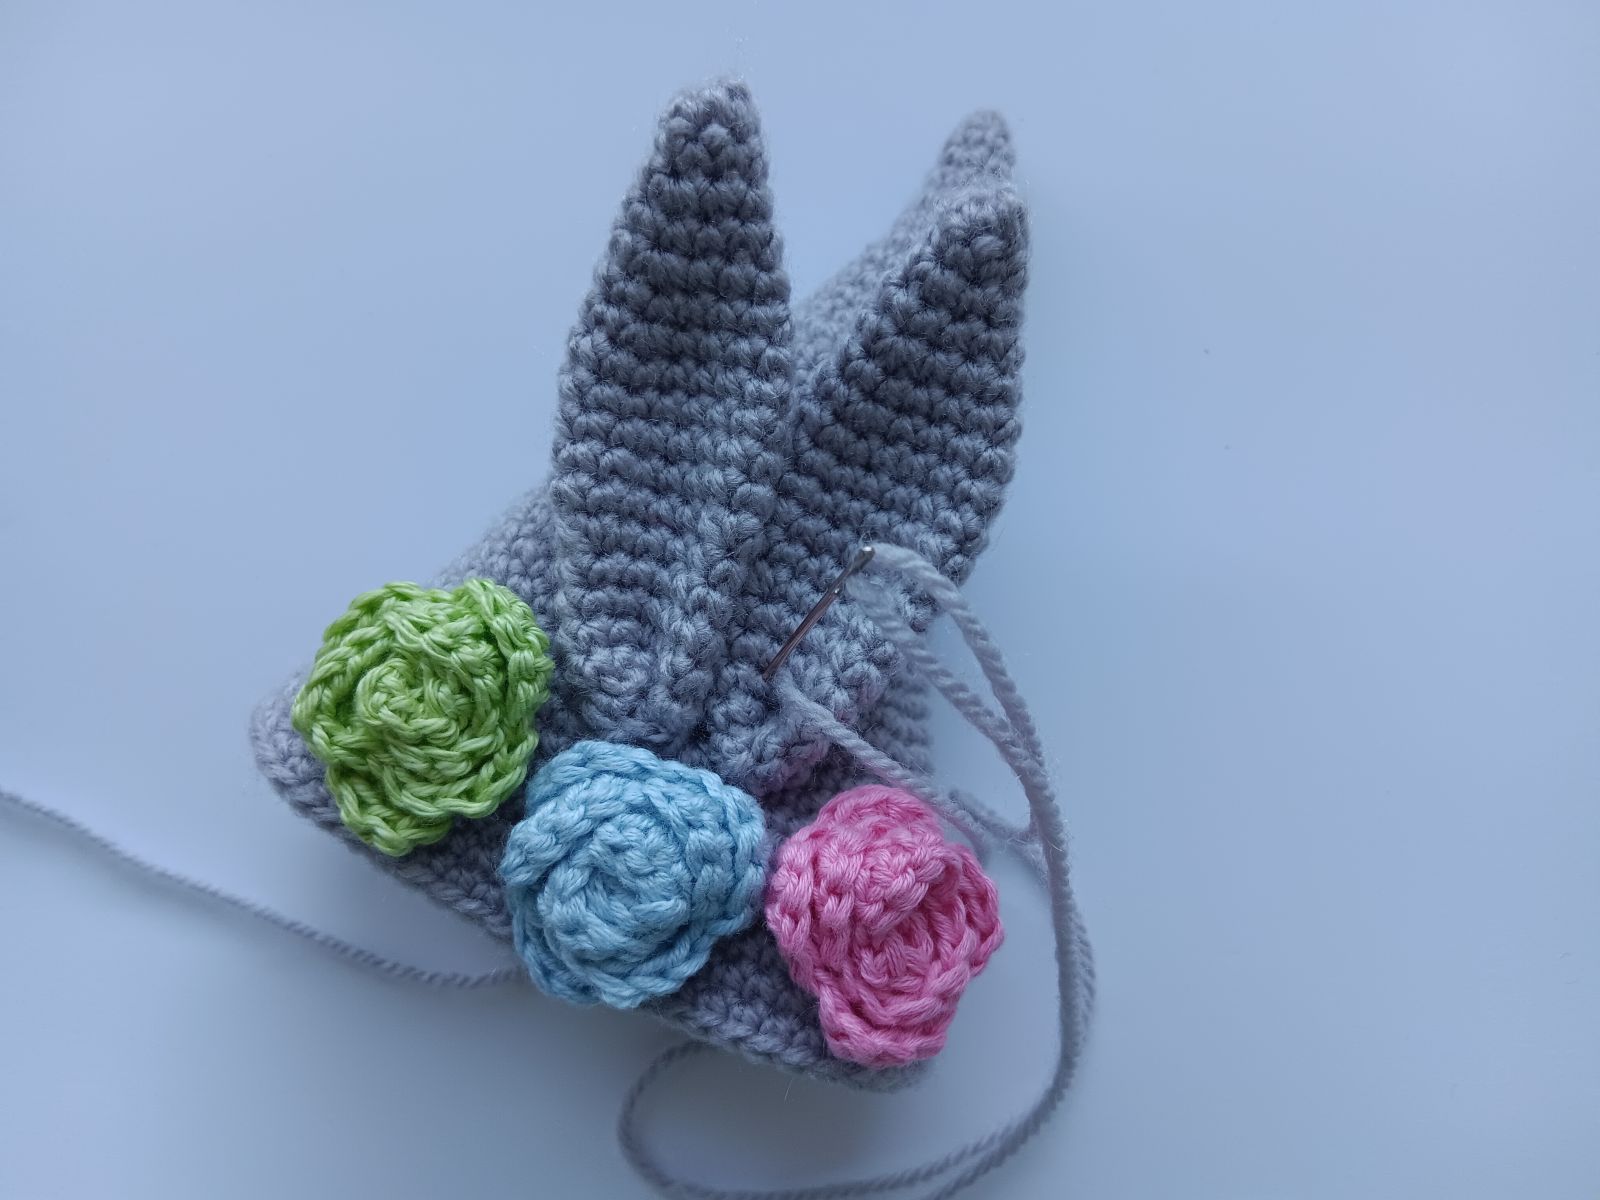
Sew little flowers to the hat. Add beads if desired. Ears are attached to the hat now. Thread a needle on one of the yarn tails left from the ears, fold the bottom of the ear toward center and sew it to the other side. Place the ears in their right place on the hat. Using the yarn left, sew them to the hat. Be sure to step back and take a look to make sure they are even.
Then sew the hat onto the head so that it molds around the nose a little. Ready!
