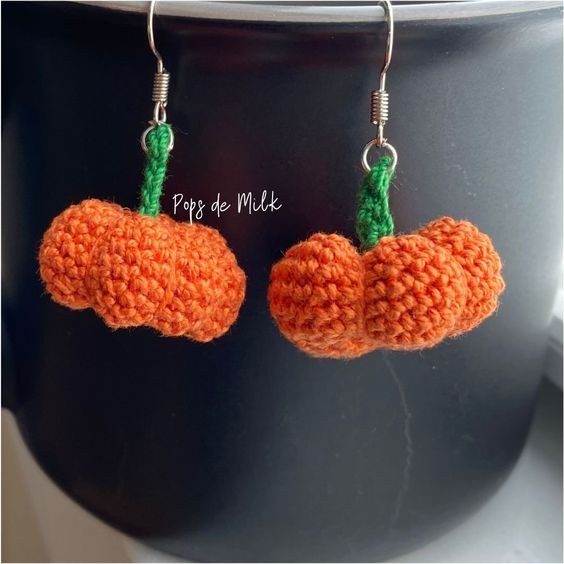
Crochet Pumpkin Earrings

Crochet pumpkin earrings are the perfect accessory to add a touch of whimsy to your fall outfits! These adorable earrings are handcrafted with care and attention to detail, making them a unique addition to your jewelry collection. The warm orange color of the pumpkins and the intricately woven crochet design give them a cozy and festive vibe that is sure to put a smile on your face.
Whether you're heading to a pumpkin patch or just want to embrace the autumn spirit, these earrings will be a fun and stylish way to express your love for the season. So, why not treat yourself to a pair of these charming crochet pumpkin earrings and add a pop of seasonal flair to your look!Materials
- Lace weight yarn, I’m using Aunt Lydia’s Crochet Thread
- 2.00mm crochet hook
- Embroidery needle
- Earring hooks, jump rings, pliers
- Scissors
Abbreviations (US Terminology)
ch - chain
st(s) - stitch(es)
sc - single crochet
inc - increase (2 sts in the same st)
dec - decrease (sc 2 sts together)
These crochet pumpkin earrings are crafted in continuous rounds, meaning there's no need to join or turn at the end of each round.
Pumpkin Pattern
Round 1: make 6 sc in a magic ring
Round 2: inc in each st (12 sts)
Round 3: [inc in next st, sc in next st] x 6 (18 sts)
Round 4: [inc in next st, sc in next 2 sts] x 6 (24 sts)
Round 5: [inc in next st, sc in next 3 sts] x 6 (30 sts)
Rounds 6-9: sc in each st around
Round 10: [dec, sc in next 3 sts] x 6 (24 sts)
Round 11: [dec, sc in next 2 sts] x 6 (18 sts)
Round 12: [dec, sc in next st] x 6 (12 sts)
Round 13: dec x 6 (6 sts)
Leave a long tail and cut the thread. Use a needle to sew the gap but don’t cut the yarn yet because now it’s time to shape the pumpkin.
To give your pumpkin its characteristic ridges, you'll shape it using an embroidery needle and the long yarn tail left after fastening off. Make sure the needle is threaded with the tail, and ensure it's coming from the center of the pumpkin.
- Insert the needle into the center of the pumpkin, or as close to the center as possible, and push it straight through to the opposite side. This might be a bit tricky with the stuffing inside.
- Bring the needle back to the opposite side so that the thread now lays across the pumpkin's surface. Insert the needle back into the center (or close to it) and push it straight through to the opposite side. Now, pull the thread tight to create the first indent, which simulates the ridges on a pumpkin.
- Repeat this process to make additional indents, around 6 in total or more if you prefer. Ensure they are evenly spaced around the pumpkin's circumference. Adjust the tightness of each indent as needed to create a pleasing pumpkin shape.
- Once you're satisfied with the pumpkin's shape, tie a secure knot with the thread, and pull the thread through the pumpkin a few times to weave it in. Finally, cut the thread.
Pumpkin Stem
To make the stem, make 6 chains or you can make more or less chains depending on how long or short you want the stem to be.
Then, single crochet into the 2nd chain from the hook and into each chain across.
Leave a tail for sewing and cut the yarn.
Use a needle to sew the stem into the pumpkin, tie a few knots and weave in the ends.
And there you have a crochet pumpkin!
Transforming Your Pumpkins into Earrings:
- Open a jump ring with your pliers and hook it into the top of your pumpkin stem.
- Attach an earring hook to the jump ring.
- Close the jump ring, and your crochet pumpkin earring is complete!
