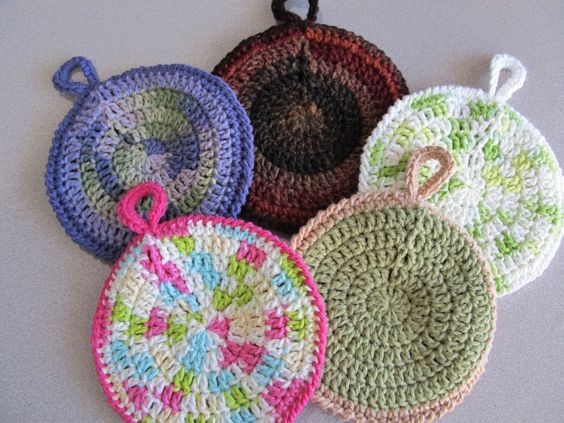
Crochet Circular Potholders

Create your own set of charming round pot holders with the art of crochet. These circular potholders are not only practical for handling hot pots and pans in the kitchen, but they also add a touch of handmade charm to your home decor. By using different colors and stitches, you can customize each potholder to match your kitchen's color scheme or personal style.
Crocheting circular potholders is a fun and relaxing way to unleash your creativity while also producing useful items for your home. Whether you're a seasoned crocheter or a beginner looking for a simple project to practice your skills, crocheting circular potholders is a great way to hone your craft. These versatile potholders also make wonderful handmade gifts for friends and family, showcasing your talent and thoughtfulness. So grab your crochet hook and some colorful yarn, and start creating your own collection of beautiful circular potholders today!Circular Potholder
*Note: Ch 3 at start of every round counts as a stitch
Materials:
-Worsted weight cotton or wool (I’ve read that acrylic will melt, but I’m not sure if it’s true)
-Size I/5.5 hook
** A note about gauge: **
If you’re finding that your circle is curving up into a bowl-shape, you need to go up a hook size. (Try size J/6.0)
If you’re finding that your circle is too slack and when you try to lay it flat there’s an extra bit of material that you can’t smooth down, you need to go down a hook size. (Try size H/5.0)
Pattern (make 2):
Round 1: In a magic circle, ch 3 (counts as 1 DC), work 11 DC into ring, join. {12}
Round 2: Ch 3, work 2 DC into each st around (11 times). Work 1 DC into last st, join. {24}
Round 3: Ch 3, (work 2 DC into next st and 1 DC into next st), repeat around (10 more times). Work 2 DC into last st, join. {36}
Round 4: Ch 3, (work 2 DC into next st and 1 DC into each of the next 2 sts), repeat around (10 more times). Work 2 DC into next st and 1 DC into next st, join. {48}
Round 5: Ch 3, (work 2 DC into next st and 1 DC into each of the next 3 sts), repeat around (10 more times). Work 2 DC into next st and 1 DC into next 2 sts, join. {60}
For the next round I switched to single crochet
Round 6: Ch 1 (does not count as a st), (work 2 SC into next st and 1 SC into each of the next 4 sts), repeat around and join to first SC {72}
Fasten off, weave in ends.
Finishing:
– Holding the 2 ‘wrong sides’ together, join the 2 circles together.
Edging options:
– Single crochet around
-Slip stitch around
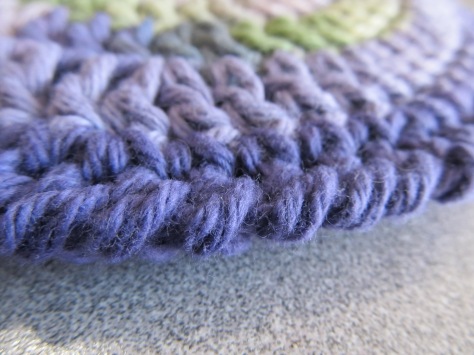
-Crab stitch/reverse single crochet (this is the one I used for the cotton potholders)

Edging with reverse single crochet
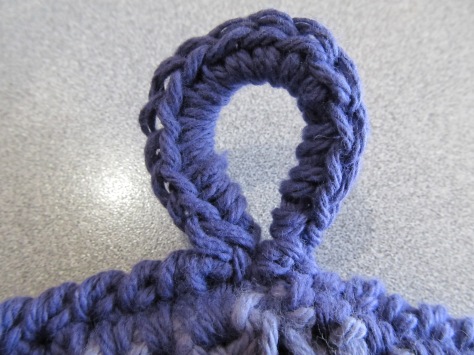
For the ring (optional):
– Ch 10, sl st into potholder, ch1 & turn
– Sc 15 evenly into ring created by chain (i.e. not into individual stitches, just into the ring)

