Crochet Pretty Cherry Blossom

If you're looking for a fun and creative crochet project, why not try your hand at making a stunning cherry blossom design? Crocheting cherry blossoms can be a delightful way to add a touch of nature's beauty to your home decor or accessories. With just a few simple stitches and some colorful yarn, you can bring these delicate flowers to life.
With each stitch, you can capture the essence of spring and create a stunning piece of art. Whether you choose to make a cherry blossom garland, a decorative pillow, or even a delicate hairpin, the possibilities are endless.Materials
2.5 mm hook
Yarn and Colors - Must Have Minis – for the cherry blossoms I used the colours: old pink, deep cerise, antique pink and cream.
Pattern notes
The pattern is written using UK terminology
The crochet blossom is worked in the round and each round is joined with a slip stitch.
Stitches written in brackets like [this] are worked into the same stitch on the round below.
Special stitches
Magic circle
Spike stitch
Instructions
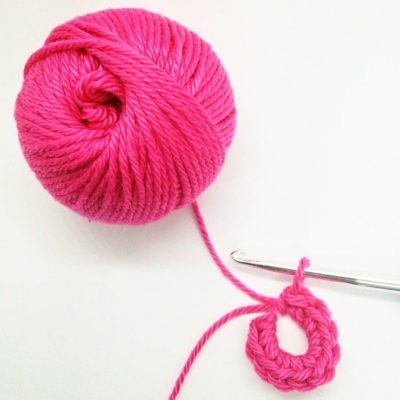
Foundation round: Using the darker yarn. In a magic circle, crochet 10 dc. Pull the tail to make the circle, but do not yet pull it fully closed. Fasten off, but do not sew in ends yet.
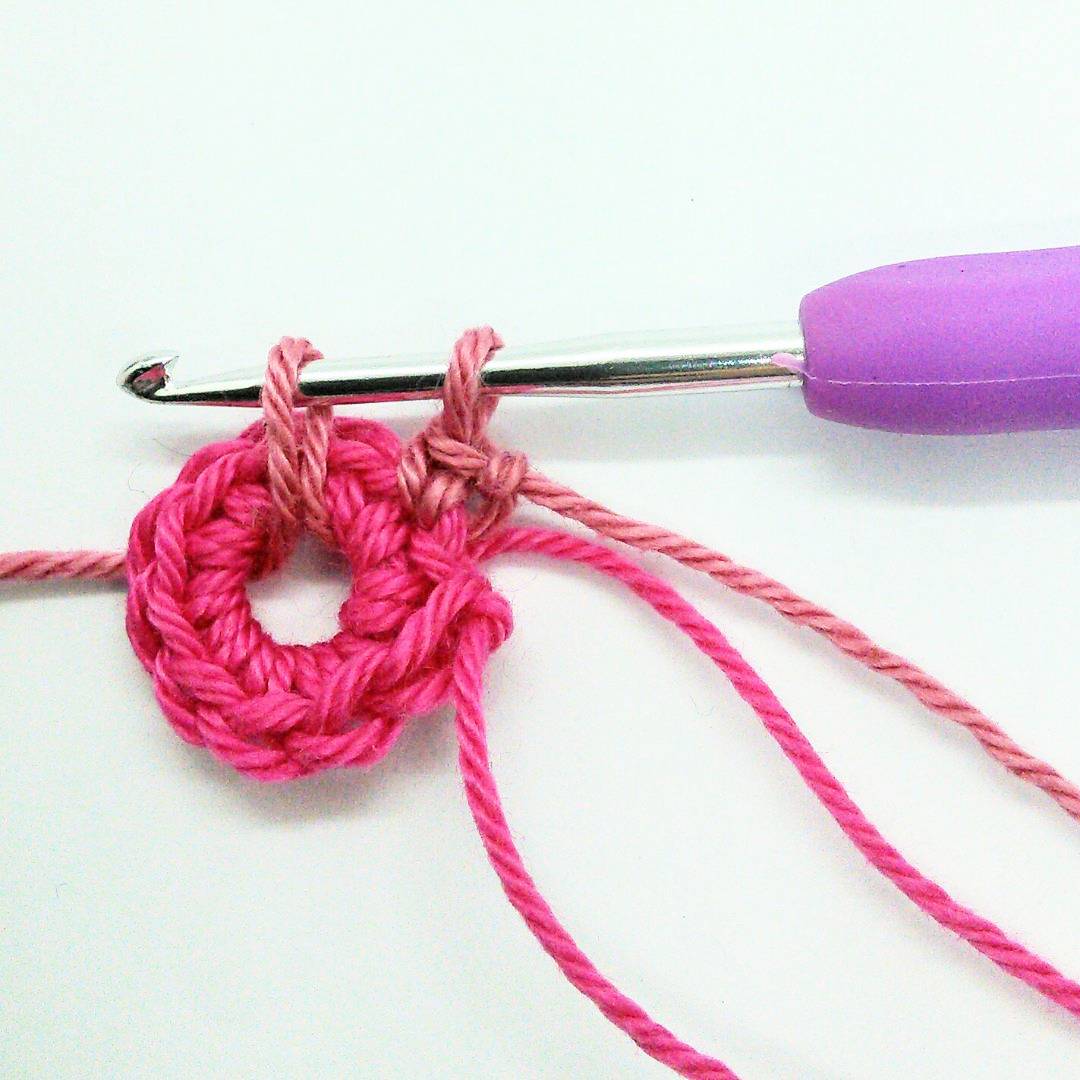
Round 1: Change to the lighter yarn. Start anywhere. 1dc, then miss the next stitch and instead crochet 1 spike stitch into the centre of the magic circle. Repeat this step 4 more times until you have 5 spikes going into the centre of the flower. Do not cut the yarn as you will carry on with it in the next round. Now pull the magic circle so that it is fully closed and sew in ends of the darker yarn.


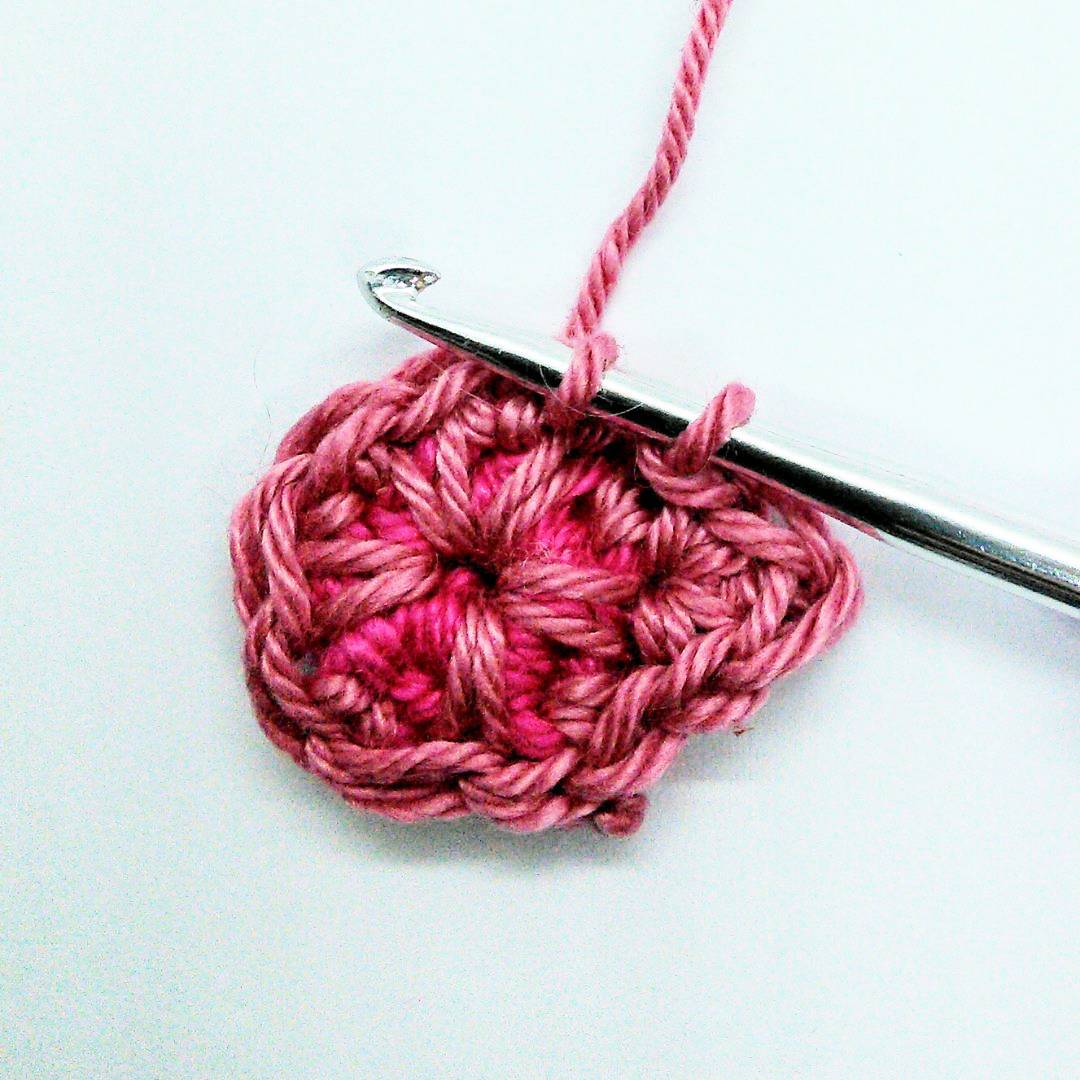
Round 2: 1 slip stitch, [1dc, 1tr, 1dc]. Repeat this step 4 more times until you have 5 petals.
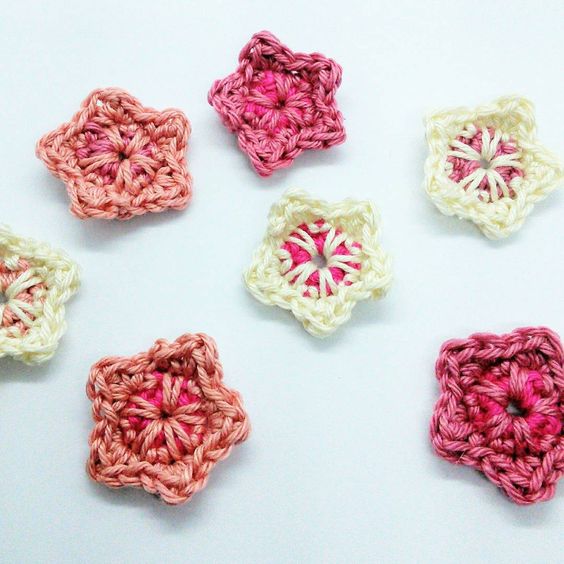
Congratulations, you have now crocheted a mini cherry blossom. Why not crochet a bunch of them to use as confetti for spring table decoration or use as appliqué to make a hat and scarf more spring like.


