Crochet Bunny Wall Hanging


The Crochet Bunny Wall Hanging is a delightful addition to any room, bringing a touch of charm and whimsy to your space. This adorable decor piece features a sweet bunny design meticulously crafted with soft yarn, adding a cozy and playful vibe to your home. Whether you hang it in a nursery, playroom, or any cozy corner, this handmade treasure is sure to bring a smile to your face every time you see it.
Here are the requirements:
- Hook size: 4mm (metric)(Size G – US)(Size 8 – UK)
- Yarn: Double knit (light weight/light worsted) 100% cotton in color of your choice
- Embroidery Needle
- Stick/Dowel/Driftwood
ABBREVIATIONS
- Bob – Bobble
- Ch – Chain
- Sc – Single crochet (in UK = double crochet)
- sc2tog – single crochet two together
- St – Stitch
- yo – Yarn over
NOTES to clarify
The pattern is worked from the top of the wall hanging;
Ch1 at every end of the row, does not count as a stitch;
Bobbles are worked as follows – yo, insert hook into st, yo, pull back through, 3 times, yo pull through all 7 loops on the hook;
Bobbles are worked every alternative row;
Whilst you are busy shaping the bunny, the pink (or other color of your choice, color B) will be carried together with your main color (color A)(by holding it at the back of your work, and covering the alternative color with your sc’s;
decreasing at start and end of rows are done by working 2 stitches together: sc2tog – insert hook into st, yo, draw back through, insert hook into next st, yo, draw back through, yo, draw through all 3 loops on the hook.
Color A will be your main background color
Color B will be the color of your bunny (alternative or contrasting color)

The Pattern:
START WITH A SLIP KNOT
Firstly: Pull out approximately 15 inches of yarn and wrap the yarn around your finger twice, winding it toward your body.
Secondly: Insert the hook under the first strand and over the second strand.
Thirdly: Pull the yarn through, just like you would when working a YO (yarn over) and twist the hook so it’s pointing upward.
Begin with color A
Ch 30 (the slip knot is included in the 30 chains + ch1
Row 1: sc in 2nd st and every st across, ch1, turn;
Row 2: sc in every st across, ch1, turn;
Row 3: sc 12 in A, change to B, bob, change to A sc 4, bob in B, sc 12 in A, ch1 in A (all the way carrying color B at the back of your work), turn;
Row 4: sc 11 in A, sc 3 in B, sc 2 in A, sc 3 in B, sc 11 in A, ch1 (always in A), turn;
Row 5: sc 10 in A, 4 bob in B, sc 2 in A, 4 bob in B, sc 10 in A, ch1, turn;
Row 6: sc 10 in A, sc 4 in B, sc 2 in A, sc 4 in B, sc 10 in A, ch1, turn;
Row 7: As row 5;
Row 8: As row 6;
Row 9: sc 11 in A, 8 bob in B, sc 11 in A, ch1, turn;
Row 10: sc 11 in A, sc 8 in B, sc 11 in A, ch1, turn;
Row 11: As row 9;
Row 12: As row 10;
Row 13: sc 10 in A, 10 bob in B, sc 10 in A, ch1, turn;
Row 14: sc 10 in A, sc 10 in B, sc 10 in A, ch1, turn;
Row 15: As row 13;
THE PATTERN (CONT)
Row 16: As row 14;
Row 17 & 19: As row 9;
Row 18 & 20: As row 10;
Row 21: sc 8 in A, 12 bob in B, sc 8 in A, ch1, turn;
Row 22: sc 8 in A, sc 12 in B, sc 8 in A, ch1, turn;
Row 23: As row 9;
Row 24: As row 10;
Row 25: sc 30, ch1, turn;
STart decreasing
Row 26: sc2tog, sc2tog, sc 22, sc2tog, sc2tog, ch1, turn (26 sts);
Row 27: sc 26, ch1, turn;
Row 28: sc2tog, sc2tog, sc 18, sc2tog, sc2tog, ch1, turn (22 sts);
Row 29: sc 22, ch1, turn;
Row 30: sc2tog, sc2tog, sc 14, sc2tog, sc2tog, ch1, turn (18 sts);
Row 31: sc 18, ch1, turn;
Row 32: sc2tog, sc2tog, sc 10, sc2tog, sc2tog, ch1, turn (14 sts);
Row 33: sc 14, ch1, turn;
Row 34: sc2tog, sc2tog, sc 6, sc2tog, sc2tog, ch1, turn (10 sts);
Row 35: sc 10, ch1, turn;
Row 36: sc2tog, sc2tog, sc 2, sc2tog, sc2tog, ch1, turn (6 sts);
Row 37: sc 6, ch1, turn;
Row 38: sc2tog, sc 2, sc2tog, ch1, turn (4 sts);
Row 39: sc 4, ch1, turn;
Row 40: sc2tog, sc2tog, ch1, turn (2 sts);
Row 41: sc 2, ch1, turn;
Row 42: sc2tog, pull last st through and end off.
ASSEMBLY
Make a pom-pom with color B and attach to the bunny’s bottom;
Attach a bow between the ears of the bunny (optional).

Making the fringes
For the fringe cut 68 x 14-inch pieces of yarn and group them into four’s.
Fold the fringe pieces (4) in half and use your crochet hook to attach it to the wall hanging;
Start at the triangle at the bottom, with one single fringe and work it up, to match the sides;
Insert needle from bottom of the wall hanging to the front, hook the pieces of yarn in the fold;
Pull the hook through – you’ll have a loop in the hook and the fringes on top of your item;
With the pieces in your left hand, hook it and pull it through the loop;
Neaten your fringes where you attached it and if need be, trim the edges.
Attaching it to the branch/dowel
Lastly, you’ll want to add some earthly tones to your crocheted item by attaching it to a branch or dowel.
String a darning or embroidery needle with a long strand of yarn;
Secure your yarn with a few stitches to the crocheted piece (at the back) and line up the branch and piece where you want it to be;
Coming from the back insert your needle from the front of the piece (over the branch) and pull through to the back;
Weave the needle to the next spot, and take it to the front again, inserting the needle from the front to the back (over the branch) again;
Repeat until you have worked the crocheted piece to your branch and is happy with the looks of it!
Secure your yarn with a couple of back stitches and weave it through the work before you cut it;
Work in all the ends.
A FINAL WORD
This wall hanging is really quick and easy to crochet and to finish.
All you need is the final piece of string to hang it on and a spot on your wall!
However, don’t stop with the bunny, try something different or work with different yarns, weave yarns in, ANYTHING goes.
No comments
Write a comment
- Recipes
-
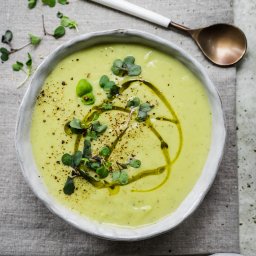 Cauliflower Leek Soup
-
 Carrot Orzo
-
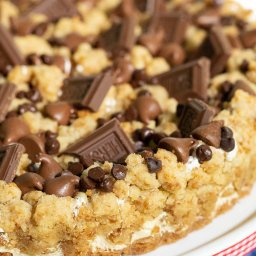 Easy S'Mores Shortbread Tart
- Funny Pictures
-
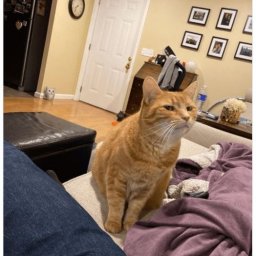 Cute and Funny Cat Pics to Relax Today
-
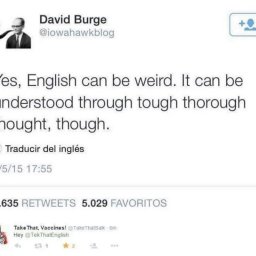 Funny Memes to Improve Your Mood
-
 Funny Pics of the Day
- Crochet Ideas
-
 Crochet Beautiful Headband
-
 Crochet Summer Hat
-
 Crochet Zigzag Hat
- Lifehacks
-
 Pretty Pebbles Stitch Photo Tutorial
-
 How to Crochet The Lotus Stitch Photo Tutorial
-
 How To Patch Jeans With Crochet Lace
- DIY
-
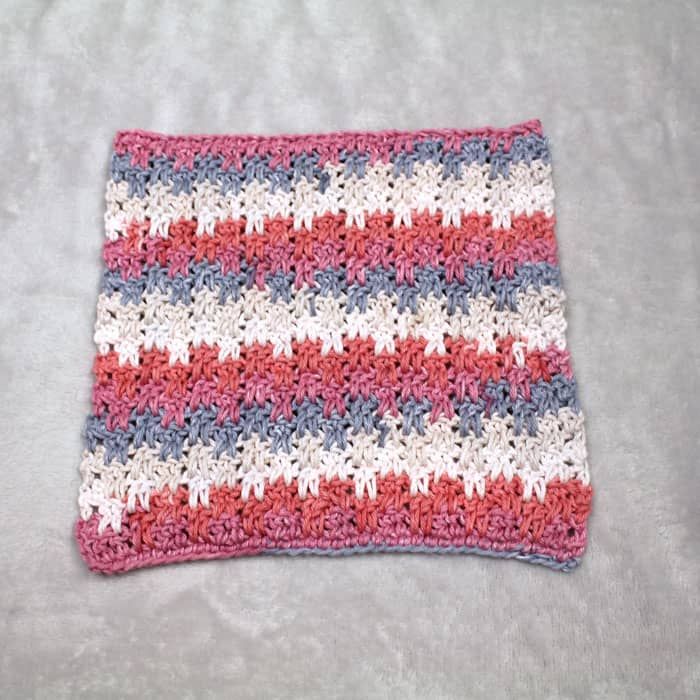 Crochet Up and Down Stripe Cotton Washcloth
-
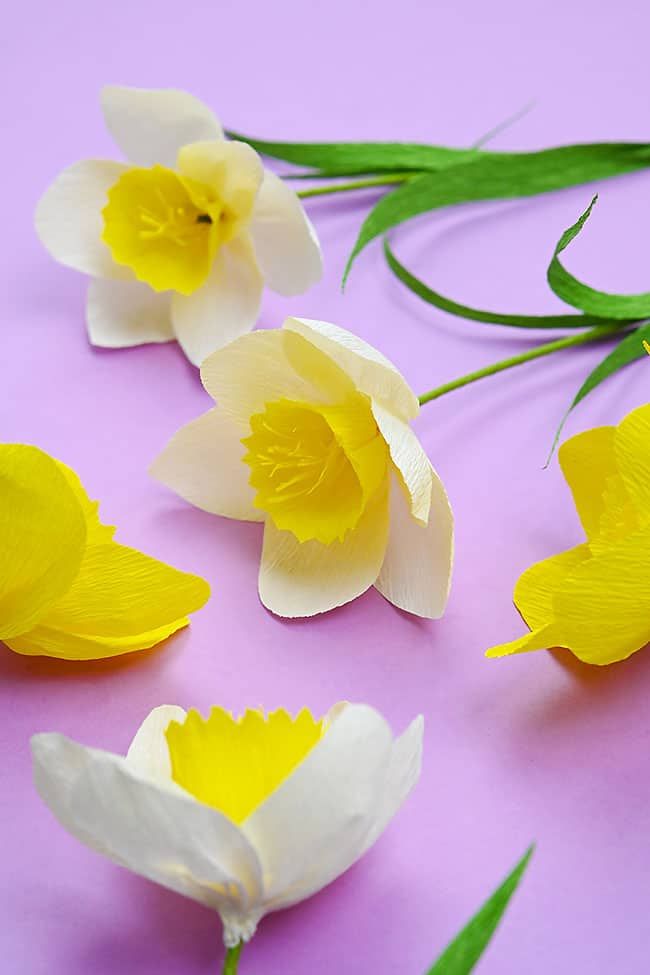 Crepe Paper Daffodils
-
 DIY Seashell Hair Pins
- Knitting Ideas
-
 Knitted Lake Diamond Tank Top
-
 Knitted Flit and Float Scarf
-
 Knitted Beautiful Slippers