Create Beautiful Crochet Picot Placemats and Doilies: Step-by-Step Instructions


Crochet Picot Placemats are a delightful addition to any dining table, adding a charming touch to your meals. The intricate picot stitch creates a lovely textured edge that elevates the look of your table setting. These placemats are not only practical for keeping your table clean but also add a touch of handmade warmth and coziness to your decor.
Skill Level
Advanced Beginner
Stitch Key | US Terms
- beg – beginning
- blo – back loop only
- ch(s) – chain/chains
- ch3p – chain 3 picot
- hdc – half double crochet
- rnd(s) – round/rounds
- sc – single crochet
- tr – treble (triple) crochet
- sl st – slip stitch
- st(s) – stitch/stitches
Materials
- Size 6, Super Bulky Yarn
- Approximately 80 yards for each placemat & 155 yards for doily.
- L11/8mm Crochet Hook (or size to meet gauge)
- Tapestry Needle
- Flexible Measuring Tape
Gauge | Working in the Round
First 3 Rounds in Pattern = 4 ¼ – 4 ½ Inches with L Hook
Please be sure to check your gauge before starting, as tension can vary greatly from person to person and depending on the yarn used.
Special Stitches
Treble or Triple Crochet (tr)
Yarn over twice, insert hook into stitch and draw up a loop (4 loops on hook), yarn over pull through first two loops on hook, yarn over again and pull through next 2 loops on hook, yarn over pull through last two loops on hook.
Chain Three Picot (ch3p)
Chain three, sl stitch in third chain from hook – one picot created.
Instructions
- – Beg chs of each rnd do NOT count as 1st st, join each rnd in 1st st, not beg ch/chs
- – Only work in blo when specifically noted, otherwise work in both loops
- – Ch3p is the abbreviation for chain 3 picot, stitch instructions & tutorial are listed above
- – Blocking is not required, however a light steam may help the piece lay a bit nicer; the final measurements listed below are after a light steaming.
- – If using Bernat Maker, use two strands held together.
Placemat Instructions
RND 1: Create a magic circle, ch1, work 10 hdc in circle, join with sl st. (10hdc)
Alternate Method: Ch4, join with sl st in 4th ch from hook, ch1, work 10 hdc in circle, join with sl st. (10hdc)
RND 2: Ch1, 2 hdc in each st around, join with sl st. (20hdc)
RND 3: Ch1, *hdc in next st, 2 hdc in next st, repeat from * around, join with sl st. (30hdc)
(diameter should measure about 4 ¼” – 4 ½” across)
RND 4: Ch3, working in blo, *tr in next 2 sts, 2 tr in next st, repeat from * around, join with sl st. (40tr)
RND 5: Ch1, working in blo, *hdc in next 3 sts, 2 hdc in next st, repeat from * around, join with sl st. (50hdc)
RND 6: Ch1, *hdc in next 4 sts, 2 hdc in next st, repeat from * around, join with sl st. (60hdc)
RND 7: Ch1, *hdc in next 5 sts, 2 hdc in next st, repeat from * around, join with sl st. (70hdc)
RND 8: Ch3, working in blo, *tr in next 6 sts, 2 tr in next st, repeat from * around, join with sl st. (80tr)
If making doily, stop here and continue to doily instructions below.
RND 9: Ch1, working in blo, *sc in next st, work a sc & ch3p in next st, repeat from * around, join with sl st. (80sts)
Fasten off and weave in loose ends. Your new Picot Placemat is complete, enjoy!!
Doily Instructions Continued
RND 9: Ch1, working in blo, *hdc in next 7 sts, 2 hdc in next st, repeat from * around, join with sl st. (90hdc)
RND 10: Ch1, *hdc in next 8 sts, 2 hdc in next st, repeat from * around, join with sl st. (100hdc)
RND 11: Ch1, *hdc in next 9 sts, 2 hdc in next st, repeat from * around, join with sl st. (110hdc)
RND 12: Ch3, working in blo, *tr in next 10 sts, 2 tr in next st, repeat from * around, join with sl st. (120tr)
RND 13: Ch1, working in blo, *sc in next st, work a sc & ch3p in next st, repeat from * around, join with sl st. (120sts)
Fasten off and weave in loose ends. Your new Picot Doily is complete, enjoy!!
- Recipes
-
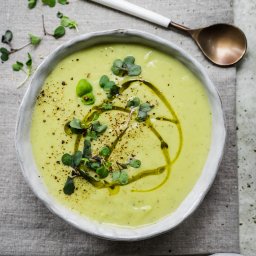 Cauliflower Leek Soup
-
 Carrot Orzo
-
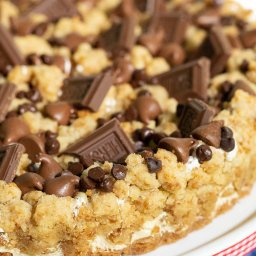 Easy S'Mores Shortbread Tart
- Funny Pictures
-
 Cute and Funny Cat Pics to Relax Today
-
 Funny Memes to Improve Your Mood
-
 Funny Pics of the Day
- Crochet Ideas
-
 Crochet Beautiful Headband
-
 Crochet Summer Hat
-
 Crochet Zigzag Hat
- DIY
-
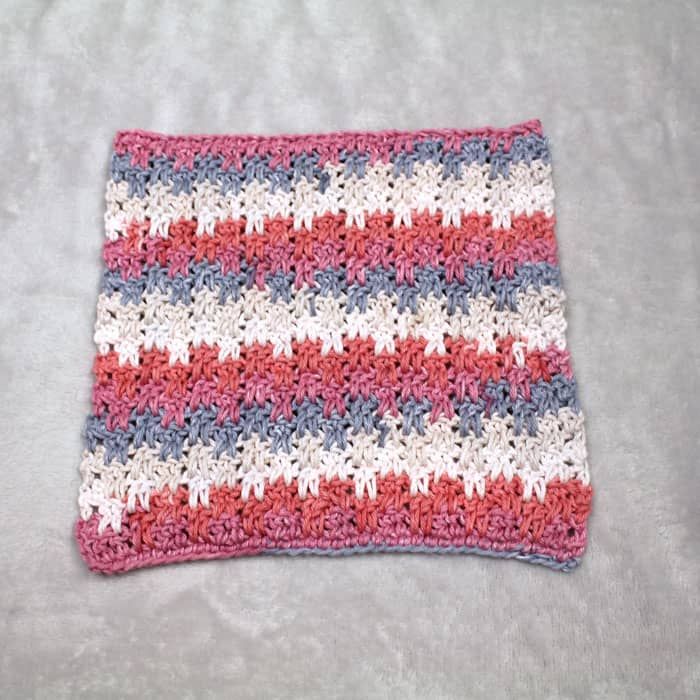 Crochet Up and Down Stripe Cotton Washcloth
-
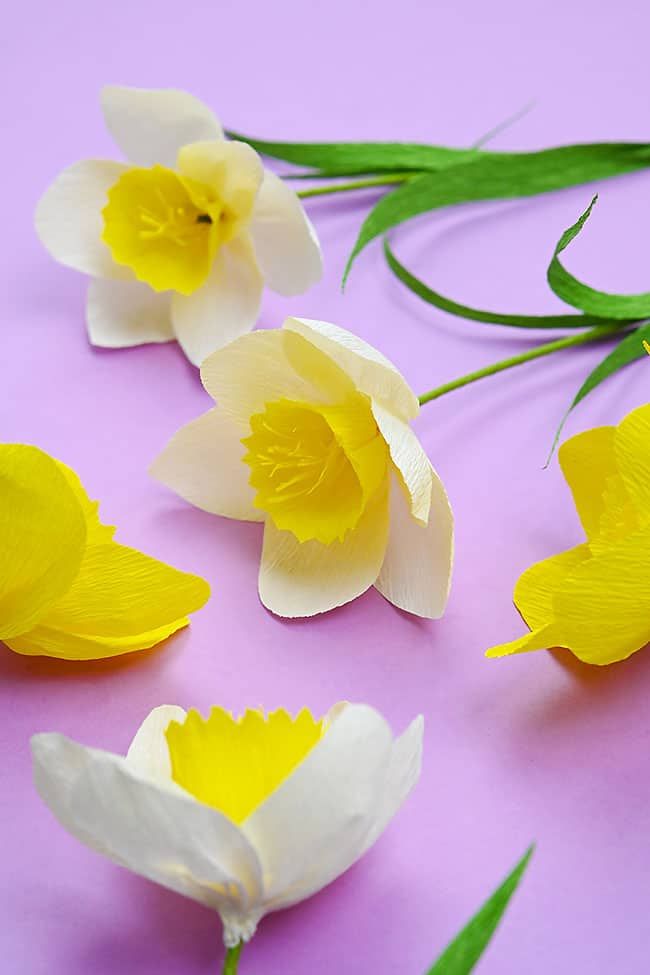 Crepe Paper Daffodils
-
 DIY Seashell Hair Pins
- Knitting Ideas
-
 Knitted Lake Diamond Tank Top
-
 Knitted Flit and Float Scarf
-
 Knitted Beautiful Slippers
- Lifehacks
-
 Pretty Pebbles Stitch Photo Tutorial
-
 How to Crochet The Lotus Stitch Photo Tutorial
-
 How To Patch Jeans With Crochet Lace