Crochet Bernat Textured Life Blanket


If you're looking for a cozy and stylish addition to your home, the Bernat Textured Life Blanket is a must-have! This crochet blanket is not only wonderfully soft but also adds a touch of luxury to any room. The intricate texture creates a beautiful design that will make you want to snuggle up with it all day long. Whether you're a crochet enthusiast or a newbie looking for a fun project, the Bernat Textured Life Blanket is sure to bring warmth and charm to your space. So grab your yarn and hooks and get ready to create something truly special!
Materials Needed & Measurements:
- Yarn: Main Color (MC) and Color A
- Crochet Hook: L/11 (8 mm)
- Scissors, yarn needle
Measurements:
- Finished Size: 50″ x 65″ (127 x 165 cm)
- Gauge: 8 dc and 4 rows = 4″ (10 cm)
Abbreviations Used:
- Beg = Beginning
- Ch = Chain
- Dc = Double crochet
- Dcfp = Double crochet front post
- Hdc = Half double crochet
- RS = Right side
- Sc = Single crochet
- Sl st = Slip stitch
- St(s) = Stitch(es)
- WS = Wrong side
- Yoh = Yarn over hook
Stitching Instructions for Making the Bernat Textured Life Crochet Blanket Pattern:
Foundation Row (WS):
- Chain 104: Begin by making a foundation chain of 104 stitches.
- Work 1 dc in 4th ch from hook: Skip the first 3 chains (this counts as your first double crochet). In the 4th chain from the hook, work 1 double crochet (dc). This counts as 2 dc since the ch-3 counts as a dc.
- Work 1 dc in each remaining chain: Now work 1 double crochet (dc) into each of the remaining chains across the foundation row (for a total of 102 dc).
- Turn: After completing the row, turn your work to begin the next row.
1st Row (RS):
- Ch 3: This acts as your first dc (the turning chain).
- Skip the next dc: Skip the next double crochet stitch.
- *2 dc in each of the next 2 dc: In the next 2 dc, work 2 double crochets into each (this increases the stitch count).
- Skip the next 2 dc: Skip the next 2 dc.
- Rep from to until 4 dc remain: Repeat this pattern (2 dc in each of the next 2 stitches, skip 2 stitches) until you have 4 dc remaining.
- 2 dc in each of the next 2 dc: In the last 2 dc, work 2 dc in each.
- Skip next dc: Skip the next dc.
- 1 dc in last dc: Work 1 dc in the last dc to complete the row.
- Turn: Turn your work.
2nd Row:
- Repeat the 1st Row: Work exactly the same as the 1st row.
3rd Row (RS):
- Ch 3: Start with a turning chain of 3 (counts as dc).
- Work 1 dc in each dc: Work 1 double crochet in each of the double crochets across the row. This is a simple repeat of dc in each stitch.
- Turn: Once you’ve worked across the row, turn your work.
4th Row (WS):
- Ch 2: Ch 2 (does not count as a stitch).
- 1 hdc in first dc: Work 1 half double crochet (hdc) in the first dc.
- 1 dcfp around each dc: For each remaining double crochet (dc), work a dcfp (double crochet front post) around the dc.
- To make a dcfp: Yarn over (yoh), insert your hook around the post of the next dc (from front to back, right to left). Yarn over again and pull through (you will have 3 loops on the hook). Yarn over and pull through the first two loops, then yarn over and pull through the remaining two loops.
- 1 hdc in top of beg ch-3: Work 1 half double crochet in the top of the starting ch-3 (this ensures your row is even).
- Turn: After completing the row, turn your work.
5th Row (RS):
- Ch 3: Ch 3 (counts as dc).
- Skip the next hdc: Skip the next half double crochet (hdc).
- *2 dc in each of next 2 sts: In the next 2 sts (dc), work 2 dc into each.
- Skip the next 2 sts: Skip the next 2 stitches.
- Rep from to until 4 sts remain: Repeat the pattern (2 dc in each of next 2 sts, skip next 2 sts) until you have 4 stitches remaining.
- 2 dc in each of next 2 sts: Work 2 dc in each of the last 2 stitches.
- Skip the next st: Skip the next stitch.
- 1 dc in last hdc: Work 1 dc into the last half double crochet.
- Turn: After completing the row, turn your work.
6th Row:
- Repeat the 1st Row: Work exactly the same as the 1st row.
7th Row (RS):
- Ch 3: Ch 3 (counts as dc).
- 1 dc in each dc: Work 1 double crochet in each of the dc across the row.
- Turn: After completing the row, turn your work.
Color Change: Adding Color A
- 8th Row:
- Ch 3: Ch 3 (counts as dc).
- 1 dc in each dc: Work 1 double crochet in each stitch across the row.
- Turn: After completing the row, turn your work.
- 9th to 15th Rows:
- Repeat Rows 1–7 with Color A: Continue working the same as the first 7 rows, but using Color A.
- Join MC: At the end of Row 15, join back to the main color (MC) and break Color A.
- 16th Row:
- Ch 3: Ch 3 (counts as dc).
- 1 dc in each dc: Work 1 dc in each dc across the row.
- Turn: After completing the row, turn your work.
Repeat the Pattern:
- Repeat Rows 1–16 a total of 3 more times: Repeat the sequence of Rows 1–16 three more times, using the main color (MC).
- Repeat Rows 1–7: After the last set of color changes, repeat Rows 1–7 once more. Do not fasten off MC yet.
Edging Instructions
- Left Side Edging (RS):
- Ch 1: Start with a ch-1.
- Work 1 row of sc: Work 1 single crochet in each stitch along the left side edge of the blanket, placing them evenly to cover the side.
- Fasten off: Once you reach the top, fasten off.
- Right Side Edging (RS):
- Join MC: Join MC with a slip stitch (sl st) at the bottom right corner.
- Ch 1: Ch 1 to begin.
- Work 1 row of sc: Work 1 single crochet in each stitch along the right side edge of the blanket.
- Fasten off: Once you’ve completed the row, fasten off.
No comments
Write a comment
- Recipes
-
 Prawn Cocktail Mini Tacos
-
 Chicken Cacciatore
-
 Roasted Garlic Spaghetti Squash with Asparagus and Bacon
- Funny Pictures
-
 Amazing Dog Pics for Your Summer Day
-
 Funny Parent Quotes of the Week
-
 Funny Memes of the Day
- Crochet Ideas
-
 Crochet Tunisian Flower
-
 Crochet Adorable Crab
-
 Crochet Beautiful Whale
- Lifehacks
-
 Picot Single Crochet & Granule Stitch Photo Tutorial
-
 How to Bavarian Crochet Photo Tutorial
-
 How to Crochet Zigzag Spike Puff Stitch Photo Tutorial
- DIY
-
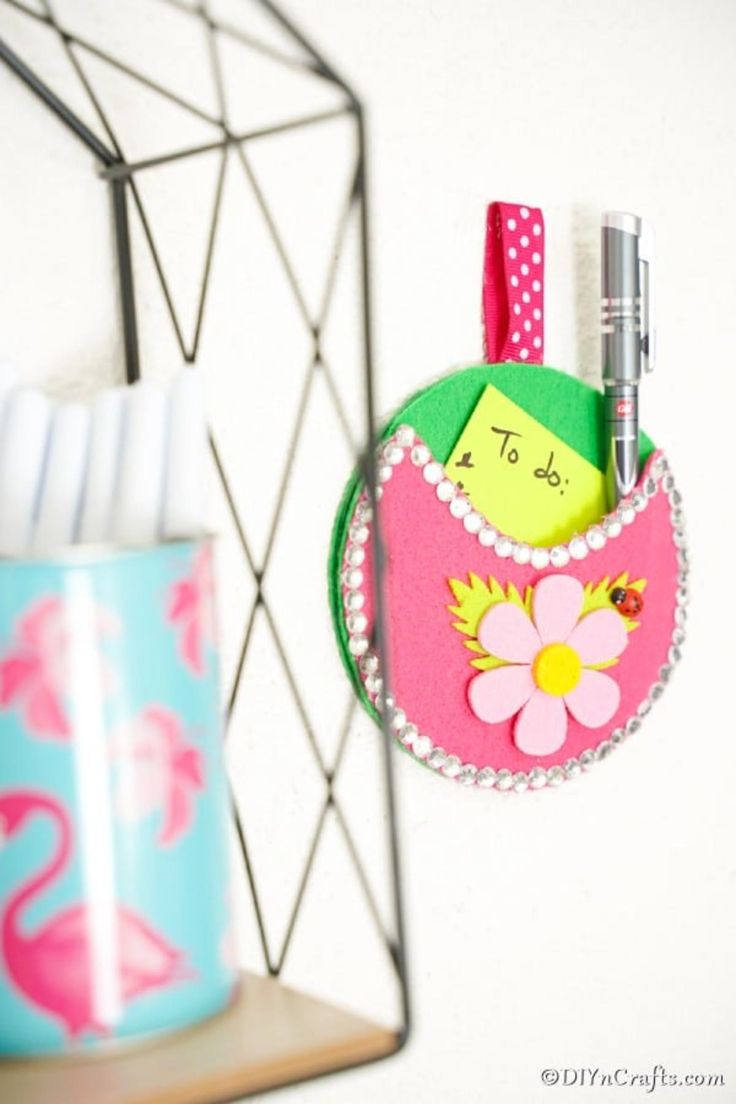 Upcycled Old CD or DVD Pocket Wall Organizer
-
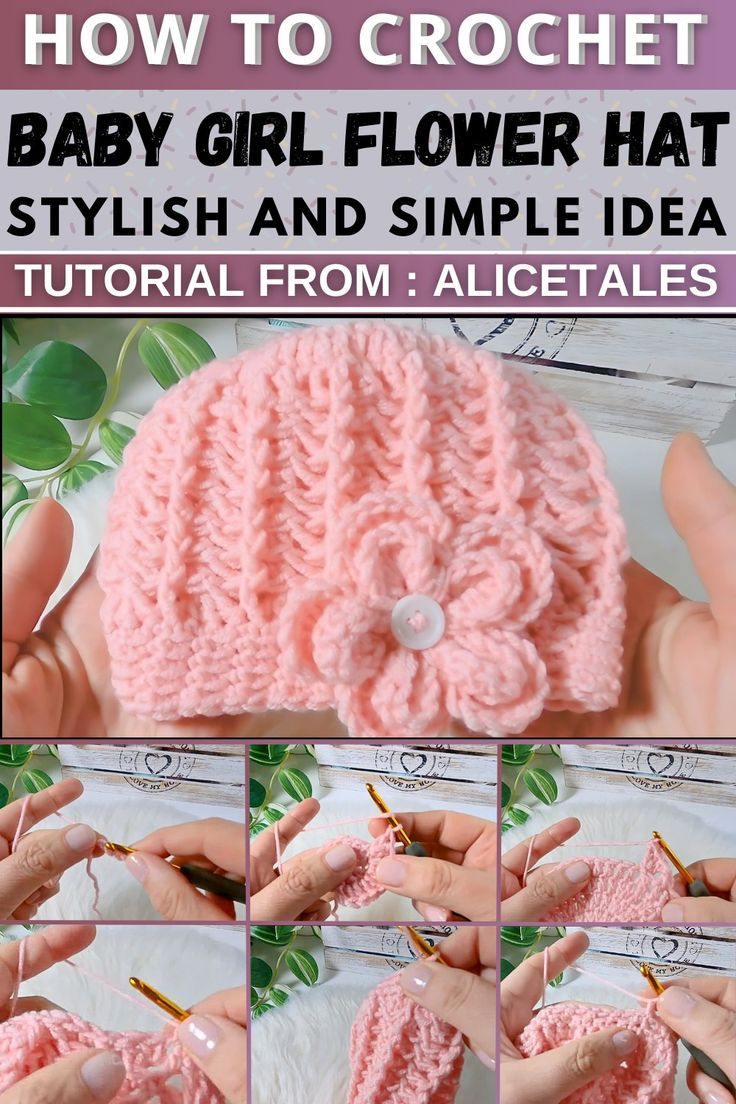 Crochet Baby Girl Flower Hat
-
 DIY Bottle Cap Candles
- Knitting Ideas
-
 Knitted Mesh Bamboo Scarf
-
 Knitted Mobile Phone/Glasses Case
-
 Knitted Handmade Bunny