Crochet Winnie Sanderson Doll Amigurumi


If you're a fan of "Hocus Pocus" and all things cute and crafty, you'll absolutely adore the Crochet Winnie Sanderson Doll Amigurumi! This delightful little creation brings the iconic character to life in a charming and whimsical way. From her signature red hair to her enchanting outfit, every detail is lovingly handmade with soft yarn and lots of care.
Whether you're a crochet enthusiast or simply enjoy adding a touch of magic to your space, this amigurumi doll is sure to bring a smile to your face and a sprinkle of joy to your day.
Abbreviations
MR: Magic ring
Ch: Chain
BLO: Back loop only
FLO: Front loop only
Fo: Fasten off
Hdc: Half double crochet
Inc: Increase
Dec: Decrease
Rnd: Round
Sc: Single crochet
Slst: Slip stitch
St: Stitch
Head
Start with skin color.
Rnd 1. 6 sc in MR (6)
Rnd 2. 6 inc (12)
Rnd 3. (1sc,inc)*6 (18)
Rnd 4. (2sc,inc)*6 (24)
Rnd 5. (3sc,inc)*6 (30)
Rnd 6. (4sc,inc)*6 (36)
Rnd 7-12. 36 sc
Rnd 13. (4sc,dec)*6 (30)
Rnd 14. (3sc,dec)*6 (24)
Rnd 15. (2sc,dec)*6 (18)
Rnd 16. (1sc,dec)*6 (12)
Rnd 17. (2sc,dec)*3 (9)
Change color to purple, continue with body.
Stop and place the 10mm eyes between rounds 10 and 11 , 7 st apart.
Body
With purple yarn.
Rnd 1-2. 9 sc (9)
Rnd 3. 9 inc (18)
Rnd 4. (1sc,inc)*9 (27)
Rnd 5-8. 27 sc (27)
Rnd 9. (1sc,dec)*9 (18)
Rnd 10. (1sc,inc)*9 (27)
Rnd 11. (8sc,inc)*3 (30)
Rnd 12-20. 30 sc
Stuff.
Rnd 21. BLO- (3sc,dec)*6 (24)
Rnd 22. (2sc,dec)*6 (18)
Rnd 23. (1sc,dec)*6 (12)
Rnd 24. 6 dec (6)
Fasten off.
Don’t stuff too much at the end so the base remains flat.
Arms (Make 2)
Start with skin color.
Rnd 1. 6 sc in MR
Rnd 2. 6 sc (6)
Change color to purple.
Rnd 3. (2sc,inc)*3 (9)
Rnd 4-9. 9 sc (9)
Fasten off, leave long thread to attach to the body.
Upside down FLO of round 21 (with new thread): 30 sc
Fasten off.
Hair
With orange yarn.
Rnd 1. 6 sc in MR (6)
Rnd 2. (1sc,inc)*3 (9)
Rnd 3. BLO- (2sc,inc)*3 (12)
Don’t fasten off.
1ST Layer
Rnd 1-4. 13 ch, 12 hdc, slst (12)
Rnd 5-8. 4 ch, 3 inc, slst (6)
Rnd 9-13. 13 ch, 12 hdc, slst (12)
(12 and 13 strands in same st)
Fasten off.
2ND Layer
(in free loop of round 2- new thread)
Rnd 1-10. 10 ch, 9 inc, slst
(9 and 10 strands in same st)
Fasten off.
2nd layer goes here.
1st layer- you’ll count 12 strands in the picture, but it covers the head better with 13 strands.
2nd layer- 10 strands.
Stick the hair wig to the head.
Cape
With green yarn.
Rnd 1. ch 20 (start on 3rd ch from hook), 18 hdc, ch 1, turn
Rnd 2-14. BLO 18 hdc, ch 1, turn
Rnd 15. BLO 18 hdc
Fasten off and leave long thread.
Collar
Rnd 1. ch 15 (start on 2nd ch from hook), 14 sc, ch 1, turn
Rnd 2. (1sc,ch1)*14, turn
Rnd 3. (1sc,ch1)*14, (sc in the ch of previous round)
Fasten off and leave a long thread.
With a threading needle, make a running stitch along top edge of the cape, in and out of the rounds (see picture above).
Once you get to the other end, pull the thread firmly to shorten that end a bit.
Use the long thread to join the collar to the top of the cape (the side that you shortened in the step above).
- Recipes
-
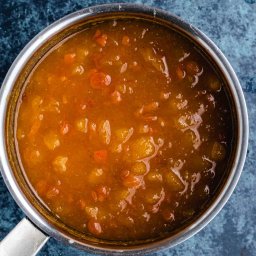 Mango Chutney
-
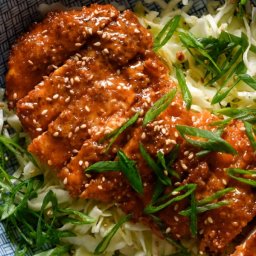 Crispy Gochujang Chicken
-
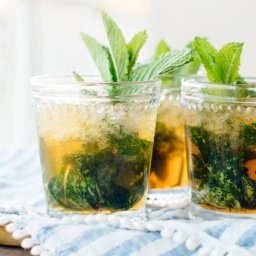 Easy Mint Julep
- Funny Pictures
-
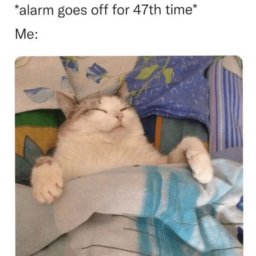
 Funny Memes to Make Your Day Better
-
 Funny Animal Memes to Have a Better Mood
-
 Top Funny Animal Images of the Day
- Crochet Ideas
-
 Crochet Crown Ear Warmer
-
 Crochet Hair Wrap
-
 Crochet Treble Stitch Bracelet
- Lifehacks
-
 How to Crochet the Shelled Cluster Stitch Photo Tutorial
-
 How to Crochet the Front Post Clusters Stitch Photo Tutorial
-
 How to Crochet the Butterfly Stitch Photo Tutorial
- DIY
-
 Crochet Woven Lines Chunky Throw
-
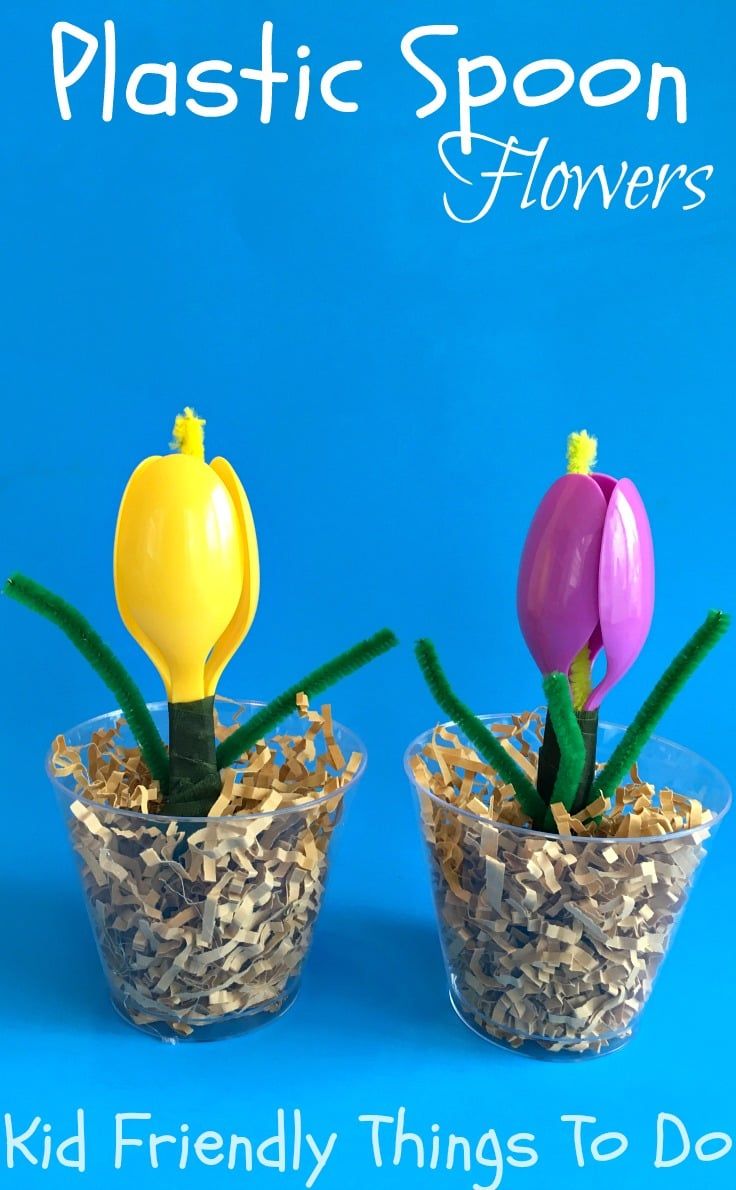 DIY Plastic Spoon Flower
-
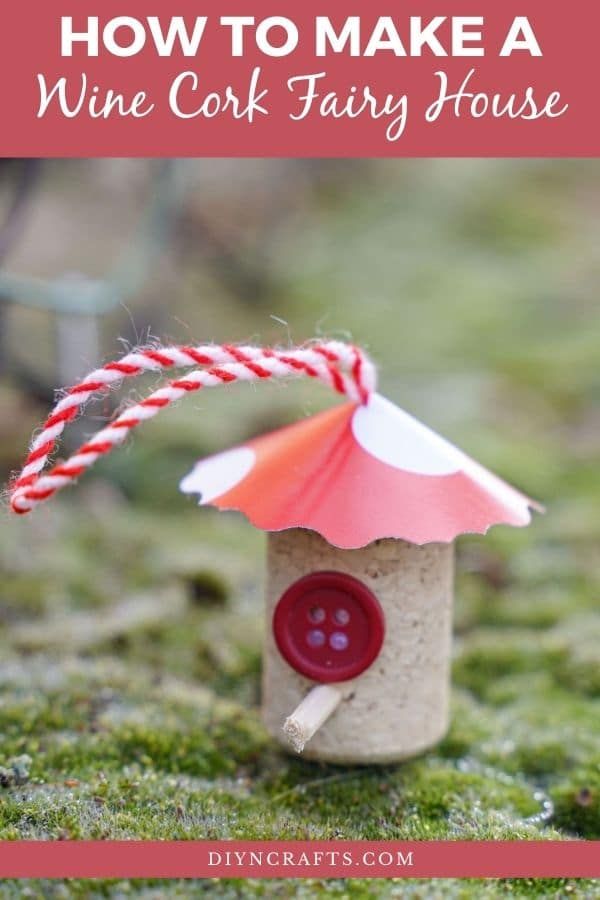 Miniature Wine Cork Fairy House Garden Decoration
- Knitting Ideas
-
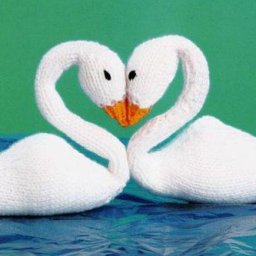 Knitted Swan Dolls in Love
-
 Knitted Marilyn Monroe Doll
-
 Knitted Nordic Mittens