Crochet Summer Skies Tank Top Guide

Penelope
Sep 28, 2024 06:34 AM
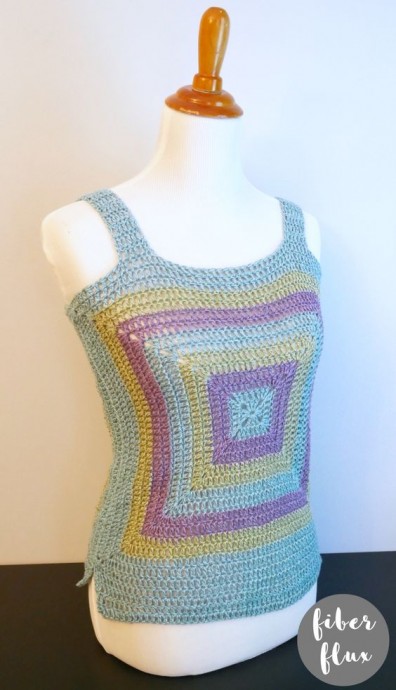
The Crochet Summer Skies Tank Top is the perfect addition to your warm-weather wardrobe! This charming top features a delicate crochet design that resembles fluffy clouds against a clear blue sky. Its lightweight and breathable fabric make it a go-to piece for sunny days or beach outings. Pair it with your favorite high-waisted jeans or a flowy skirt for a laid-back yet stylish look. The intricate detailing adds a bohemian touch that will surely turn heads and make you feel effortlessly chic. Get ready to soak up the sun in this trendy and versatile tank top!
Materials
- 4.5 mm crochet hook
- 683 yards of #2/fine weight yarn (I used 5 balls of Olivin by Hobbii: colorways included 3 balls of #11 “Sky Blue”, 1 ball of #15 “Sage”, and 1 ball of #10 “Purple”)
- Yarn/tapestry needle
- Scissors
- Measuring Tape
- Stitch Markers
Sizing
- Each square is 15 inches tall and 15 inches wide
- Each strap is 11 inches long
- Tunic extension adds another 2 inches to the bottom
Note: Each part of the tank can be easily customized to change the height, circumference, strap length, etc. as needed.
Pattern Notes
- Easily change the size of the tank by increasing/decreasing the size of the squares and length of straps.
- You can also elongate the length of the tank by adding more rows to the bottom too.
Summer Skies Crochet Tank Pattern
The Tank Bodice (Two Squares)
- To stick with the same color for the next round, slip stitch over to the first corner space you come to and then begin the round according to the pattern.
- To switch to a new color at the beginning of the round, simply tie the new color into any corner space and then proceed.
Note: I did two rounds of each color, but you can make your color changes how you like!
- Ch 4 and join with a slip stitch to form a ring.
- Round 1: Chain 5, then work 3 dc into the center of the ring, then ch 2. Work the (3 dc, ch 2) two more times into the center of the ring. Work 2 more dc into the center of the ring, and join with a sl st to close.
- Round 2: In any corner, tie on a new color then ch 5. Work two dc into the center of the ring. Work a dc in each of the next three stitches. To work the corner, work two dc, ch two, then two more dc in the ch 2 space from the previous round. Work the next side the same way, working a dc in the next three stitches, then work the next corner by working 2 dc, ch 2, 2 dc all in the same space. Keep working in this manner all the way around the square. At the corner where the round began, work one more dc in the corner space. Join with a sl st to close round.
- Round 3: Ch 5 then work 2 dc in the same space. Work a dc in each stitch across the top (there will be seven this time), work the corner the same way as the previous round (2 dc, ch 2, 2 dc). Keep going in this manner all the way around, working the corners and the sides as before. When reaching the last corner, work one more dc, and join with a slip stitch to close.
Repeat round 3 until the square measures about 15 inches across. Each side will grow in stitch count as square get larger, but corners are always worked the same way.
The Straps
- Place 4 stitch markers at the spots you would like the straps to be located in the front. Two for one strap, two for the other.
- For the first (left side) strap, I counted 13 stitches across from the top left corner space of the square and placed a marker. Then counted 8 more and placed a second stitch marker.
- Repeat for the right side.
- You can adjust your stitch count and spacing as you like to get the best fit and placement of the strap.
- You can also make your straps wider/narrower as needed too.
- There is really no rule, just be sure they are evenly spaced from one another and both sides match.
- Next, going in from the inside, tie the yarn into the area in between the two stitch markers and all the way to the left.
- Row 1: Chain 3, then work a dc into each stitch across until you get to the next stitch marker.
- Row 2: Chain 3 and turn. Work a dc in each stitch across, then work a dc into the topmost chain to finish off the row.
- Repeat row 2 until the strap is as long as you need it to be. I worked the straps pictured for about 11 inches.
- Repeat for the other strap.
- Seam the straps on the other side with a piece of matching yarn and weave in ends.
The Tunic Extension
- This part will be worked in rows, four across the front and four across the back.
- Spin your project around so the bottom edge is facing upward.
- Tie yarn into the corner space of the square on the right side.
- Row 1: Chain 3, then work a dc into each stitch across until you get to the next corner space. * across until you get to the last corner space. Work a dc into the corner space at the end of the row.
- Row 2: Ch 3 and turn. Work a dc into each st across. Work a dc into the topmost chain of the turning chain at the end of the row.
- Repeat row 2 twice more (total of 4 rows) or until desired length.
Finishing & Assembly
- Weave in all ends and your Summer Skies Crochet Tank is ready to wear!
No comments
Write a comment
- Recipes
-
 Vegetarian Sushi
-
 Cantonese Shumai with Pork and Shrimp (烧麦, Shao Mai)
-
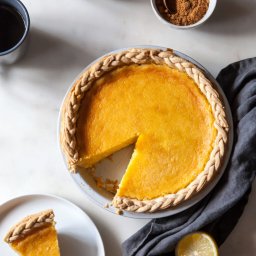 Lemon Chess Pie
- Funny Pictures
-
 Funny Moments With Cats That Will Definitely Brighten Your Day
-
 An Assortment of Fresh Memes to Offer the Entertainment you Crave
-
 Parenting Tweets for the Ones Out There Doing Their Best
- Crochet Ideas
-
 Crochet Beautiful Mouse
-
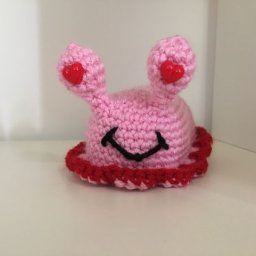 Crochet The Love Slug
-
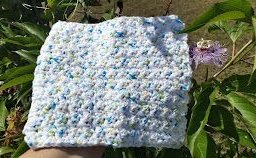 Crochet Easy Textured Washcloth/Dishcloth
- Lifehacks
-
 Wedged In: Wedge Crochet Stitch and Granny Square Photo Tutorial
-
 Diagonal Knit Look Crochet Stitch Photo Tutorial
-
 Braided Beans Table Runner Crochet Pattern
- DIY
-
 Crochet Full and Fluffy Lacy Scrunchie
-
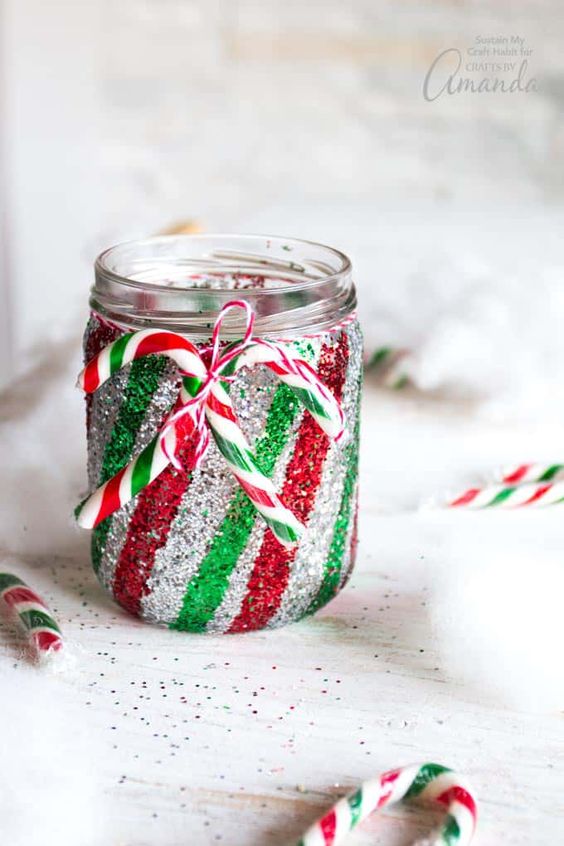 Candy Cane Mason Jar Luminary
-
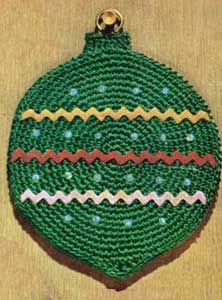 Crochet Christmas Ball Pot Holder
- Knitting Ideas
-
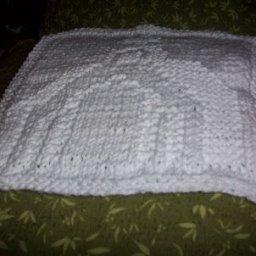 Knitted Church Dishcloth
-
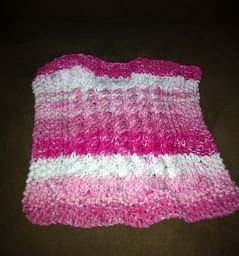 Knitted Twist and Scrub Dishcloth
-
 Knitted Waves Of Grain Dishcloth