Crochet Zinnia Triangle Scarf


The Crochet Zinnia Triangle Scarf is a delightful accessory that is perfect for adding a pop of color and style to your outfit. This charming scarf features a beautiful zinnia-inspired pattern that will brighten up any look. With its cozy and lightweight design, it is ideal for wearing during the transitional seasons or adding a touch of flair to a simple outfit.
SIZE/MEASUREMENTS
Teen - Adult
Width: 46" (116.8cm)
Length: 22.5" (57.1cm)
You're able to easily customize the scarf by adding less or more rows.
MATERIALS
*Crochet hook size: 5.0mm (H)
*Sport Weight Yarn: Mustard (450yds) & Bark (25yds)
*Tapestry Needle
*A 4.5" by 4" cardboard to make tassels
*Scissors
GAUGE
9stitches & 5rows in double crochet = 2 inches
Don't forget to check your gauge.
PATTERN NOTES - must read...
The chains, in the beginning, count as 1dc and 1chain.
Each row will increase in the center space.
The last dc in every row is done on top of the ch3 from the ch4 that was made from the previous round.
SCARF with mustard
Row 1: ch4 (counts as 1 dc & ch1 sp), 3dc, ch3, 3dc, ch1, dc in magic ring, pull as tightly as possible to close the hole and turn your work
Row 2: ch4 (counts as 1 dc & ch1 sp), 3dc in next ch sp, ch1, 3dc+ch3+3dc in next ch3 sp, ch1, 3dc in next ch sp, ch1, dc on top of the 3rd ch, turn your work

Row 3: ch4 (counts as 1 dc & ch1 sp), *3dc in next ch sp, ch1,* repeat from * to * 1 more time, 3dc+ch3+3dc in next ch3 sp, ch1, *3dc in next ch sp, ch1,* repeat from * to * 1 more time, dc on top of the 3rd ch, turn your work
Row 4: ch4 (counts as 1 dc & ch1 sp), *3dc in next ch sp, ch1,* repeat from * to *2 more times, 3dc+ch3+3dc in next ch3 sp, ch1, *3dc in next ch sp, ch1,* repeat from * to *2 more times, dc on top of the 3rd ch, turn your work
Row 5: ch4 (counts as 1 dc & ch1 sp), *3dc in next ch sp, ch1,* repeat from * to *3 more times, 3dc+ch3+3dc in next ch3 sp, ch1, *3dc in next ch sp, ch1,* repeat from * to *3 more times, dc on top of the 3rd ch, turn your work
Row 6: ch4 (counts as 1 dc & ch1 sp), *3dc in next ch sp, ch1,* repeat from * to *4 more times, 3dc+ch3+3dc in next ch3 sp, ch1, *3dc in next ch sp, ch1,* repeat from * to *4 more times, dc on top of the 3rd ch, turn your work
Row 7: ch4 (counts as 1 dc & ch1 sp), *3dc in next ch sp, ch1,* repeat from * to * 5 more times, 3dc+ch3+3dc in next ch3 sp, ch1, *3dc in next ch sp, ch1,* repeat from * to * 5 more times, dc on top of the 3rd ch, turn your work
Row 8-35: repeat the same process as we have been doing in the previous rows but you'll be adding an extra (3dc in next ch sp, ch1) in every repeat part. In the last st of round 35, change to bark to continue working with the edging.
EDGING with bark
Row 36: ch1, sc in next st, sc in ch sp, *sc in next 3 sts, sc in ch sp* repeat from * to * 33 more times, sc in next 3 sts, 3sc in ch3 sp, sc in next 3 sts, sc in ch sp, *sc in next 3 sts, sc in ch sp* repeat from * to *33 more times, sc on top of the 3rd ch, turn your work
Row 37: sl st in each st across
F/O, secure and weave in the ends.
TASSELS with mustard; make 2
Step 1: Cut a piece of cardboard with the following dimensions 4.5" width by 4" length.
Step 2: Wrap yarn around your piece of cardboard (lengthwise) about 40 times. More if you want your tassel to be fuller.
Step 3: Take a long piece of yarn and tie it around the entire bunch of yarn at one end. Don't finish off; we'll be using the ends to attach it to the scarf.
Step 4: At the opposite end, cut through all of the yarn.
Step 5: Take another long piece of yarn and wrap it a few times around the entire bunch near the top to create your tassel (see images below for clarity.) Tie it off and with a tapestry needle, weave the ends through so they hang with the rest of the yarn instead of cutting them off (a slight possibility that it would come undone if cut off).
Step 6: Trim the bottom of the yarn tassel to make it even.
Step 7: Sew tassels on each end of your scarf

- Recipes
-
 Kool-Aid Pickles
-
 Buffalo Chicken Burgers with Whipped Feta Spread
-
 French Blond Cocktail
- Funny Pictures
-
 Freshly Squeezed Caturday Memes for Today
-
 Funny Memes Selection for Today
-
 Animal Pics for Some Pleasure
- Crochet Ideas
-
 Crochet Crop Top
-
 Crochet Easter Sheep and Duck Egg Bags
-
 Crochet Summer Top
- Lifehacks
-
 How To Crochet The 3-Colored Crosshatch Stitch Tutorial
-
 Flower With Stem Stitch Photo Tutorial
-
 How to Crochet the Slanted Clusters Stitch Photo Tutorial
- DIY
-
 Crochet Smiling Flowers
-
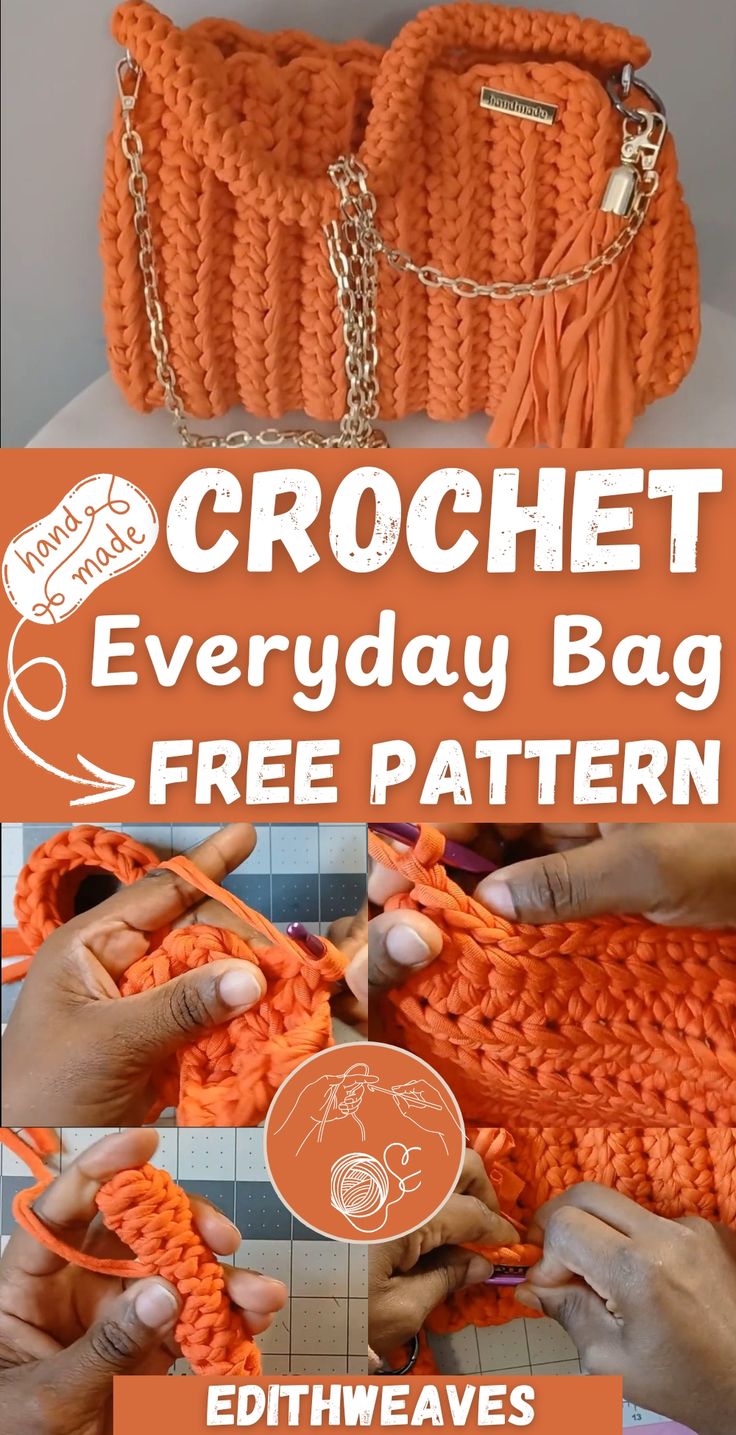 Crochet Chic Everyday Bag
-
 Crochet Herringbone Stripe Baby Blanket
- Knitting Ideas
-
 Knitted Gorgeous Bandana Cowl
-
 Knitted Twilight Hug Vest
-
 Knitted Wrist Warmers