CrochetMenScarvesHatsGlovesSweatersCardigansSocksOther clothingWomenScarvesHatsGlovesShawls and cover upSweatersCardigansSocksSlippersBagsOther clothingChildrenScarvesHatsGlovesSweatersCardigansSocksSlippersOther clothingHomeBlankets and plaidsRugsHome decorationsPetsSchemesKnittingOther hand-madeChat
Crochet Daisy Stitch

Materials Needed:
DK Cotton Yarn
4mm Crochet Hook
Note: The tutorial uses UK crochet terminology.
Stitches Used:
UK Treble Crochet (equivalent to US Double Crochet)
UK Double Crochet (equivalent to US Single Crochet)
Instructions
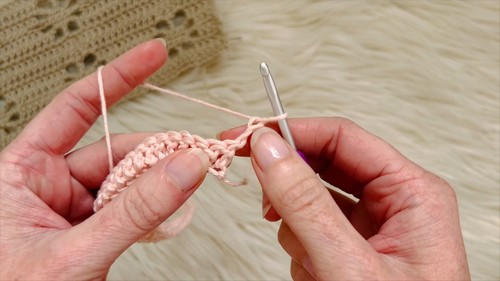
Starting Chain:
Create a slip knot and place it on your hook.
Chain in multiples of 15. For this tutorial, chain 45.
Add 2 more chains for turning (these do not count as a stitch).
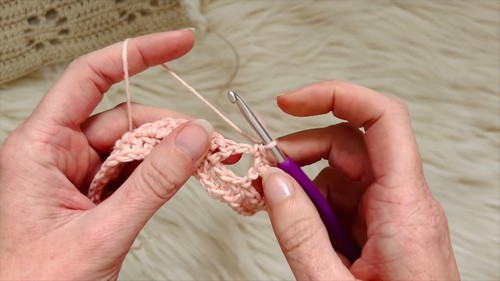
Row 1:
Work a UK treble crochet (US double crochet) into the third chain from the hook, making sure to insert the hook into the back bumps of the chain.
Continue working a treble crochet into each chain across the row.
Double-check your stitch count; it should match your starting chains minus the extra 2 (e.g., 45 stitches).
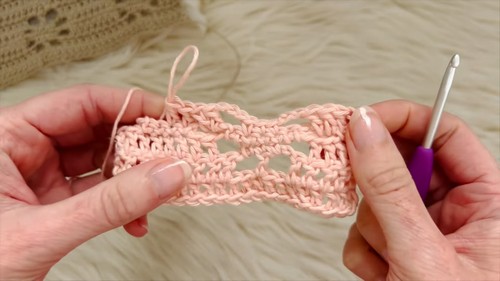
Row 2:
Chain 2 (this counts as a stitch) and turn your work.
Work a treble crochet into the next space (not the one directly beneath the chain 2, but the one after that) and into the next 3 stitches. You should have 5 stitches including the turning chain.
Chain 2, skip 2 stitches, then work a treble crochet into the next stitch.
Chain 2 again, skip another 2 stitches, then work 5 treble crochets.
Repeat this pattern across the row, ending with the specified stitch pattern.
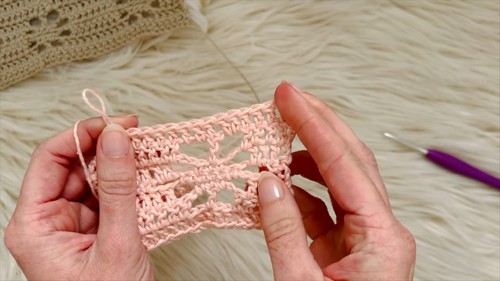
For Row 3:
Chain 2 and turn. This counts as the first treble crochet.
Work another 3 treble crochets. You've reduced to 4 stitches from 5 at each pattern's start.
Chain 3, then work a UK double crochet (US single crochet) in the following sequence: into the chain space, into the top of the treble crochet from the previous row, and into the next chain space.
Continue the set pattern across the row.
Row 4:
Chain 1 and turn. Work double crochets, starting directly under the chain. In this row, the chain does not count as a stitch.
Follow the video's specific instructions to continue shaping the daisy's center and outlining petals.
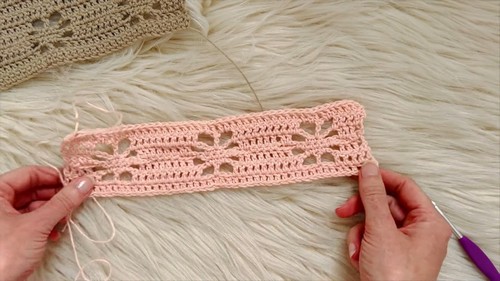
Increasing Stitches (Row 5 onward):
You will begin increasing stitches on the sides where the pattern had previously decreased, according to the video's instructions, ensuring symmetry in the pattern as you develop further daisies.
Continue following the pattern's increases and decreases as outlined for creating the full Daisy Stitch effect.
To Continue:
Repeat the pattern from the beginning (after the initial chain) to add more rows and expand your project.
No comments
Write a comment
