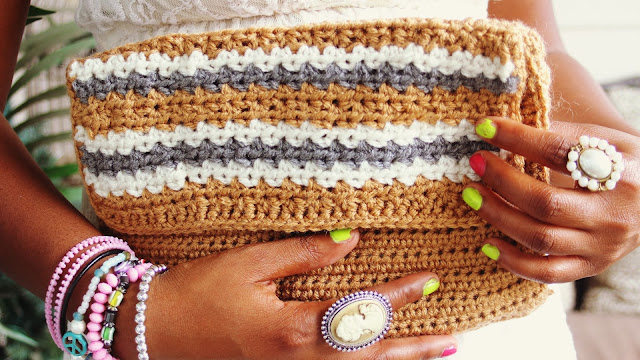
How to Crochet a Beautiful Clutch: A Complete Guide
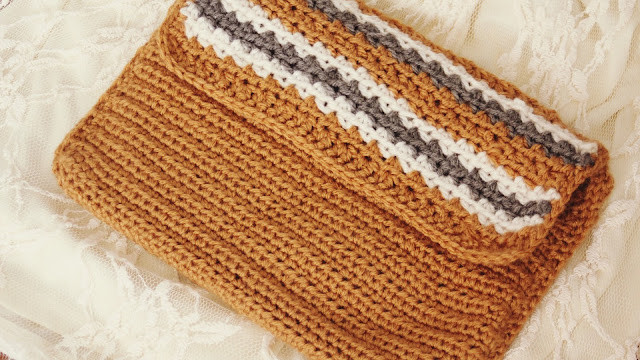
Crocheting a beautiful clutch is such a fun and rewarding project! You can let your creativity shine by choosing your favorite colors and patterns to make a unique accessory that fits your style perfectly. The intricate stitches and textures add a touch of elegance to the finished piece, making it a stylish and practical addition to any outfit.
Whether you're a crochet novice or a seasoned pro, crafting a clutch is a delightful way to unwind and create something lovely with your own hands. So grab your yarn and hook, and let's get crocheting!The Ingredients
- 3 Skeins of Yarn (Cream/Grey/Khaki)
- Crochet Sewing Needle
- Fabric
- Hook #1: H/8-5.00 MM
- Hook #2: B/1-2.25 MM
- Sewing Needle + Thread
- (Optional: Sewing machine)
Abbreviations
- SC = Single Crochet
- ST = Stitch
- HDC = Half Double Crochet
- SS = Slip Stitch
Instructions
Starting the Clutch
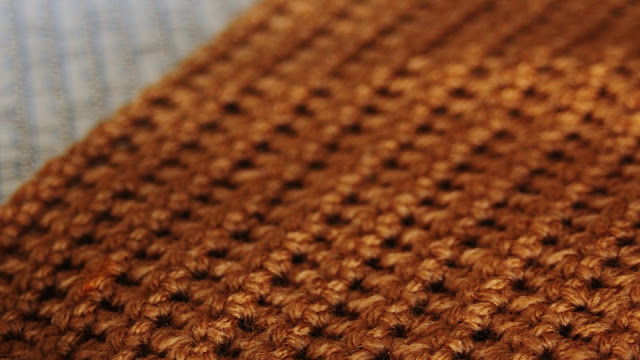
Chain 39 Stitches for 14 Rows with your main color, using the H/8-5.00 MM hook.
Row 2-14: Alternate between a HDC and a SC throughout the Rows.
You will be making two parts/sections: one for the front and one section for the back of the clutch.
Finishing the Sides
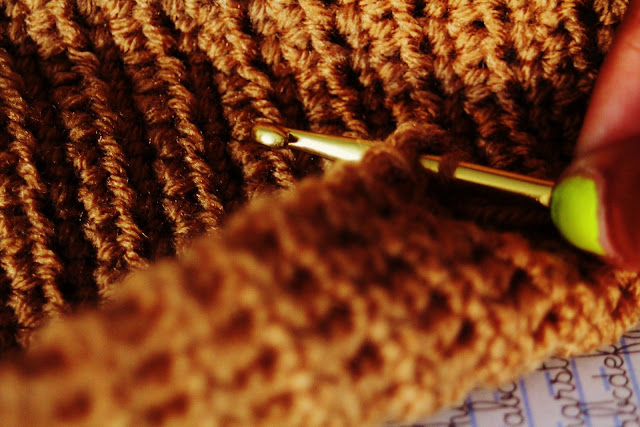
To finish the sides, SC around the sections for a finished look.
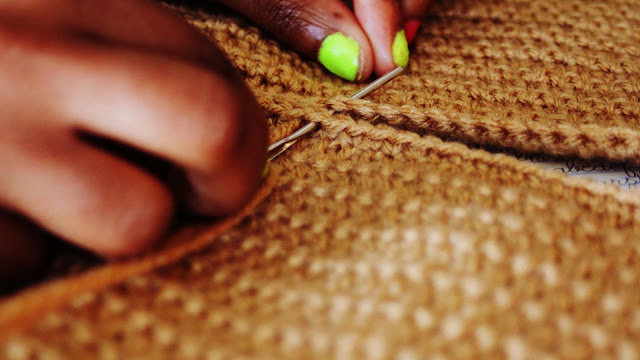
Next, I sewed the yarn to connect both of the sections at the longer/bottom end, using the crochet hook and a cut piece of yarn to thread.
Adding the Fabric Inset
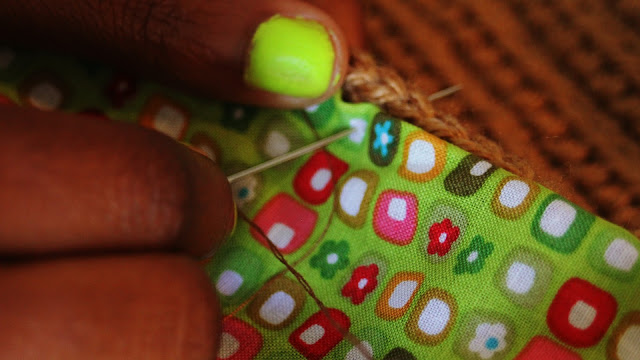
Time for the fabric inset! I wanted to use a fun and vibrant pattern of fabric because the clutch has such an earthy tone to it. Here is a great tutorial that will help you in the process. (Note: I hand sew by the way and wanted to put the fabric in before I finished the clutch.)
Closing the Clutch
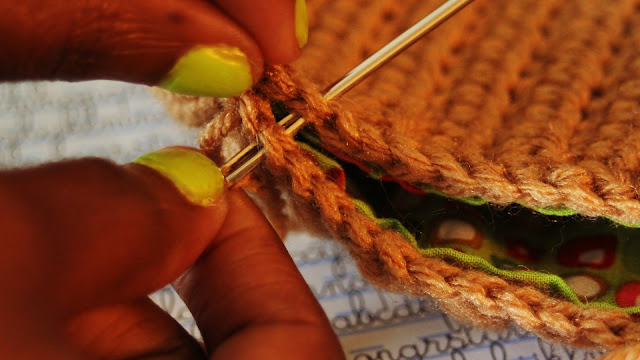
I sewed both of the sides of the clutch to close it up, using the crochet hook and yarn thread once again.
Creating the Flap
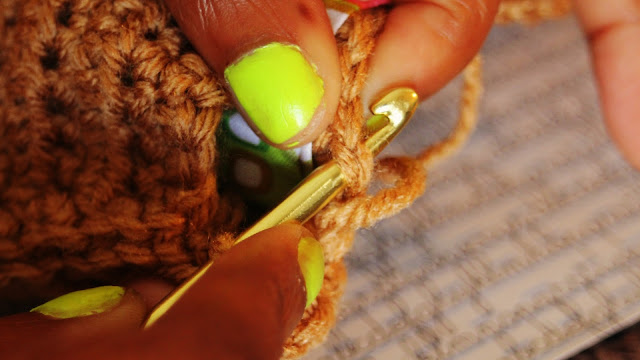
Next, I started to SC at the top back of the clutch to start the flap of the bag. Here is a way to connect colors when crocheting.
SC the 1st Row of the main color and for the,
2nd Row: SC in the first stitch, skip one ST, 2 HDC in the next ST, skip one ST and 2 HDC in the ST after the skipped ST.
(Note: This technique is utilized throughout the rest of crocheting the flap of the clutch.)
Continuing the Flap Design
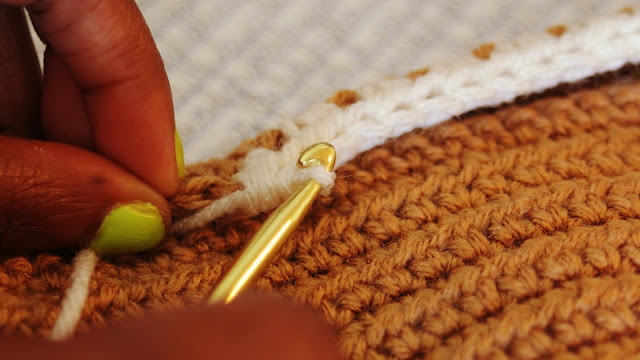
For the 3rd and 4th Row of the flap, I used my secondary color and utilized the technique noted from the previous row.
5th and 6th Row: Crochet with the third color along with the same technique.
7th and 8th Row: Repeat the technique with the main color.
9th Row: Secondary color with the same technique.
10th Row: Third color with the same technique.
11th Row: Secondary color with the same technique.
12th and 13th Row: Use main color with the same technique. SS and you are done.
Final Touches
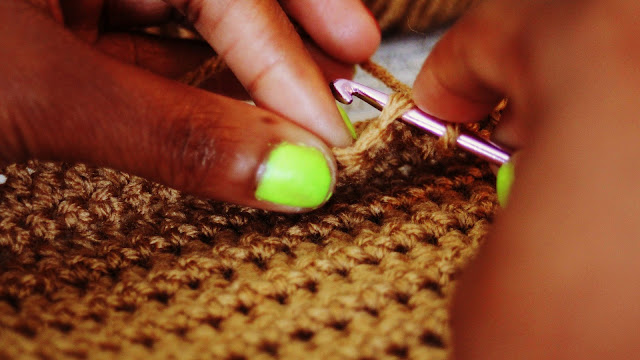
To finish, SC around the flap of the clutch for a polished look using the main hook. SS and done.
Also, use the hook B/1-2.25 MM for the remainder of the yarn to weave it in the stitches. (Note: you can either use the small hook or a crochet sewing needle.)
