Crochet The “Little Bit Fancy” Beverage Coozie
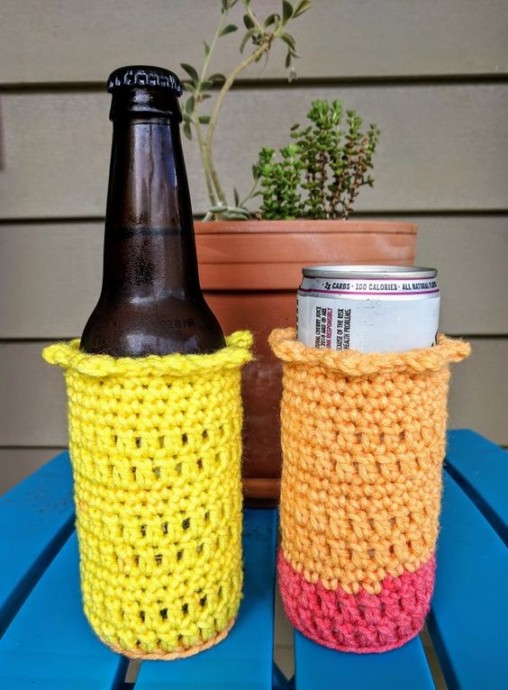
If you're looking to add a touch of charm to your daily coffee routine, the “Little Bit Fancy” Beverage Coozie crochet pattern is the perfect project to try out. With its cozy design and stylish details, this coozie will not only keep your drinks at the perfect temperature but also elevate your beverage game.
Whether you're sipping on your morning latte or enjoying an evening cup of tea, this cute coozie will quickly become your favorite accessory. The pattern is beginner-friendly, so even if you're new to crocheting, you can easily create this adorable coozie in no time. Get your favorite yarn colors ready and get crafty with this fun and practical project!What you’ll need:
Hook – I used an I hook (5.5mm)
Yarn – I used two different kinds. The pink is Loops and Threads Capri yarn in Pink/Rose (I truly, deeply love this yarn).
A tapestry needle
Stitches you need to know:
slip stitch (slst)
chain (ch)
single crochet (sc)
double crochet (dc)
shell stitch – sc-dc-sc all in one stitch
Pattern: (A ch 1 or ch 2 at the beginning of a row always counts as a sc or dc)
Ch 3, slst into first ch to form a circle (You can also use a magic circle, but that is not something I’ve mastered yet, so this is my go-to starting move)
Row 1 – ch 2, 11 dc into center of circle, slst to join at top of ch 2 (12)
Row 2 – ch 2, 2 dc in each st around, 1 dc in same st as ch 2, sl st to join at top of ch 2 (24) *This can also be done as ch 2, 1 dc in same st as ch, 2 dc in each st around. Just make sure you have 2 dc in each stitch around*
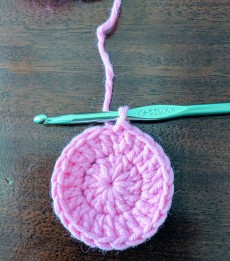
Row 3 is where I start on the body of the coozie, but if your bottom is not big enough yet, you can do another increase row which would be ch 2, 2 dc in next st, *1 dc in next st, 2 dc in next st* *Repeat around. If you need more rows, continue increase rounds just like you would if you were making a beanie hat. Once your bottom is big enough, go on to Row 3 instructions, keeping in mind that your row numbers will no longer match up to the instructions.
Row 3 – Ch 2, dc blo in each st around, slst to join at top of ch 2
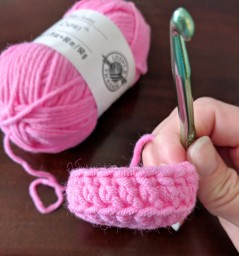
Row 4 – Ch 2, dc in each st around, slst to join at top of ch 2
Row 5 – Ch 1, sc in each st around, slst to join at top of ch 1
Row 6 – Ch 1, sc in each st around, slst to join at top of ch 1
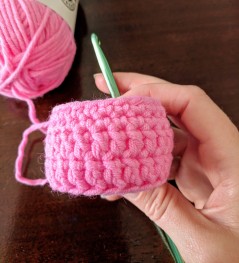
Row 7 – Ch 2, dc in each st around, slst to join at top of ch 2
Row 8 – Ch 2, dc in each st around, slst to join at top of ch 2
Row 9 – Ch 1, sc in each st around, slst to join at top of ch 1
Row 10 – Ch 1, sc in each st around, slst to join at top of ch 1
Row 11 – Ch 2, dc in each st around, slst to join at top of ch 2
Row 12 – Ch 2, dc in each st around, slst to join at top of ch 2
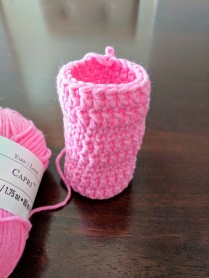
Row 13 – Ch 1, sc in each st around, slst to join at top of ch 1
Row 14 – Ch 1, sc in each st around, slst to join at top of ch 1
Row 15 – Ch 1, sc in each st around, slst to join at top of ch 1
Row 16 – Ch 1, sc in each st around, slst to join at top of ch 1
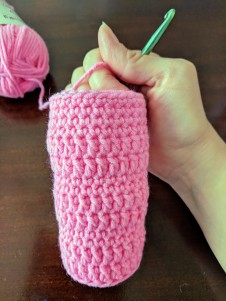
Row 17 – ch 1, Shell st (sc, dc, sc in same st), slst in next two st, *Shell st, slst in next two st* *repeat around, slst to ch 1
Leave enough yarn to weave in end, and finish off.

